DITTEL-SYSTEM AE6000-F62001 Spare for AE6000 Automation: Spare Replacement & Industrial Downtime Risk Control
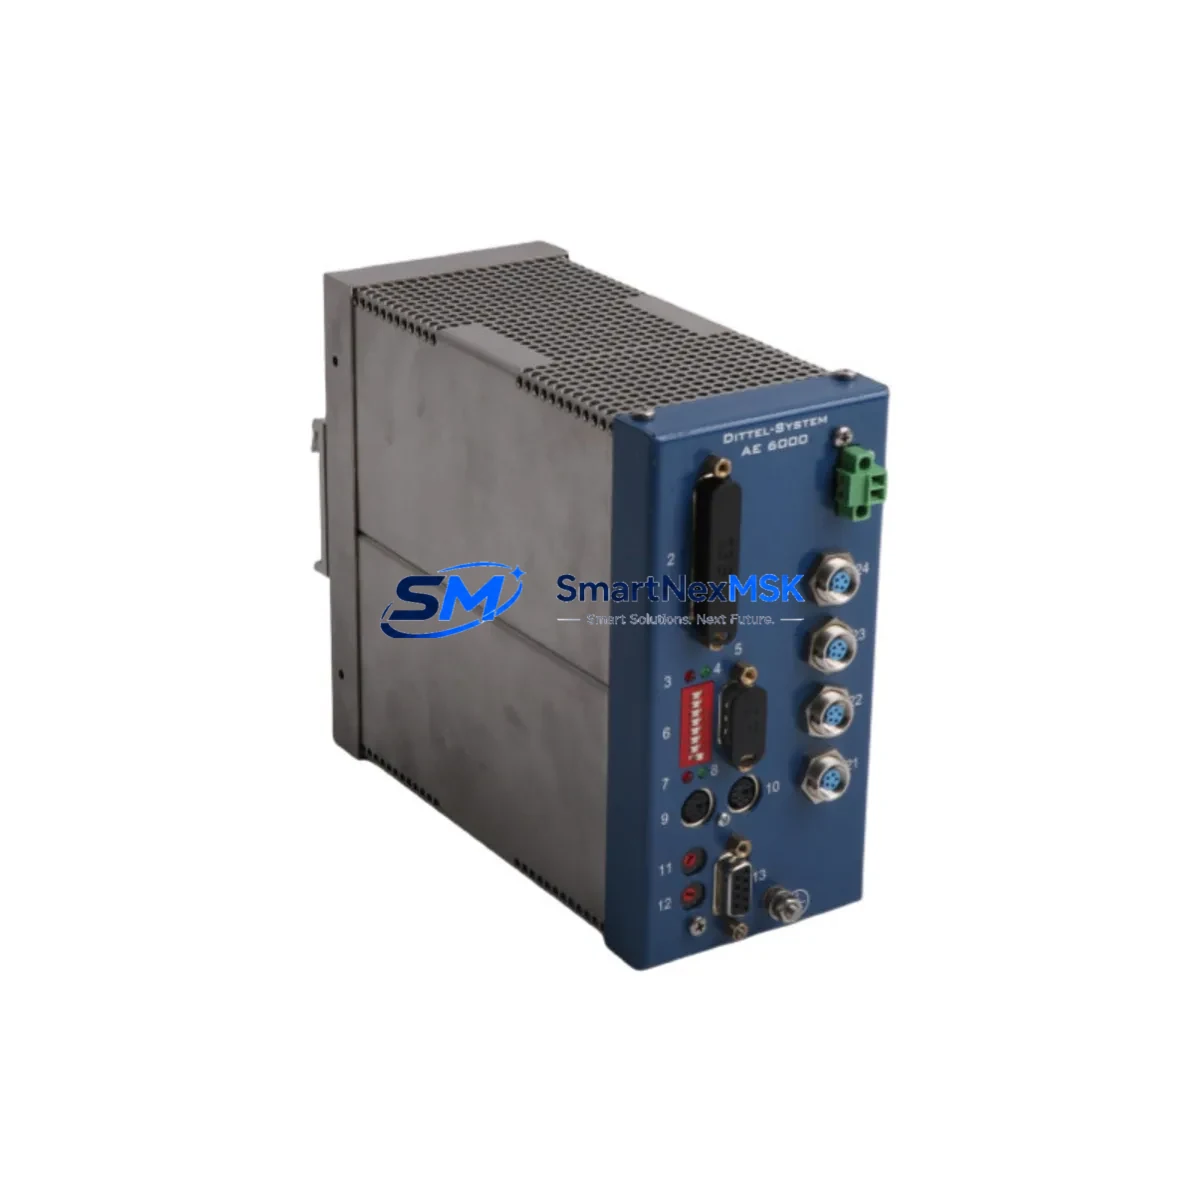
The DITTEL-SYSTEM AE6000-F62001 is an original emission control module designed for the AE6000 series industrial automation platform. In continuous-process and discrete manufacturing environments, this module plays a critical role in monitoring and regulating emission-related signals within the control cabinet. When this component fails or degrades, the consequences extend beyond a single module — the entire emission monitoring loop, interlock chain, and associated PLC I/O may be affected, triggering unplanned shutdowns and compliance risks.
For maintenance engineers and spare parts procurement teams, having a verified replacement unit of the AE6000-F62001 on the shelf is a fundamental element of any proactive maintenance strategy. This listing provides a tested, original-specification spare that supports rapid field replacement, minimizes mean time to repair (MTTR), and ensures your AE6000 system returns to full operational status with minimal disruption.
Each unit is inspected and functionally tested prior to shipment. A 12-month warranty is included, covering manufacturing defects and operational failures under normal industrial use conditions. We support long-term supply continuity for legacy and current-generation AE6000 installations.
Spare Maintenance Table
| Parameter | Specification |
|---|---|
| Part Number / SKU | AE6000-F62001 |
| Brand | DITTEL-SYSTEM |
| Series | AE6000 |
| Product Type | Emission Control Module |
| Origin | Germany |
| Compatibility | AE6000 Series Automation Systems; compatible backplane and rack configurations within the AE6000 platform |
| Application Environment | Industrial control cabinets, process automation panels, emission monitoring systems |
| Installation | Module-slot insertion per AE6000 rack specification; refer to OEM installation guide |
| Signal Interface | Analog/digital I/O per AE6000-F6 sub-series specification |
| Maintenance Recommendation | Inspect signal wiring, terminal blocks, and power supply rails during replacement; verify calibration post-installation |
| Warranty | 12 Months — covers manufacturing defects and operational failure under normal use |
| Pre-Shipment Testing | Functional test performed on every unit before dispatch |
| Condition | Original spare — new or refurbished to OEM specification |
Maintenance Planning for Continuous Operation
When replacing the AE6000-F62001 emission control module, a thorough inspection of the surrounding control cabinet components is strongly recommended. Emission control modules operate within a tightly integrated signal chain, and a failure in this module is often symptomatic of stress on adjacent components.
Maintenance engineers should begin by verifying the 24VDC or 120VAC power supply module feeding the AE6000 rack — voltage ripple or transient spikes are a common root cause of module degradation. The AE6000 backplane or rack assembly should be inspected for oxidized bus connectors or mechanical damage to the module slot. If the system uses a dedicated AE6000 power distribution board, check fuse continuity and terminal torque values.
On the signal side, inspect all field wiring terminal blocks connected to the F62001 I/O channels — loose terminations and corroded contacts are frequent contributors to intermittent faults. If the module interfaces with signal isolators or signal conditioners upstream of the PLC analog input cards, verify that isolation barriers are functioning within specification. Any shielded cable assemblies connecting field sensors to the module should be checked for insulation integrity and proper grounding.
For systems where the AE6000-F62001 feeds data into a DITTEL-SYSTEM communication module or gateway (such as a Profibus DP or Modbus RTU interface card), confirm that the communication link is re-established and error-free after module swap. If the installation includes an HMI panel displaying emission data, verify that tag mappings and alarm thresholds are correctly restored post-replacement.
Additionally, review the status of protection relays and circuit breakers in the emission monitoring loop — a module failure can sometimes be preceded by nuisance tripping that goes unlogged. Checking fuse holders and miniature circuit breakers (MCBs) in the control cabinet distribution board is a low-cost step that prevents repeat failures. For older AE6000 installations, consider scheduling a full I/O card inspection across the rack to identify any other modules approaching end-of-life, reducing the risk of cascading failures during the same maintenance window.
Site Replacement Workflow
The AE6000-F62001 is designed as a direct replacement for the original module installed in AE6000 series control systems. No firmware re-flashing or hardware modification is required for like-for-like substitution within the same AE6000 rack generation. The following workflow is recommended for field replacement:
1. Pre-Replacement Verification: Confirm the replacement unit SKU matches the installed module label. Cross-reference the AE6000 system BOM or cabinet drawing to verify slot assignment and wiring schedule. Photograph the existing wiring before disconnection.
2. Safe Isolation: De-energize the AE6000 rack following your site LOTO (Lockout/Tagout) procedure. Confirm zero-energy state on all power rails before module extraction.
3. Module Extraction and Inspection: Remove the AE6000-F62001 from its slot. Inspect the backplane connector for bent pins or contamination. Clean the slot if necessary before inserting the replacement unit.
4. Installation and Re-Termination: Insert the replacement AE6000-F62001 firmly into the rack slot. Re-terminate all field wiring per the original schedule, verifying terminal torque and cable shield grounding.
5. Power-Up and Functional Test: Re-energize the rack and monitor the module status indicators. Confirm signal integrity on all I/O channels. Verify emission data is correctly displayed on the HMI and logged by the control system.
6. Documentation: Record the replacement in the maintenance log, including the new module serial number, installation date, and technician sign-off. Update the spare parts inventory to trigger reorder of a replacement buffer unit.
This workflow supports system compatibility, minimizes downtime, and ensures the AE6000 emission control loop is restored to full operational status efficiently.
Spare Parts Support FAQ
Q1: What is the expected service life of the AE6000-F62001, and when should I plan for replacement?
The AE6000-F62001 is an industrial-grade module rated for continuous operation in standard control cabinet environments. Based on typical AE6000 deployment conditions, a planned replacement interval of 8–12 years is reasonable, though actual service life depends on ambient temperature, power quality, and duty cycle. We recommend maintaining at least one buffer unit in your spare parts inventory and scheduling a proactive replacement during planned shutdowns if the installed module is approaching this threshold.
Q2: How do I verify compatibility before ordering?
Confirm the exact SKU (AE6000-F62001) from the module label or the AE6000 system BOM. Cross-reference the rack generation and backplane revision in your cabinet documentation. If you are replacing a module in an older AE6000 installation, contact our technical team with your system serial number and we will confirm compatibility before shipment.
Q3: What pre-shipment testing is performed on each unit?
Every AE6000-F62001 unit undergoes functional testing prior to dispatch, including power-on verification, I/O channel integrity checks, and communication interface validation where applicable. Units that do not meet OEM specification are not shipped. A test report is available upon request for critical installations.
Q4: What does the 12-month warranty cover, and how is a warranty claim handled?
The 12-month warranty covers manufacturing defects and operational failures under normal industrial use conditions. It does not cover damage resulting from incorrect installation, overvoltage events, or physical mishandling. To initiate a warranty claim, contact our support team with the order reference, installation date, and a description of the failure. We will arrange for a replacement unit to be dispatched promptly to minimize your system downtime.
© 2026 SMARTNEXMSK. All rights reserved.
Original Source: https://smartnexmsk.com
Contact: sales@smartnexmsk.com | +86 18259474341