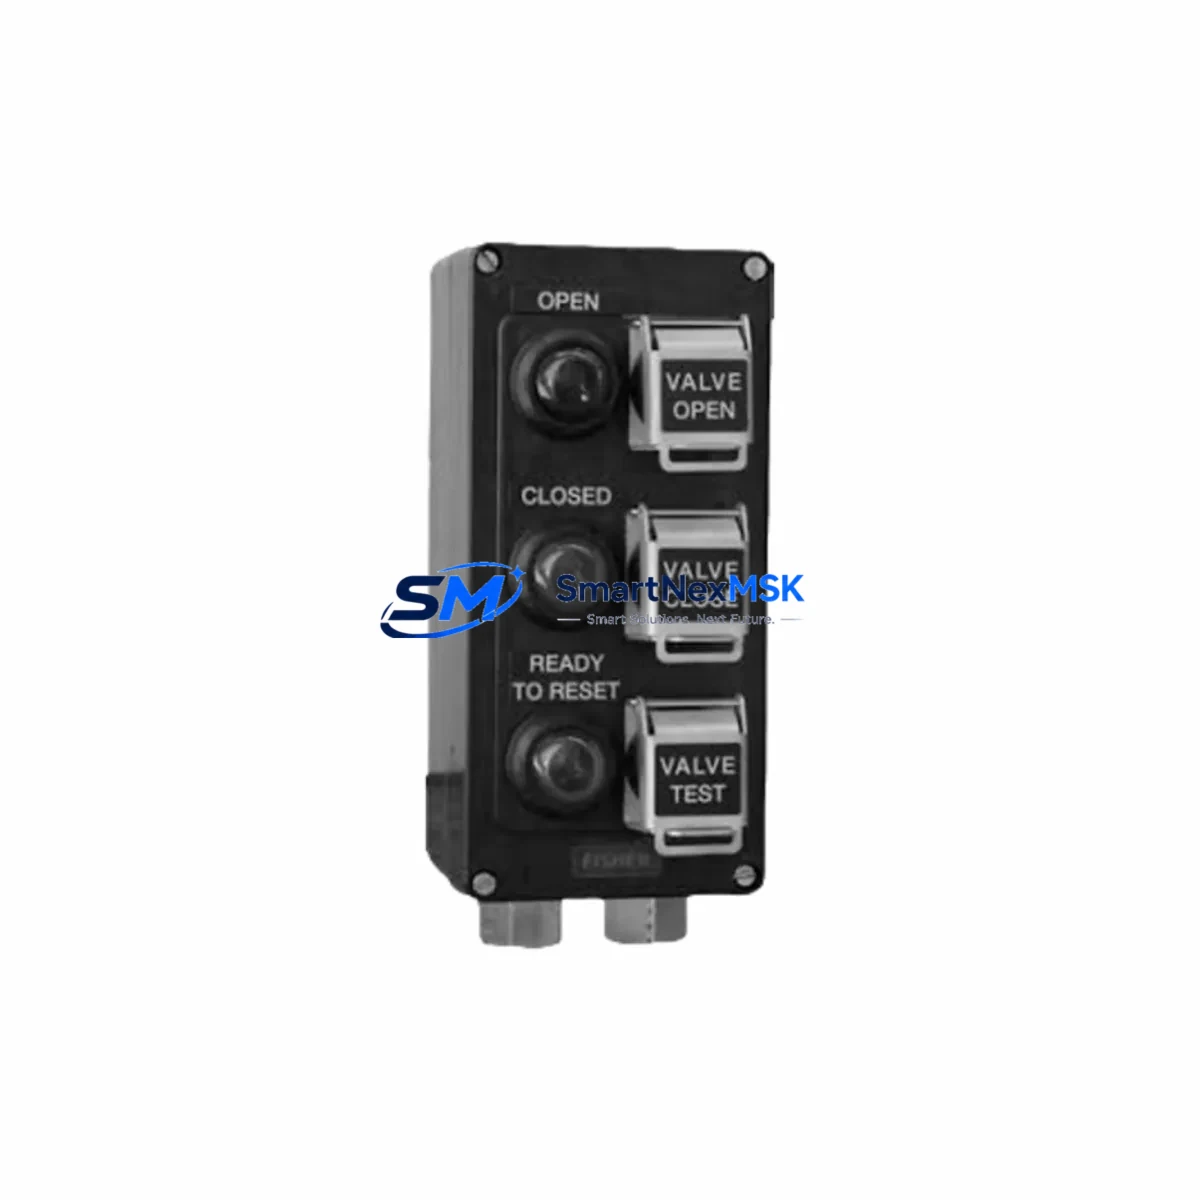
EXPERT LCP-100 Retrofit-Ready Local Control Panel for LCP Series Control Systems
The EXPERT LCP-100 is a retrofit-ready local control panel engineered for seamless integration into existing LCP Series automation architectures. Whether you are replacing an end-of-life unit, upgrading a legacy control cabinet, or restoring a production line after an unplanned failure, the LCP-100 delivers verified drop-in compatibility with minimal engineering overhead. Designed for industrial environments where uptime is non-negotiable, this unit supports direct substitution for discontinued LCP Series panels without requiring PLC program rewrites or HMI screen redesign in most standard configurations.
The LCP-100 is widely deployed in process control, discrete manufacturing, and utility automation applications. Its compact form factor and standardized terminal layout make it a preferred choice for system integrators managing multi-site retrofit programs across aging control infrastructure.
Upgrade Compatibility Table
| Parameter | Details |
|---|---|
| Compatible Series | LCP Series Local Control Panels |
| Replaces | Discontinued LCP Series units; legacy local control panels of equivalent rating |
| Mounting | Standard DIN rail and panel-mount; matches original footprint |
| Terminal Interface | Screw-type terminals; compatible with original wiring harness in most installations |
| Communication Compatibility | Supports standard fieldbus and hardwired I/O interfaces used in LCP Series deployments |
| Power Supply Requirement | Verify supply voltage and current capacity before installation; consult original panel nameplate |
| Retrofit Recommendation | Direct replacement recommended; verify backplane slot assignment and module address if integrated with PLC rack |
| Commissioning Notes | Confirm HMI tag mapping and communication link continuity after installation |
| Warranty | 12-Month Warranty — covers manufacturing defects and functional failures under normal operating conditions |
Retrofit Planning for Existing Automation Systems
A successful LCP-100 retrofit begins well before the unit arrives on site. Engineers should start by auditing the existing control cabinet layout, documenting the terminal block wiring schedule, and confirming the power supply module output capacity. In many LCP Series installations, the local control panel shares a backplane or rack with adjacent I/O modules, communication modules, and the main controller — all of which must remain operational during the swap.
Before removing the legacy panel, capture a full backup of the PLC program using the original programming cable or engineering workstation. For systems running on older fieldbus protocols, verify that the replacement LCP-100 supports the same communication stack — whether that is Modbus RTU, PROFIBUS DP, or a hardwired discrete I/O interface. If the existing installation uses a dedicated power supply module to feed the panel bus, confirm that its output current rating is sufficient for the LCP-100’s inrush and steady-state draw.
During physical installation, pay close attention to the terminal block layout. The LCP-100’s screw-type terminals are designed to accept the original wiring harness in standard configurations, but engineers should cross-reference the original wiring diagram against the LCP-100 terminal assignment sheet before energizing. In installations where the local panel interfaces with an HMI unit — such as a touch panel or operator station — verify that all tag addresses and screen navigation logic remain valid after the swap. If the system uses a remote I/O expansion module or a distributed I/O rack connected via a communication module, confirm that the module address settings on the LCP-100 match the original configuration to avoid address conflicts on the network segment.
For control cabinets that also house a programmable controller, a relay output module, an analog input module, and a dedicated communication gateway, the retrofit sequence should follow a structured isolation procedure: de-energize the cabinet, document all terminal connections, remove the legacy panel, install the LCP-100, reconnect terminals in sequence, and perform a point-by-point I/O check before restoring power. This approach minimizes the risk of wiring errors and ensures that the replacement unit is fully verified before the system is returned to automatic control.
Downtime Control During System Migration
Minimizing production downtime during a local control panel replacement requires careful pre-staging and a disciplined commissioning sequence. Begin by pre-configuring the LCP-100 in a workshop environment whenever possible — verify power-up behavior, confirm communication link establishment, and validate any configurable parameters before the unit reaches the field.
On the day of the swap, coordinate with operations to schedule the outage during a planned maintenance window. Use the existing PLC program backup to confirm that no logic changes are required for the replacement unit. If the system includes a redundant communication path or a secondary controller, keep the backup path active throughout the migration to maintain supervisory visibility from the SCADA or DCS layer.
After installing the LCP-100, perform a structured commissioning check: confirm power supply voltage at the panel terminals, verify communication link status on the engineering workstation, cycle each discrete output to confirm field device response, and check analog signal scaling if applicable. Document the as-found and as-left terminal readings for the maintenance record. Once all checks pass, return the system to automatic mode and monitor for at least one full production cycle before closing the work order. The LCP-100’s 12-month warranty provides additional assurance that any latent manufacturing defects will be covered without additional cost to the end user.
Retrofit Support FAQ
Q: Is the EXPERT LCP-100 a direct drop-in replacement for all LCP Series local control panels?
A: The LCP-100 is designed as a direct replacement for standard LCP Series configurations. Engineers should verify terminal layout, power supply rating, and communication interface compatibility against the original panel datasheet before installation. In most standard deployments, no wiring modifications are required.
Q: What commissioning steps are required after installing the LCP-100?
A: After physical installation and terminal reconnection, confirm power supply voltage, verify communication link status, perform a point-by-point I/O check, and validate HMI tag mapping if applicable. For systems with a fieldbus communication module, confirm that the module address and baud rate settings match the original configuration.
Q: Does the LCP-100 require a PLC program update when replacing a discontinued LCP Series panel?
A: In most standard configurations, no program changes are required. The LCP-100 maintains functional compatibility with the original I/O mapping and communication interface. If the original panel had custom firmware or non-standard address assignments, consult the engineering documentation before proceeding.
Q: What does the 12-month warranty cover?
A: The 12-month warranty covers manufacturing defects and functional failures under normal operating conditions from the date of shipment. Units that fail due to incorrect installation, overvoltage, or physical damage are not covered. Warranty claims are processed through SMARTNEXMSK with a target response time of 3 business days.
—
© 2026 SMARTNEXMSK. All rights reserved.
Original Source: https://smartnexmsk.com
Contact: sales@smartnexmsk.com | +86 18259474341