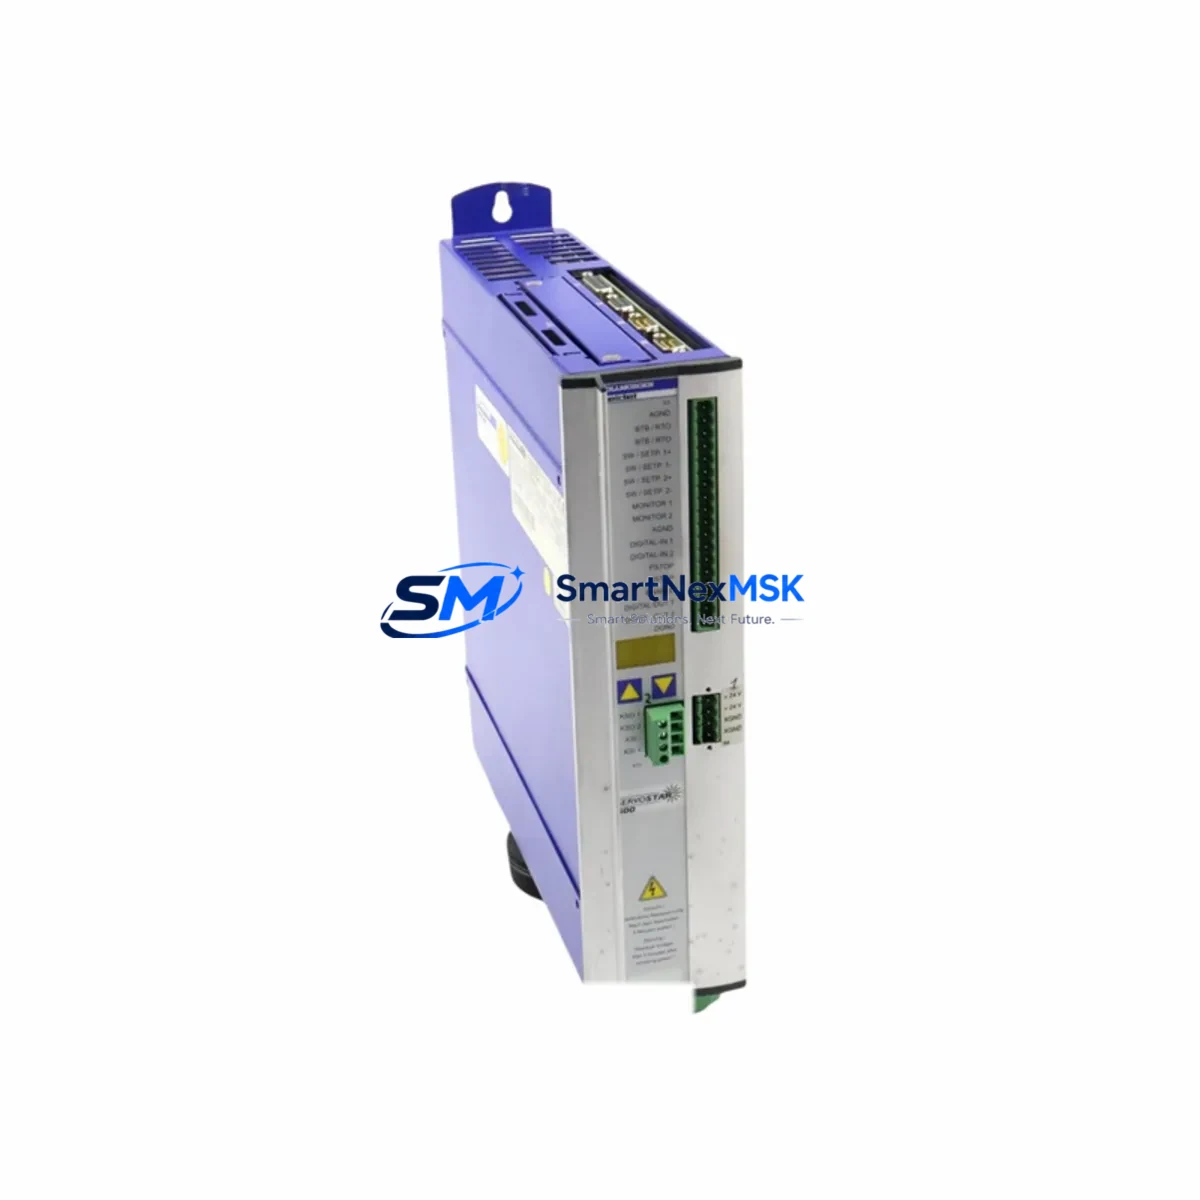
KOLLMORGEN SERVOSTAR 601 Retrofit-Ready AC Servo Drive: Seamless Compatibility for Legacy System Upgrades
The KOLLMORGEN SERVOSTAR 601 is a high-performance AC servo drive from the SERVOSTAR 600 series, purpose-built for precision motion control in demanding industrial automation environments. As legacy servo systems age and original components reach end-of-life, the SERVOSTAR 601 stands out as the definitive retrofit-ready replacement for aging SERVOSTAR 600-series installations — delivering drop-in mechanical compatibility, preserved wiring topology, and full support for established communication protocols including CANopen and RS-232.
Whether you are managing a controlled shutdown of a legacy servo axis, upgrading a multi-axis CNC machining center, or restoring motion control continuity after an unexpected drive failure, the SERVOSTAR 601 provides the engineering confidence and supply-chain reliability that industrial maintenance teams require. Our inventory is sourced, tested, and shipped with a 12-month warranty, ensuring your retrofit project proceeds without compromise.
Upgrade Compatibility Table
| Parameter | SERVOSTAR 601 (This Unit) | Retrofit Notes |
|---|---|---|
| Series Compatibility | SERVOSTAR 600 Series | Direct replacement within S600 family; verify firmware revision before swap |
| Communication Protocols | CANopen, RS-232, optional PROFIBUS | Confirm node address and baud rate match existing network configuration |
| Power Supply Input | 3-phase 230/400 VAC, 50/60 Hz | Verify cabinet supply capacity; check upstream fusing and contactor ratings |
| Feedback Interface | Resolver, EnDat, Hiperface, incremental encoder | Match feedback type to existing KOLLMORGEN AKM or CD series motor |
| Terminal Wiring | Compatible X1–X9 connector layout | Retain original cable harness; re-pin only if connector revision differs |
| Mounting / Form Factor | Standard DIN rail / panel mount | Identical footprint to S600 predecessors; no cabinet modification required |
| Programming Tool | KOLLMORGEN WorkBench / S300/S600 DriveGUI | Export existing parameter file before replacement; reload after commissioning |
| HMI Integration | Compatible with existing operator panel via RS-232 or CANopen | Update HMI tag addresses if drive node ID is reassigned |
| Warranty | 12 Months | Covers manufacturing defects; includes pre-shipment functional test |
Retrofit Planning for Existing Automation Systems
A successful SERVOSTAR 601 retrofit begins well before the drive arrives on-site. Start by auditing the existing control cabinet: document the current SERVOSTAR 600-series drive’s parameter file using KOLLMORGEN DriveGUI or WorkBench software, and export a full axis configuration backup. This file preserves tuning gains, current limits, velocity loop bandwidth, and I/O assignments — all of which must be validated against the replacement unit before the machine is returned to production.
Next, assess the power distribution within the cabinet. The SERVOSTAR 601 shares the same 3-phase input requirements as its predecessors, but aging installations may have undersized DC bus capacitors or deteriorated inrush limiters. Inspect the associated 24 VDC logic supply — often a KOLLMORGEN PST or equivalent panel-mount power supply — and confirm it can sustain the drive’s control-board current draw during initialization. If the cabinet also houses a SERVOSTAR 620 or SERVOSTAR 640 on a shared DC bus, verify that the bus capacitance budget remains within specification after the swap.
Terminal wiring on the SERVOSTAR 601 follows the established X1 through X9 connector layout common across the S600 family. In most retrofit scenarios, the existing motor power cable to the KOLLMORGEN AKM series or CD series brushless servo motor can be reused without modification. However, if the original installation used a Hiperface or EnDat absolute encoder, confirm that the feedback cable shield termination at the drive’s X2 connector is intact — degraded shielding is a frequent source of position feedback noise after a drive swap.
For systems communicating over CANopen, the SERVOSTAR 601 must be assigned the same node ID as the unit it replaces. This is typically configured via the drive’s front-panel DIP switches or through WorkBench. If the upstream controller is a KOLLMORGEN AKD-PDMM, a Beckhoff CX series IPC, or a Siemens S7-300 with a CP 342-5 CANopen master module, the node ID and PDO mapping must match exactly to avoid axis faults at startup. For installations using RS-232 point-to-point communication to a legacy HMI panel, verify the baud rate and protocol framing before closing the cabinet.
I/O expansion requirements should also be reviewed at this stage. If the original system relied on a KOLLMORGEN S600 I/O expansion module for additional digital inputs or analog reference signals, confirm that the replacement SERVOSTAR 601 firmware version supports the same expansion interface. In some multi-axis installations, a shared KOLLMORGEN C3 motion controller or a third-party PLC handles axis coordination — ensure that the drive’s enable logic, fault relay, and ready output wiring are re-verified against the PLC’s I/O map before energizing the system.
Downtime Control During System Migration
Minimizing unplanned downtime during a servo drive replacement requires a structured pre-commissioning protocol. Before removing the failed or end-of-life SERVOSTAR 600-series unit, photograph all terminal connections, label every wire with its corresponding connector pin, and record the drive’s LED status codes and fault history. This documentation becomes the baseline for post-swap verification.
Once the SERVOSTAR 601 is installed and wired, perform a cold-start sequence with the motor mechanically decoupled from the load if possible. Use WorkBench to load the previously exported parameter file, then run the drive’s auto-identification routine to confirm motor feedback integrity. Check that the axis enable signal from the upstream controller — whether a KOLLMORGEN AKD-PDMM, a Mitsubishi MELSEC Q-series PLC, or a Siemens S7-1500 — is correctly received before commanding motion.
For installations where decoupling the load is not practical, engage the drive’s torque-limit function at a conservative value during initial commissioning. Verify position feedback counts against a known mechanical reference point before releasing the axis to automatic control. If the system includes a KOLLMORGEN HMI or a third-party SCADA panel displaying axis position, confirm that the displayed values match the physical machine position before resuming production. This step is critical in applications such as CNC rotary tables, robotic welding positioners, or precision linear stages where position offset errors can cause tooling damage or safety incidents.
Our pre-shipment testing protocol subjects every SERVOSTAR 601 unit to a full functional verification under load conditions, including communication handshake testing, feedback signal integrity checks, and output stage verification. Each unit ships with a test report and is covered by a 12-month warranty from the date of delivery, giving your maintenance team the confidence to proceed with the retrofit on a planned schedule rather than under emergency conditions.
Retrofit Support FAQ
Q1: Is the SERVOSTAR 601 a direct drop-in replacement for other SERVOSTAR 600-series drives such as the SERVOSTAR 620 or SERVOSTAR 640?
The SERVOSTAR 601 shares the same mechanical form factor, terminal layout, and communication architecture as other members of the S600 family. However, current rating and power stage specifications differ between models. Confirm that the 601’s continuous and peak current ratings match the torque requirements of your KOLLMORGEN AKM or CD series motor before substituting across current ratings. Parameter files are generally transferable within the family with minor adjustments to current limit and motor data settings.
Q2: Can I reuse my existing motor feedback cable and encoder wiring?
In most cases, yes. The SERVOSTAR 601 supports Resolver, EnDat 2.1/2.2, Hiperface, and incremental encoder feedback via the X2 connector, consistent with earlier S600 drives. Inspect the cable for physical damage and verify shield continuity before reuse. If the original installation used a Hiperface DSL single-cable feedback system, confirm firmware compatibility with your specific motor model.
Q3: How do I verify CANopen communication after installing the replacement drive?
After loading the parameter file and assigning the correct node ID, use WorkBench’s CANopen diagnostic view or a standalone CAN bus analyzer to confirm that the drive is transmitting its NMT heartbeat and responding to SDO read requests from the master controller. Check that all configured PDO mappings are active and that the drive transitions to the Operational state without errors. If the upstream controller is a Beckhoff TwinCAT system, use the TwinCAT System Manager’s online device scan to verify the drive appears with the correct node ID and EDS profile.
Q4: What does the 12-month warranty cover, and what is the claims process?
The 12-month warranty covers manufacturing defects, component failures, and functional faults that arise under normal operating conditions. It does not cover damage resulting from incorrect wiring, overvoltage events, or mechanical impact. To initiate a warranty claim, contact our technical support team with the unit’s serial number, a description of the fault symptom, and the fault code displayed by WorkBench or the drive’s front-panel indicators. Replacement units are dispatched within 3 business days of claim approval, and failed units are returned for root-cause analysis.
© 2026 SMARTNEXMSK. All rights reserved.
Original Source: https://smartnexmsk.com
Contact: sales@smartnexmsk.com | +86 18259474341