METRODATA ATM1850-E2-E3-ATM-DSU Maintenance-Ready Spare: Spare Replacement & Industrial Downtime Risk Control
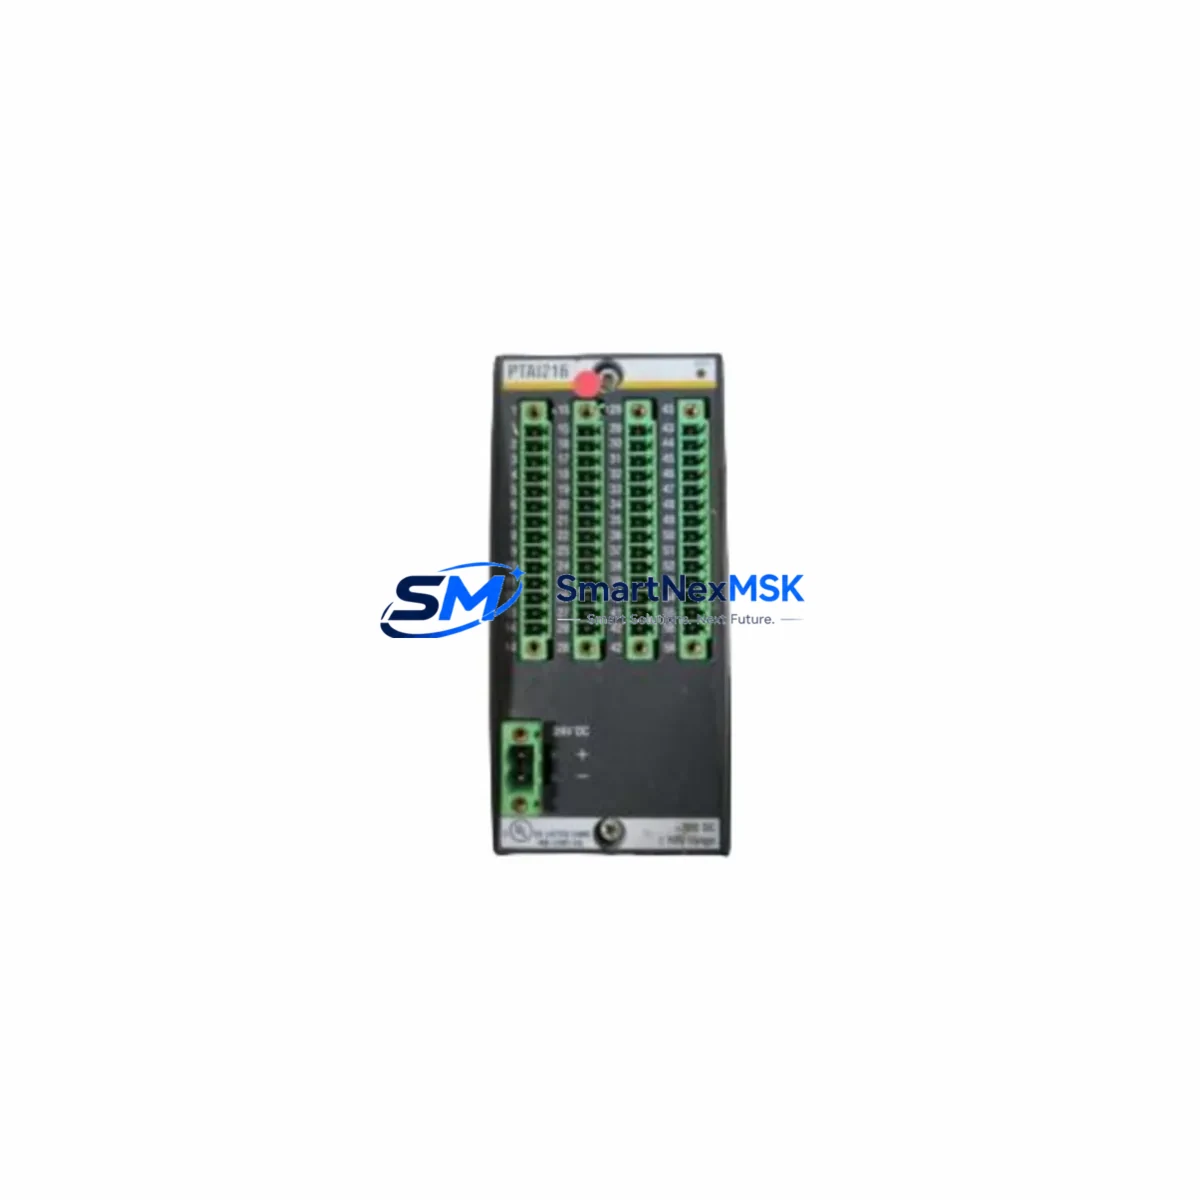
The METRODATA ATM1850-E2-E3-ATM-DSU is an original ATM DSU (Data Service Unit) interface module from the ATM1850 Series, designed for E2/E3 transmission environments in carrier-grade and industrial WAN infrastructure. When this module fails or degrades, it directly impacts ATM cell transport, E2/E3 framing integrity, and upstream network availability. Maintaining a verified spare of the ATM1850-E2-E3-ATM-DSU in your parts inventory is a proven strategy for minimizing unplanned downtime and protecting continuous operation in legacy and hybrid ATM networks.
This listing provides an original, tested, and warehouse-stocked ATM1850-E2-E3-ATM-DSU spare module, sourced for maintenance engineers and procurement teams who require fast, reliable replacement without extended lead times. Each unit undergoes pre-shipment functional verification and is backed by a 12-month warranty covering manufacturing defects and operational failures under normal use conditions.
Spare Maintenance Table
| Parameter | Specification / Detail |
|---|---|
| Part Number / SKU | ATM1850-E2-E3-ATM-DSU |
| Brand | METRODATA |
| Series | ATM1850 |
| Module Type | ATM DSU Interface Module |
| Interface Standard | E2 (8 Mbit/s) / E3 (34 Mbit/s) |
| Protocol | ATM (Asynchronous Transfer Mode) |
| Application | WAN ATM access, carrier-grade DSU, industrial telecom infrastructure |
| Compatibility | ATM1850 Series chassis; E2/E3 line interfaces |
| Origin | Original OEM — not aftermarket or refurbished clone |
| Installation | Hot-swap capable (subject to chassis configuration); slot-based insertion |
| Operating Environment | Industrial/telecom rack environment; 0–50°C operating range (typical) |
| Weight | 980 g |
| Pre-Shipment Test | Functional verification performed before dispatch |
| Warranty | 12 Months — covers manufacturing defects and operational failure under normal use |
| Lead Time | In stock — same-day or next-business-day dispatch available |
Maintenance Planning for Continuous Operation
When replacing the ATM1850-E2-E3-ATM-DSU in the field, a disciplined maintenance engineer will not stop at the module itself. The ATM1850 Series chassis hosts multiple interdependent components, and a DSU module failure is frequently accompanied by — or caused by — degradation in adjacent subsystems. Before returning the system to service, the following components should be inspected or tested as part of the same maintenance window:
Power and Chassis Infrastructure: Verify the ATM1850 chassis power supply module output voltages are within specification. A marginal power supply can cause intermittent DSU resets and corrupt ATM cell streams without triggering a hard fault alarm. If the chassis uses redundant power feeds, confirm both feeds are healthy before re-seating the replacement DSU module.
E2/E3 Line Interface and Cabling: Inspect the E2 or E3 coaxial or balanced line interface connectors for corrosion, impedance mismatch, or mechanical damage. BNC or SMB connectors on E3 interfaces are a common point of failure in high-vibration or high-humidity environments. Replace any suspect patch cables or baluns at the same time as the DSU module to avoid a repeat fault within weeks.
ATM Uplink and Network Interface Cards: The ATM1850-E2-E3-ATM-DSU feeds ATM cells upstream to the network interface or aggregation card within the same chassis. If the DSU module failed due to line signal issues, the upstream ATM NIC or aggregation module may have logged CRC errors or cell loss events. Pull the error counters from the ATM NIC before closing the maintenance ticket.
Clock and Timing Modules: ATM networks are timing-sensitive. The ATM1850 Series typically derives its transmit clock from the E2/E3 line or from an internal/external clock source. If the DSU module was replaced due to framing loss or slip errors, inspect the chassis timing/clock module and verify that the clock source selection is correctly configured post-replacement.
Alarm and Management Modules: Many ATM1850 Series deployments include a management or alarm card that monitors module health via the chassis backplane. After installing the replacement ATM1850-E2-E3-ATM-DSU, clear any latched alarms on the management module and confirm that the new module is recognized and reporting correctly. Persistent alarms after replacement may indicate a backplane connector issue rather than a module fault.
Terminal Blocks and Wiring Harnesses: In installations where the E2/E3 interface is terminated via screw-type terminal blocks rather than coaxial connectors, inspect the terminal block for loose conductors, oxidized contacts, or over-torqued screws that may have damaged wire insulation. Re-terminate any suspect connections using fresh ferrules.
Signal Isolation and Protection Devices: If the ATM1850-E2-E3-ATM-DSU is installed in an environment with exposure to lightning surges or ground potential differences — common in outdoor cabinet or cross-building installations — verify that any in-line surge protectors or signal isolators on the E2/E3 line are intact and have not sacrificed themselves to protect the DSU module. A failed surge protector that is not replaced will leave the new module unprotected.
Stocking a minimum of one spare ATM1850-E2-E3-ATM-DSU alongside a spare power supply module and a spare E2/E3 line interface card is the recommended baseline for sites where ATM connectivity is mission-critical and where the nearest service depot is more than four hours away.
Site Replacement Workflow
Step 1 — Pre-Replacement Verification: Before removing the faulty ATM1850-E2-E3-ATM-DSU, document the current module configuration: clock source selection, ATM VPI/VCI assignments, alarm thresholds, and any custom framing parameters. Export or photograph the management interface configuration screen if accessible. This prevents configuration loss during hot-swap or cold-swap replacement.
Step 2 — Compatibility Confirmation: Confirm that the replacement ATM1850-E2-E3-ATM-DSU matches the hardware revision required by your chassis firmware. METRODATA ATM1850 Series chassis firmware versions may impose hardware revision constraints on DSU modules. If your chassis is running an older firmware version, verify compatibility before installation to avoid a non-recognition fault.
Step 3 — Physical Replacement: Follow ESD precautions. Remove the faulty module using the ejector levers (if fitted). Insert the replacement module firmly until the backplane connector is fully seated and the retention latch engages. Do not force the module — misaligned insertion can damage backplane pins and cause a secondary fault.
Step 4 — Configuration Restore and Test: Re-apply the documented configuration parameters. Allow the module 60–120 seconds to synchronize with the E2/E3 line and establish ATM framing. Monitor the alarm panel and management interface for loss-of-frame (LOF), loss-of-signal (LOS), or ATM cell loss alarms. A clean restart with no alarms within two minutes indicates a successful replacement.
Step 5 — End-to-End Traffic Verification: Run a brief ATM loopback or ping test across the restored link to confirm end-to-end connectivity before closing the maintenance window. Log the replacement in your CMMS or maintenance record with the module serial number, date, and technician name for warranty and lifecycle tracking purposes.
This workflow applies equally to planned preventive replacements — where the ATM1850-E2-E3-ATM-DSU is swapped out proactively based on age or error-rate trends — and to emergency corrective replacements following an unplanned outage. Having a pre-tested spare on the shelf reduces the emergency replacement cycle from days to hours.
Spare Parts Support FAQ
Q1: Is this ATM1850-E2-E3-ATM-DSU an original OEM module or a third-party compatible?
This is an original METRODATA ATM1850-E2-E3-ATM-DSU module — not an aftermarket reproduction or third-party compatible. Each unit is sourced from verified supply channels and undergoes pre-shipment functional testing. The 12-month warranty covers manufacturing defects and operational failures under normal operating conditions.
Q2: How do I confirm compatibility with my existing ATM1850 Series chassis before ordering?
Compatibility depends on your chassis hardware revision and installed firmware version. Please provide your chassis model number, current firmware version, and slot configuration when contacting our sales team. We will cross-reference against known compatibility matrices and advise on any hardware revision requirements before shipment.
Q3: What is the recommended spare inventory strategy for the ATM1850-E2-E3-ATM-DSU in a critical network environment?
For sites where ATM connectivity is mission-critical, we recommend maintaining a minimum of one cold-spare ATM1850-E2-E3-ATM-DSU per chassis, stored in anti-static packaging in a climate-controlled environment. For multi-chassis deployments, a ratio of one spare per three to five chassis is a common industry practice. Spares should be rotated into service and replaced every five to seven years to avoid storage-related component degradation.
Q4: What pre-shipment testing is performed, and what documentation is provided?
Each ATM1850-E2-E3-ATM-DSU undergoes a functional power-on test and interface verification before dispatch. A test report is available upon request. Shipment includes the module in anti-static packaging with a packing list. A 12-month warranty certificate is issued with each order. For orders requiring third-party inspection or specific documentation (e.g., COC, material certificates), please advise at the time of order placement.
© 2026 SMARTNEXMSK. All rights reserved.
Original Source: https://smartnexmsk.com
Contact: sales@smartnexmsk.com | +86 18259474341