MITA WP4051 Retrofit-Ready HMI for WP Series Control Systems: Compatible Modernization & Smooth Legacy Upgrade
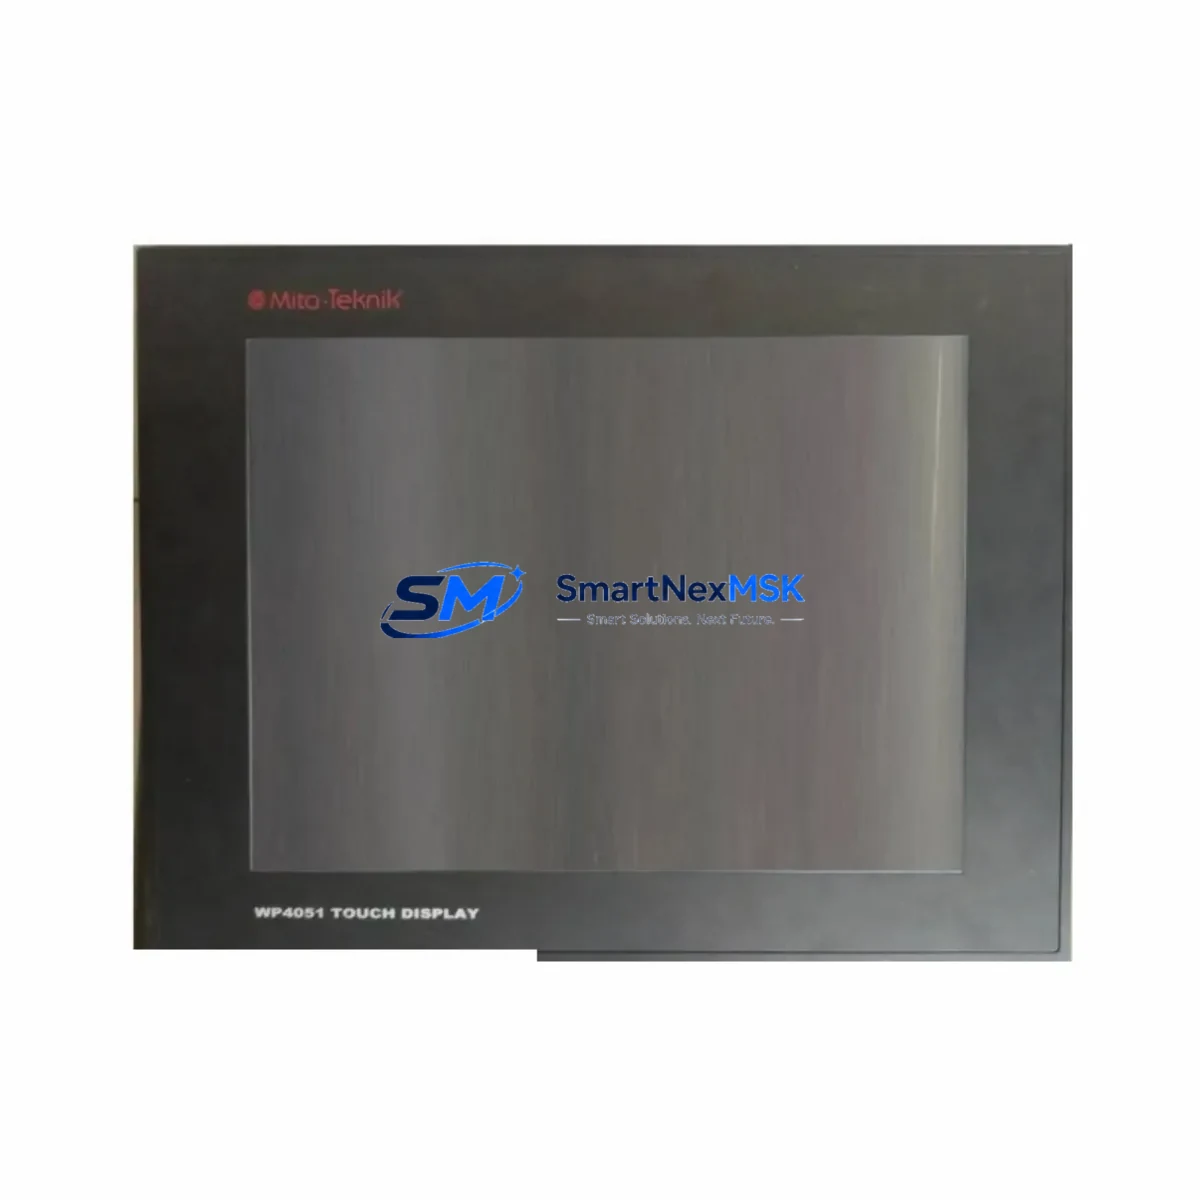
The MITA WP4051 is a retrofit-ready Human Machine Interface (HMI) panel engineered to serve as a direct replacement and functional upgrade for legacy WP Series operator terminals deployed across manufacturing lines, process control cabinets, and discrete automation systems. As original WP Series panels reach end-of-life and spare parts become increasingly scarce, the WP4051 provides a validated migration path that preserves existing PLC program logic, minimizes rewiring effort, and dramatically reduces unplanned downtime during system changeover.
Whether you are managing a scheduled control cabinet upgrade, responding to an unexpected panel failure, or executing a phased modernization of an aging production line, the WP4051 delivers the compatibility, reliability, and technical support required to complete the retrofit with confidence. It is fully compatible with MITA WP Series PLCs and supports the communication protocols, I/O addressing schemes, and HMI screen structures commonly used in WP Series installations.
Upgrade Compatibility Table
| Parameter | Legacy WP Series Panel | MITA WP4051 | Retrofit Notes |
|---|---|---|---|
| Display Interface | Monochrome / Early Color LCD | Color TFT LCD | Screen layout migration required; existing tag addresses retained |
| Communication Protocol | RS-232 / RS-485 proprietary | RS-232, RS-485, Ethernet (Modbus TCP optional) | Verify baud rate and station address settings before commissioning |
| Power Supply | 24V DC | 24V DC (±15%) | Confirm PSU capacity; recommend MITA-compatible 24V DIN-rail power supply |
| Panel Cutout / Mounting | Standard WP Series cutout | Compatible cutout dimensions | Minor gasket adjustment may be needed for IP65 sealing |
| Terminal Wiring | Screw terminal block | Screw terminal block (same pinout) | Verify terminal labeling against original wiring diagram |
| Backplane / Rack Interface | WP Series backplane connector | Compatible backplane interface | Confirm rack slot assignment and module address before power-on |
| Program Compatibility | Legacy WP project files | Supports converted project import | Use MITA programming software to convert and validate screen logic |
| Replacement Recommendation | Direct drop-in replacement for WP Series operator panels; screen project conversion recommended | ||
| Commissioning Focus | Communication link verification, I/O tag mapping, alarm configuration, and HMI screen functional test | ||
| Warranty | 12-Month Warranty — covers manufacturing defects; pre-shipment functional testing included on every unit | ||
Retrofit Planning for Existing Automation Systems
A successful WP4051 retrofit begins well before the panel arrives on-site. Engineers should start by auditing the existing control cabinet to document the current WP Series panel model, the connected PLC — typically a MITA WP Series CPU module or a compatible third-party controller — and the full communication wiring topology. In most installations, the legacy panel communicates with the PLC via an RS-485 multi-drop network, sharing the bus with other field devices such as variable frequency drives, remote I/O expansion modules, and smart temperature controllers.
Power supply capacity is a critical checkpoint. The existing 24V DC DIN-rail power supply must be verified to provide sufficient current headroom for the WP4051 alongside all other cabinet loads. If the original power supply is undersized or aging, replacement with a new unit rated at 5A or higher is strongly recommended before the HMI swap is performed. In many legacy cabinets, the same power supply feeds both the WP Series CPU module and the operator panel, so total load must be recalculated after the new HMI is added.
Terminal wiring should be photographed and documented in detail prior to disconnection. The WP4051 uses a screw terminal block layout compatible with the WP Series standard, but terminal labeling conventions may differ between firmware generations. Cross-referencing the original wiring diagram against the WP4051 terminal assignment table prevents miswiring errors that could damage the new panel or the connected digital I/O modules and analog input modules already installed in the rack.
For systems using a MITA WP Series backplane and rack assembly, the module address switches on the WP4051 must be configured to match the slot assignment of the original panel before installation. Failure to set the correct module address will prevent the PLC from recognizing the new HMI on the backplane bus. In multi-rack configurations, the rack number and I/O base address must also be confirmed against the PLC program’s hardware configuration table. Where the system includes a MITA WP Series digital output module or analog output module in adjacent slots, their addresses must remain unchanged during the HMI swap.
HMI screen migration is typically the most time-consuming element of the retrofit. The original WP Series project files should be exported from the legacy panel using the MITA programming cable — such as the WP-CABLE or a USB-to-RS232 adapter — and imported into the current version of MITA’s HMI configuration software. Screen objects, tag bindings, alarm groups, and recipe data blocks must be reviewed and validated after conversion. In some cases, graphic elements created for lower-resolution displays will need to be resized or redesigned for the WP4051’s higher-resolution color TFT screen. Alarm setpoints, operator messages, and language tables should be verified against the original HMI project before the converted file is downloaded to the new panel.
Communication link integrity must be verified after physical installation. The WP4051’s communication port settings — including protocol type, baud rate, data bits, stop bits, parity, and station address — must exactly match the configuration stored in the connected PLC. For systems using Modbus RTU over RS-485, the station address of the WP4051 must not conflict with other devices on the same bus, such as MITA analog input modules, digital output modules, or third-party smart instruments. Where Ethernet connectivity is available, migrating from serial RS-485 to Ethernet-based Modbus TCP during the retrofit can significantly improve data throughput and simplify future maintenance. In facilities where the control system also includes a MITA WP Series CPU module, a dedicated programming workstation running MITA’s ladder logic editor, and a MITA WP Series communication module for network connectivity, the WP4051 retrofit can be completed without modifying the PLC program itself — provided the HMI tag addresses are preserved during screen migration.
Downtime Control During System Migration
Minimizing production downtime is the primary operational concern during any HMI retrofit. For the WP4051 replacement, the recommended approach is to complete all preparatory work — screen conversion, communication parameter configuration, and bench testing — before scheduling the physical panel swap. The WP4051 should be fully configured, tested against a spare PLC or simulator, and confirmed operational before it is brought to the production floor. This pre-commissioning approach typically reduces on-site changeover time to under two hours for a straightforward single-panel replacement.
The physical changeover sequence should be planned to occur during a scheduled maintenance window or shift changeover. Begin by placing the controlled process in a safe hold state, confirming that all outputs are de-energized and that the PLC is in STOP mode. Disconnect the legacy WP Series panel from the RS-485 communication bus and 24V DC power supply, remove it from the cabinet cutout, and install the WP4051 in its place. Reconnect the terminal wiring according to the documented wiring diagram, restore power, and verify that the WP4051 powers on and establishes communication with the PLC before returning the system to RUN mode. Confirm that all I/O status indicators on the MITA WP Series digital I/O modules reflect the correct field states before releasing the process to operators.
For critical processes where even a brief interruption is unacceptable, a parallel commissioning approach can be used: the WP4051 is installed in a temporary position within the cabinet and connected to the PLC communication bus alongside the legacy panel. Both panels operate simultaneously while the new HMI screens are validated in a live environment. Once the WP4051 is confirmed fully functional, the legacy panel is disconnected and removed. This approach requires careful attention to RS-485 bus termination resistors and station address uniqueness to avoid communication conflicts with other bus participants such as remote I/O modules or communication gateways.
Pre-shipment functional testing is performed on every WP4051 unit before dispatch. Each panel is powered on, communication ports are verified, and display functionality is confirmed across all screen pages. Units are shipped with a 12-month warranty covering manufacturing defects, ensuring that any hardware fault discovered after installation is addressed without additional cost to the customer. Replacement units are dispatched promptly upon fault confirmation to minimize production impact.
Retrofit Support FAQ
Q1: Is the MITA WP4051 a direct drop-in replacement for all WP Series HMI panels?
The WP4051 is designed as a compatible replacement for the WP Series operator panel family. Physical mounting dimensions are compatible with the standard WP Series cabinet cutout. Communication protocols (RS-232, RS-485, Modbus RTU) and power supply requirements (24V DC) match the original specifications. HMI screen projects will require conversion using MITA’s configuration software, as the WP4051 uses an updated project format. Terminal wiring is compatible, but we recommend verifying each connection against the original wiring diagram before power-on.
Q2: What commissioning steps are required after installing the WP4051?
After physical installation and wiring, the following commissioning steps are required: (1) Verify communication port settings match the connected PLC — protocol, baud rate, station address, and data format. (2) Confirm module address switches are set correctly for the rack slot. (3) Download the converted HMI project to the WP4051 via the programming cable or Ethernet. (4) Place the PLC in RUN mode and verify that all HMI screens display correct real-time data from the connected I/O modules. (5) Test all operator inputs — pushbuttons, numeric entry fields, and alarm acknowledgment — to confirm correct PLC response. (6) Verify alarm history and recipe functions if used in the original system.
Q3: Can the WP4051 communicate with third-party PLCs, or is it limited to MITA WP Series controllers?
The WP4051 supports standard industrial communication protocols including Modbus RTU (RS-485) and Modbus TCP (Ethernet, where equipped), enabling connectivity with a wide range of third-party PLC platforms in addition to MITA WP Series controllers. For non-MITA PLCs, the communication driver must be selected and configured in the HMI project software. Customers integrating the WP4051 into mixed-brand control systems should confirm driver availability for their specific PLC model before ordering.
Q4: What does the 12-month warranty cover, and what is the process for a warranty claim?
The 12-month warranty covers manufacturing defects in materials and workmanship from the date of shipment. It does not cover damage resulting from incorrect installation, overvoltage, reverse polarity, or unauthorized modification. Every WP4051 unit undergoes pre-shipment functional testing before dispatch. To initiate a warranty claim, contact our technical support team with the unit serial number, purchase order reference, and a description of the fault. Replacement units are dispatched promptly upon fault confirmation to minimize production impact.
© 2026 SMARTNEXMSK. All rights reserved.
Original Source: https://smartnexmsk.com
Contact: sales@smartnexmsk.com | +86 18259474341