MLink 1TGE102019R1001 Spare for 1TGE Automation: Spare Replacement & Industrial Downtime Risk Control
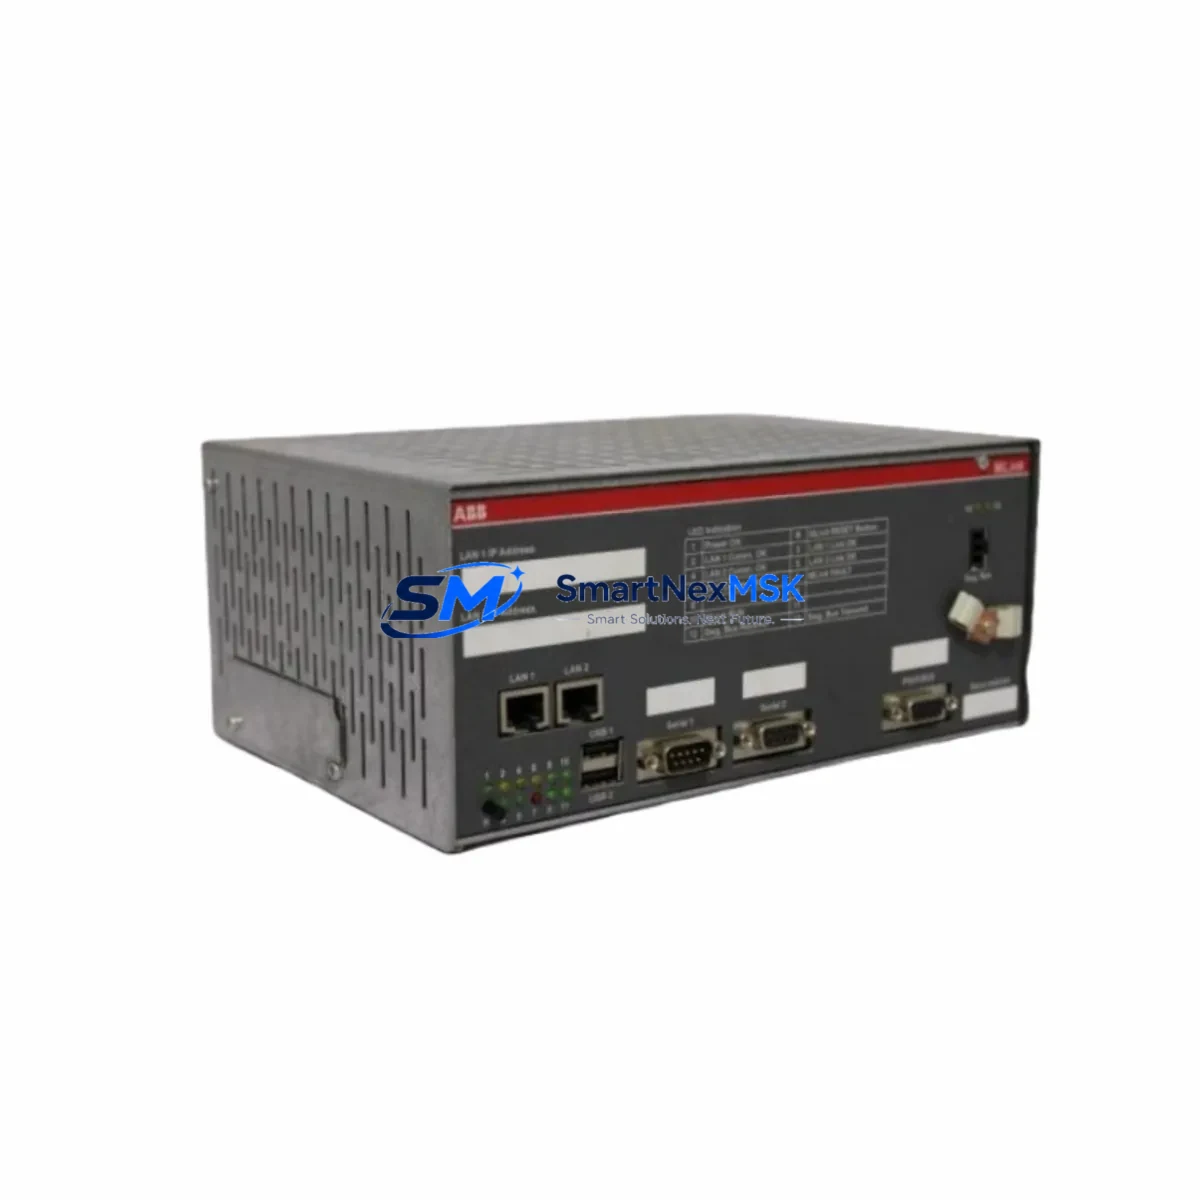
The MLink 1TGE102019R1001 is a critical PLC module within the 1TGE Series automation platform, widely deployed in manufacturing lines, process control cabinets, and continuous-operation industrial environments. When this module fails or reaches end-of-service life, every minute of unplanned downtime translates directly into production loss. Sourcing a verified, maintenance-ready spare — pre-tested, correctly labeled, and shipped with full documentation — is the fastest path to system recovery.
This listing provides an original-quality 1TGE102019R1001 spare part, sourced through established industrial supply channels, inspected before dispatch, and backed by a 12-month warranty. Whether you are executing a planned replacement during a scheduled maintenance window or responding to an emergency fault, this module is ready to install.
Spare Maintenance Table
| Parameter | Detail |
|---|---|
| Part Number / SKU | 1TGE102019R1001 |
| Brand | MLink |
| Series | 1TGE Series |
| Product Type | PLC Module |
| Origin | China (CN) |
| Compatibility | 1TGE Series PLC systems; verify rack slot and firmware revision before installation |
| Installation Type | DIN rail / backplane slot mount (confirm with system documentation) |
| Operating Environment | Industrial control cabinet; standard IEC 61131 operating conditions |
| Maintenance Recommendation | Replace at first sign of fault code, LED error, or communication dropout; do not defer in critical loops |
| Warranty | 12 Months from date of dispatch |
| Pre-shipment Testing | Function-verified before dispatch |
| Lead Time | In-stock items ship within 1–3 business days |
Maintenance Planning for Continuous Operation
Replacing the 1TGE102019R1001 in a live control cabinet is rarely an isolated task. Experienced maintenance engineers know that a module fault is often a symptom of broader electrical stress in the same rack or power distribution loop. Before closing the cabinet after a module swap, a disciplined site team will inspect the surrounding components to prevent a repeat fault within the next maintenance cycle.
Start with the 24 VDC power supply module feeding the 1TGE rack — voltage sag or ripple is a leading cause of premature PLC module failure. Check the backplane bus connector for oxidation or mechanical damage at the slot where the 1TGE102019R1001 seats. If the system uses a 1TGE Series CPU module, confirm its firmware is compatible with the replacement module’s hardware revision to avoid silent communication errors after restart.
Inspect the digital input/output (DI/DO) modules in adjacent slots — a shorted field device on a shared I/O bus can stress the entire rack. Review the relay output modules in the same cabinet for contact wear, particularly if the 1TGE102019R1001 controls high-cycle actuators or solenoids. Check terminal blocks and field wiring connectors for loose terminations, which cause intermittent faults that are often misdiagnosed as module failure.
If the system includes a communications module (Profibus, Modbus, or Ethernet/IP), verify that the network address and baud rate settings are retained after the module replacement — some 1TGE configurations store parameters locally on the module. For systems with signal isolators between field instruments and the PLC, confirm isolation integrity has not been compromised by the fault event. Finally, check the cabinet fuse holders and miniature circuit breakers (MCBs) protecting the 24 VDC rail — a blown fuse is sometimes the first indicator of a module failure that has already occurred upstream.
Maintaining a minimum stock of one spare 1TGE102019R1001 per production line, alongside a matched HMI panel backup and a set of spare I/O modules, is standard practice for facilities targeting less than four hours mean time to repair (MTTR) on PLC-related faults.
Site Replacement Workflow
The 1TGE102019R1001 is designed as a field-replaceable unit. The following workflow reflects best practice for industrial sites replacing this module with minimal downtime:
1. Pre-replacement verification: Confirm the replacement SKU matches the installed module label exactly — 1TGE102019R1001. Check the hardware revision marking if your system documentation specifies a minimum revision. Download or print the current PLC program backup before touching any hardware.
2. Safe isolation: Follow your site’s lockout/tagout (LOTO) procedure. De-energize the rack or, if hot-swap is supported by your 1TGE system configuration, follow the manufacturer’s hot-swap protocol precisely.
3. Module removal and installation: Release the module latch, extract the 1TGE102019R1001, and seat the replacement firmly until the latch clicks. Reconnect field wiring connectors in the correct sequence.
4. Power-up and diagnostics: Re-energize the rack and observe the module status LEDs. A solid green RUN indicator confirms normal operation. If a fault LED illuminates, check the CPU diagnostic buffer for error codes before assuming the replacement module is defective.
5. Functional test: Exercise the I/O points or communication channels associated with this module through the HMI or engineering workstation before returning the system to production.
This workflow applies equally to planned maintenance replacements and emergency fault recovery. Keeping a laminated copy of this procedure inside the control cabinet door reduces response time during night-shift or weekend incidents.
Spare Parts Support FAQ
Q1: How long is the warranty on the 1TGE102019R1001 spare?
All units are covered by a 12-month warranty from the date of dispatch. If the module exhibits a manufacturing defect or fails under normal operating conditions within this period, we will arrange a replacement or refund. Warranty claims require the original order reference and a brief fault description.
Q2: Is this module tested before shipment?
Yes. Every 1TGE102019R1001 unit undergoes functional verification before dispatch. We check power-up behavior, communication response, and basic I/O functionality where applicable. A test report is available on request for critical applications.
Q3: How do I confirm compatibility with my existing 1TGE Series system?
Match the full SKU — 1TGE102019R1001 — against the label on the installed module and your system’s bill of materials or spare parts list. If your system documentation specifies a hardware revision requirement, contact us with that detail before ordering. We can advise on revision compatibility based on our stock records.
Q4: Can you support long-term or repeat supply of this part?
Yes. We maintain ongoing stock of 1TGE Series components and can support blanket orders, scheduled deliveries, and emergency call-off arrangements. For facilities managing aging automation systems where OEM supply has been discontinued, we offer a long-term supply agreement to ensure continuity across your maintenance planning horizon.
© 2026 SMARTNEXMSK. All rights reserved.
Original Source: https://smartnexmsk.com
Contact: sales@smartnexmsk.com | +86 18259474341