Siemens 6AV6642-0DC01-1AX0 Retrofit-Ready HMI for TP177B Control Systems
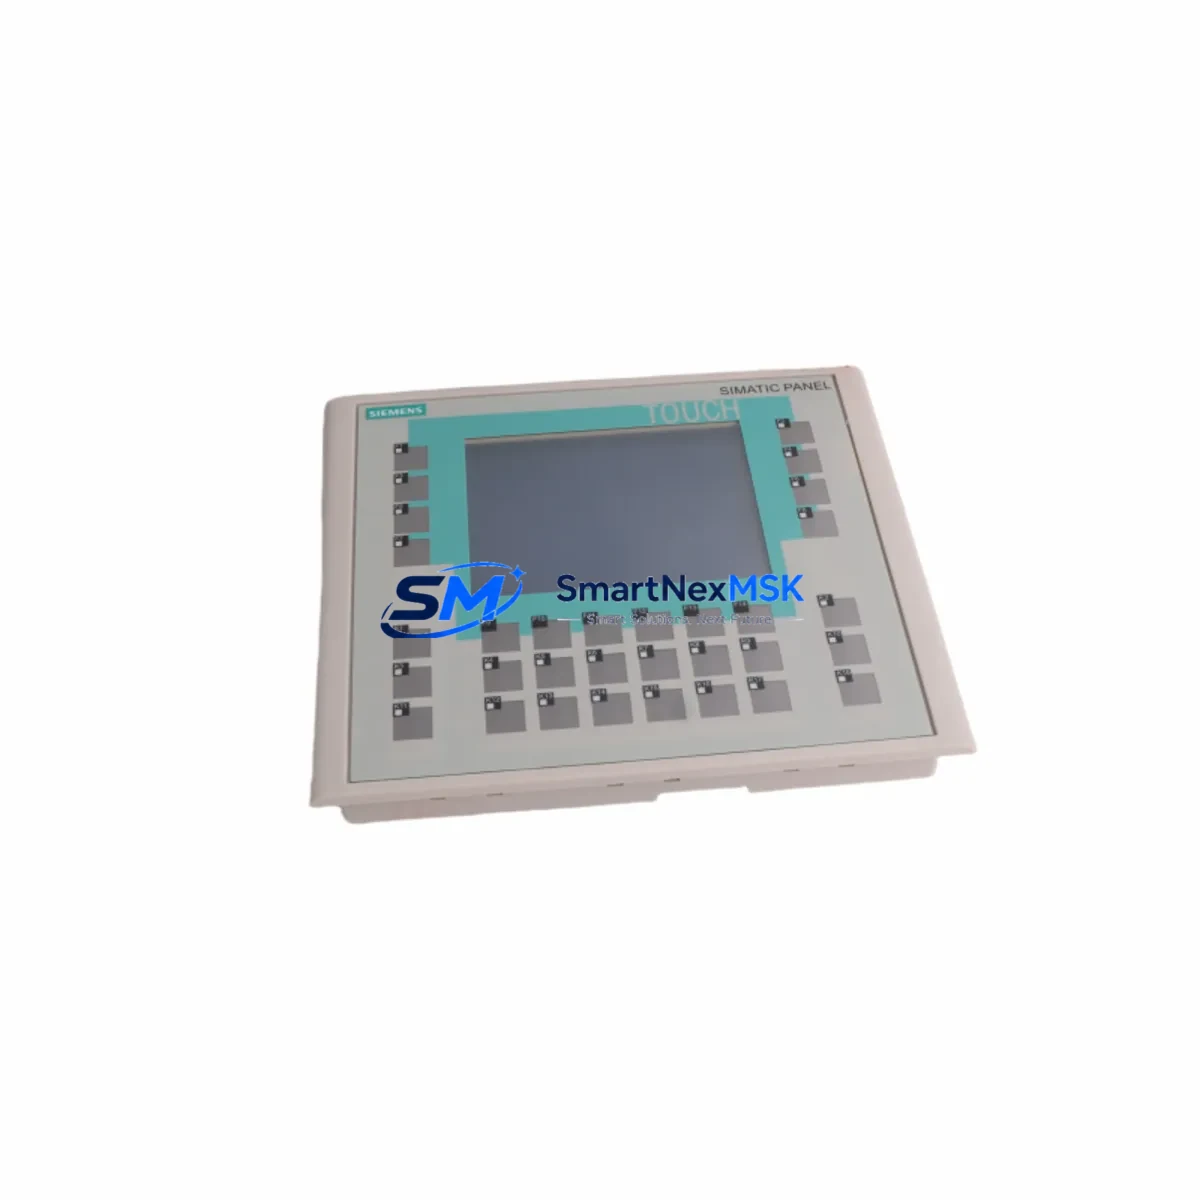
The Siemens 6AV6642-0DC01-1AX0 is a 6-inch SIMATIC TP177B Touch Panel HMI designed for seamless integration into existing SIMATIC S7-300 and S7-400 control architectures. As legacy TP177B panels reach end-of-life and spare parts become increasingly scarce, the 6AV6642-0DC01-1AX0 serves as the primary retrofit-ready replacement for facilities operating aging control cabinets, distributed I/O stations, and multi-axis drive systems. This unit supports both MPI and PROFIBUS DP communication protocols, enabling direct drop-in replacement without requiring PLC program restructuring or HMI project migration in most standard configurations.
For engineers managing brownfield automation upgrades, the 6AV6642-0DC01-1AX0 addresses the most critical compatibility requirements: panel cutout dimensions match the original TP177B footprint, the 24 VDC power supply input is consistent with existing cabinet wiring, and the PROFIBUS DP port (9-pin Sub-D) connects directly to existing network segments without additional repeaters or protocol converters. The unit runs WinCC flexible 2008 projects natively, preserving existing screen layouts, alarm configurations, and recipe data structures without requiring full HMI project redevelopment.
Upgrade Compatibility Table
| Parameter | Original TP177B | 6AV6642-0DC01-1AX0 | Retrofit Notes |
|---|---|---|---|
| Display Size | 5.7″ STN | 6″ TFT Color | Panel cutout adapter may be required for older cabinets |
| Communication | MPI / PROFIBUS DP | MPI / PROFIBUS DP | Direct replacement — no protocol converter needed |
| Power Supply | 24 VDC | 24 VDC | Existing cabinet wiring compatible |
| HMI Software | WinCC flexible 2004+ | WinCC flexible 2008 | Project migration recommended; most tags transfer directly |
| Mounting | Panel cutout mount | Panel cutout mount | Verify cutout dimensions: 197 × 141 mm |
| Installation | Standard DIN rail cabinet | Standard DIN rail cabinet | No structural modification required in most cases |
| Commissioning | PC + MPI cable | PC + USB/MPI adapter | Use PC Adapter USB A2 or compatible programming cable |
| Warranty | N/A (legacy) | 12 Months | Covered from date of shipment; includes functional test report |
Retrofit Planning for Existing Automation Systems
Successful integration of the 6AV6642-0DC01-1AX0 into a running production line requires systematic pre-installation verification across several subsystems. Begin by auditing the existing PROFIBUS DP segment: confirm the bus termination resistors are active at both ends of the network, verify the GSD file for the TP177B slave is loaded in the SIMATIC S7-300 or S7-400 CPU configuration (typically managed via STEP 7 V5.x or TIA Portal in legacy mode), and document the existing PROFIBUS address assigned to the outgoing panel.
Power supply capacity is a frequent oversight in HMI retrofit projects. The 6AV6642-0DC01-1AX0 draws up to 4.5 W at 24 VDC. If the control cabinet houses a SITOP PSU100S or equivalent 24 VDC regulated power supply, verify that the available headroom on the 24 VDC rail is sufficient after accounting for connected I/O modules, relay outputs, and any ET 200S distributed I/O stations on the same rail. In cabinets where the power budget is tight, a dedicated 24 VDC branch circuit for the HMI panel is recommended.
Terminal wiring for the 6AV6642-0DC01-1AX0 follows the standard TP177B pinout. The 24 VDC supply connects to the rear terminal block (L+ and M), and the PROFIBUS DP connector uses the standard 9-pin Sub-D male plug with bus termination switch. If the existing installation uses a PROFIBUS connector with integrated termination (such as the Siemens 6ES7972-0BB52-0XA0), it can be reused directly. For installations using RS-485 repeaters or DP/PA couplers to reach field instruments, no changes to the segment topology are required.
HMI project transfer is performed using WinCC flexible 2008 on a programming PC connected via a PC Adapter USB A2 or compatible MPI/USB programming cable. Before transferring the updated project, back up the existing HMI project file and export all recipe data and alarm logs. If the original project was developed in WinCC flexible 2004 or 2006, the migration wizard in WinCC flexible 2008 handles tag mapping and screen conversion automatically, though manual verification of dynamic elements, scripts, and user administration settings is recommended post-migration.
For facilities running SIMATIC S7-300 CPUs such as the CPU 315-2 DP or CPU 317-2 DP, the HMI connection is configured as an MPI or PROFIBUS DP partner in the hardware configuration. No changes to the PLC program (STL, LAD, or FBD) are required when replacing the HMI panel, as the communication interface is handled at the OS level. However, if the original TP177B was configured as a PROFIBUS DP slave with specific I/O mapping, verify the slot assignments in the hardware configuration match the replacement unit’s GSD file parameters.
In multi-panel installations where the 6AV6642-0DC01-1AX0 operates alongside other SIMATIC panels — such as a TP277 or MP277 serving as a master visualization station — ensure that the PROFIBUS DP address of the replacement panel does not conflict with existing network nodes. Use STEP 7’s NetPro tool or TIA Portal’s network view to confirm address assignments before powering up the replacement unit. For installations that include a CP 343-1 Ethernet communication processor or a CP 443-1 for PROFINET connectivity, the HMI panel’s MPI/PROFIBUS connection remains independent and does not require reconfiguration of the Ethernet segment.
Downtime Control During System Migration
Minimizing production downtime during an HMI panel replacement requires a structured changeover procedure. The recommended approach is to complete all pre-installation steps — project compilation, functional test on a bench setup, and wiring verification — before scheduling the physical panel swap. With the 6AV6642-0DC01-1AX0 pre-configured and tested offline, the physical changeover can typically be completed within 30 to 60 minutes, depending on cabinet accessibility and PROFIBUS segment complexity.
To protect the original PLC program logic during the changeover, place the S7-300 or S7-400 CPU in STOP mode only after confirming that all field actuators are in a safe state and that any interlock conditions required by the process safety plan are satisfied. The CPU program (OB1, FC, FB, and DB blocks) is not affected by the HMI panel replacement and does not need to be re-downloaded. After the new panel is physically installed and powered, transfer the HMI project via the programming cable, restore the PROFIBUS address, and perform a communication link test before returning the CPU to RUN mode.
For continuous-process applications where even brief interruptions are critical, consider using a temporary bypass strategy: connect a laptop running WinCC flexible Runtime as a soft panel on the MPI network while the physical panel is being replaced. This maintains operator visibility of process values and alarm states throughout the changeover window. Once the 6AV6642-0DC01-1AX0 is online and communication is confirmed, the laptop can be disconnected without affecting the running process.
Post-installation verification should include a full functional test of all HMI screens, alarm acknowledgment, recipe loading, and any trend displays connected to S7 data blocks. Confirm that the PROFIBUS DP diagnostic LEDs on the panel indicate a healthy bus connection (BF LED off, PWR LED steady green) before signing off on the retrofit. All units supplied by SMARTNEXMSK include a pre-shipment functional test report confirming communication, display, and input device operation.
Retrofit Support FAQ
Q1: Is the 6AV6642-0DC01-1AX0 a direct drop-in replacement for the original TP177B panel?
In most installations, yes. The panel cutout dimensions, 24 VDC power input, and PROFIBUS DP/MPI communication interface are compatible with the original TP177B installation. Minor differences in display bezel size may require a cutout adapter frame in older cabinet designs. Wiring and PROFIBUS connector reuse is supported without modification.
Q2: Do I need to rewrite my WinCC flexible HMI project for the replacement panel?
No full rewrite is required. Existing WinCC flexible projects (2004 and later) can be migrated using the built-in migration wizard in WinCC flexible 2008. Tag connections, screen layouts, and alarm configurations are preserved in most cases. Manual verification of scripts, user administration, and dynamic elements is recommended after migration.
Q3: What commissioning tools and cables are required for the 6AV6642-0DC01-1AX0?
Project transfer requires a PC running WinCC flexible 2008 and a compatible MPI/USB programming cable such as the PC Adapter USB A2. The PROFIBUS DP address is set via the panel’s transfer menu before project download. No additional hardware beyond the standard programming cable is required for commissioning.
Q4: What warranty coverage is included, and is pre-shipment testing performed?
All 6AV6642-0DC01-1AX0 units supplied by SMARTNEXMSK carry a 12-month warranty from the date of shipment. Each unit undergoes a pre-shipment functional test covering display operation, touch input calibration, communication port integrity, and power supply performance. A test report is included with each shipment. Warranty claims are handled directly through our technical support team.
© 2026 SMARTNEXMSK. All rights reserved.
Original Source: https://smartnexmsk.com
Contact: sales@smartnexmsk.com | +86 18259474341