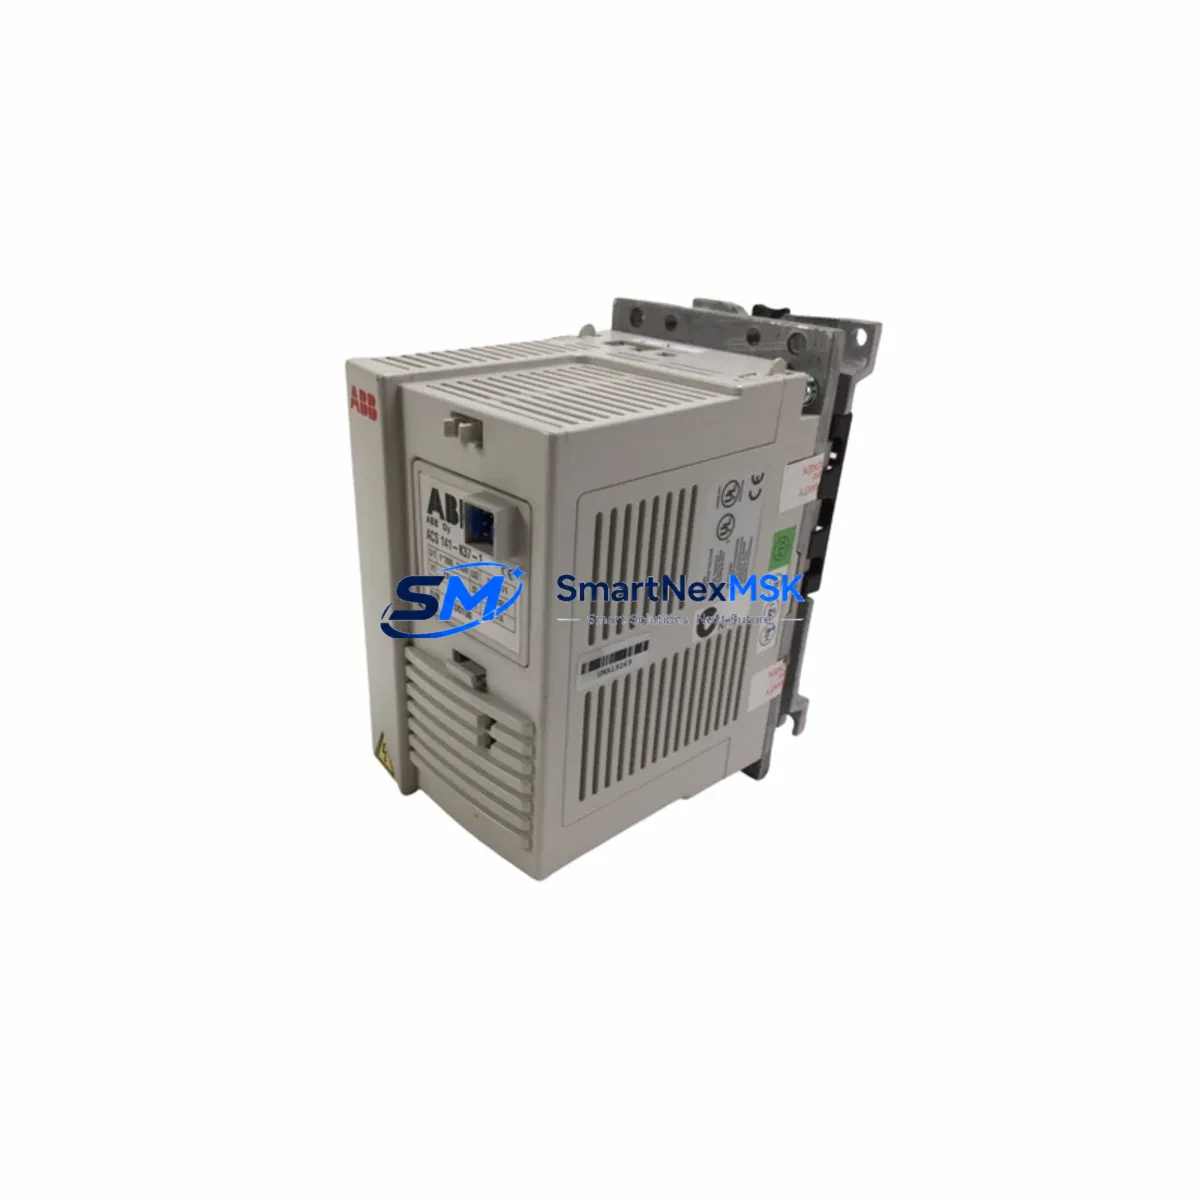
ABB ACS141-K37-1 Retrofit-Ready VFD for ACS141 Series Control Systems
The ABB ACS141-K37-1 is a 0.37 kW single-phase input variable frequency drive (VFD) from ABB’s legacy ACS141 series, widely deployed across light industrial machinery, conveyor systems, pump controls, and HVAC fan applications. As the ACS141 series has reached end-of-life status, sourcing a verified, tested replacement unit has become a critical priority for maintenance engineers and system integrators managing aging automation infrastructure. SMARTNEXMSK maintains in-stock inventory of the ACS141-K37-1 to support urgent retrofit and emergency replacement requirements, backed by a 12-month warranty and pre-shipment functional testing on every unit.
Whether you are replacing a failed drive in a running production line, upgrading a legacy control cabinet, or migrating an older automation platform to a more maintainable architecture, the ACS141-K37-1 provides a direct, low-disruption path forward. Its compact DIN-rail-compatible form factor and standard terminal layout allow it to slot into existing enclosures without panel modification in most installations. Engineers familiar with ABB’s ACS100 and ACS140 drive families will find the ACS141 parameter structure and commissioning workflow immediately recognizable, reducing re-engineering time significantly.
Upgrade Compatibility Table
| Attribute | ACS141-K37-1 Specification | Retrofit Notes |
|---|---|---|
| Power Rating | 0.37 kW (0.5 HP) | Verify motor nameplate matches; do not oversize load |
| Input Supply | 1-phase, 200–240 V AC, 50/60 Hz | Confirm panel supply voltage before wiring |
| Output | 3-phase, 0–240 V AC, 0–500 Hz | Compatible with standard 3-phase induction motors |
| Control Terminals | Standard ACS141 terminal block layout | Direct wire-for-wire replacement in most cabinets |
| Communication | Analog/Digital I/O; optional fieldbus via adapter | Verify fieldbus adapter compatibility if Profibus or DeviceNet is in use |
| Mounting | DIN rail / panel mount | No panel modification required in standard enclosures |
| Cooling | Convection (IP20) | Ensure minimum clearance above and below unit per ABB installation guide |
| Parameter Backup | Manual parameter entry or CDP panel upload | Back up existing drive parameters before removal |
| Replacement Path | Direct: ACS141-K37-1 → ACS141-K37-1 (same SKU) | Cross-reference ACS150 or ACS310 for long-term platform migration |
| Warranty | 12 Months | Covers manufacturing defects; functional test certificate included |
Retrofit Planning for Existing Automation Systems
A successful ACS141-K37-1 retrofit begins well before the drive is physically removed from the cabinet. The first step is a thorough audit of the existing installation: document all terminal wiring connections (R, S, T input; U, V, W output; control terminals AI1, AI2, DI1–DI3, AO1, RO1), record the current parameter set using the ABB CDP control panel or a compatible parameter upload tool, and photograph the cabinet layout for reference during reassembly.
Power supply verification is essential. The ACS141-K37-1 requires a stable 200–240 V single-phase supply. If the existing installation uses a shared power rail feeding other devices — such as an ABB ACS150 drive on an adjacent axis, a Siemens LOGO! relay module, or a Schneider Electric Zelio logic controller — confirm that the replacement drive’s inrush current will not cause nuisance tripping on upstream MCBs or fuses. In cabinets where the ACS141 shares a 24 V DC auxiliary rail with an ABB NPBA-12 Profibus adapter or an NMBP-01 Modbus adapter, verify that the auxiliary supply capacity is sufficient after the new drive is energized.
For systems where the ACS141-K37-1 is integrated into a broader PLC-controlled architecture — for example, a Siemens S7-200 or S7-300 controlling drive speed via analog output, or an ABB AC500 issuing run/stop commands via digital outputs — the control wiring must be verified against the replacement drive’s terminal map before power-up. Pay particular attention to the analog reference signal scaling: if the PLC is outputting a 0–10 V or 4–20 mA speed reference, confirm that parameter 1103 (REF1 SELECT) and parameter 1104 (REF1 MIN/MAX) are set correctly on the new drive to match the original configuration.
In installations where the ACS141 communicates over a fieldbus network — such as Profibus DP via an NPBA-12 adapter or DeviceNet via an NDNA-02 module — the fieldbus adapter must be transferred from the old drive to the replacement unit, or a new compatible adapter must be sourced. Verify that the drive’s node address (parameter 5302) and baud rate settings match the network configuration before reconnecting the fieldbus cable. If the system uses an ABB Panel Bus or a third-party HMI such as a Weintek MT8000 or a Proface GP4000 series terminal, update the HMI tag addresses if the drive’s Modbus register map differs between firmware revisions.
I/O expansion considerations are equally important in multi-drive panels. If the ACS141-K37-1 is mounted alongside other ABB drives — such as an ACS310, ACS355, or ACS550 — on a shared backplane or within a common control cabinet, ensure that the replacement drive’s EMC filter and ground connections do not introduce ground loops that could affect adjacent drives or sensitive analog I/O signals. Use shielded cable for all analog wiring and terminate shields at a single point per ABB wiring guidelines.
Downtime Control During System Migration
Minimizing unplanned downtime during a drive replacement is the primary concern for most maintenance teams. The recommended approach is to pre-configure the replacement ACS141-K37-1 on the bench before the scheduled maintenance window. Using the ABB CDP panel or a PC tool connected via the drive’s serial port, enter all parameters from the backed-up parameter list into the new drive while it is still on the workbench. This allows the drive to be powered up, verified, and fault-checked before it enters the cabinet — eliminating the most common source of extended downtime: parameter entry errors discovered after the panel is closed.
During the physical swap, follow a structured sequence: isolate and lock out the incoming supply, disconnect and label all control wiring before removing the old drive, install the replacement unit, reconnect control wiring in reverse order, and restore power only after a final visual inspection. If the original drive’s motor thermistor (PTC) input was connected to terminal T1/T2, verify that the replacement drive’s thermistor protection is enabled (parameter 3021) to maintain motor protection continuity.
For critical processes where even a brief interruption is unacceptable, consider a parallel commissioning approach: install the replacement ACS141-K37-1 in a temporary position within the cabinet, wire it in parallel with the existing drive (with appropriate isolation), and perform a live parameter verification before the final cutover. This technique is particularly effective in pump and fan applications where the process can tolerate a brief manual bypass while the drive changeover is completed. Once the replacement drive is confirmed operational, the old unit can be removed and the wiring finalized — keeping total process downtime to under 15 minutes in most cases.
All units shipped by SMARTNEXMSK undergo a pre-shipment functional test that verifies input rectification, DC bus voltage, output switching, and control terminal response. A test certificate is included with each shipment, providing the maintenance team with documented evidence of drive health before installation begins.
Retrofit Support FAQ
Q1: Is the ACS141-K37-1 a direct drop-in replacement for a failed ACS141-K37-1 unit?
Yes. The ACS141-K37-1 is a same-SKU replacement. Terminal layout, mounting dimensions, and parameter structure are identical, allowing direct substitution without panel modification. Back up the original parameter set before removal and restore it to the replacement drive during commissioning.
Q2: Can the ACS141-K37-1 be used as a replacement for an ACS140 or ACS100 series drive?
In many applications, yes — with verification. The ACS141 series shares a similar power and control terminal layout with the ACS140, but parameter numbering and some default values differ. Review the terminal wiring diagram and parameter list for both models before substitution. For long-term platform standardization, consider migrating to the ACS150 or ACS310, which offer enhanced communication options and broader spare parts availability.
Q3: What commissioning steps are required after installing the replacement drive?
After physical installation and wiring verification, power up the drive and confirm that no fault codes are displayed. Enter the motor nameplate data (parameters 9905–9909: motor voltage, frequency, speed, current, power). Restore the backed-up application parameters. Run the drive in local control mode at low speed to verify motor rotation direction and speed reference response before returning to automatic/remote control mode. If a fieldbus adapter is fitted, verify network communication status before releasing the drive to production.
Q4: What does the 12-month warranty cover, and what documentation is provided?
The 12-month warranty covers manufacturing defects and component failures under normal operating conditions. Each unit is shipped with a pre-shipment functional test certificate confirming that the drive passed input, DC bus, output, and control terminal verification before dispatch. In the event of a warranty claim, SMARTNEXMSK provides direct technical support and replacement coordination. Contact sales@smartnexmsk.com or call +86 18259474341 to initiate a warranty claim.
© 2026 SMARTNEXMSK. All rights reserved.
Original Source: https://smartnexmsk.com
Contact: sales@smartnexmsk.com | +86 18259474341