ABB CI867K01 3BSE043660R1 Retrofit-Ready Modbus TCP Module for AC 800M Control Systems
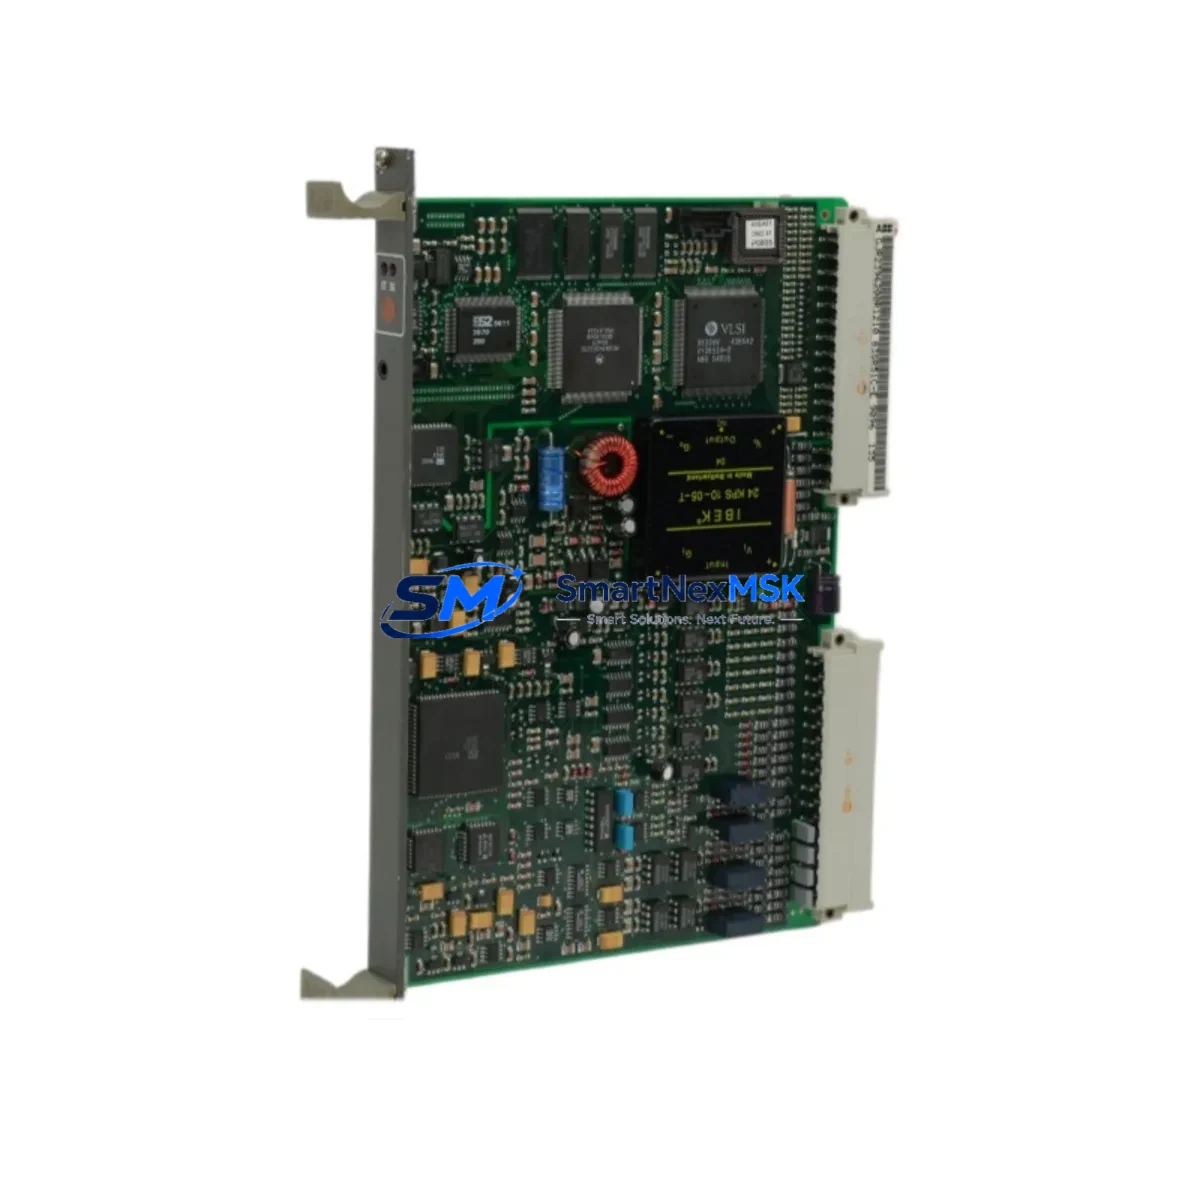
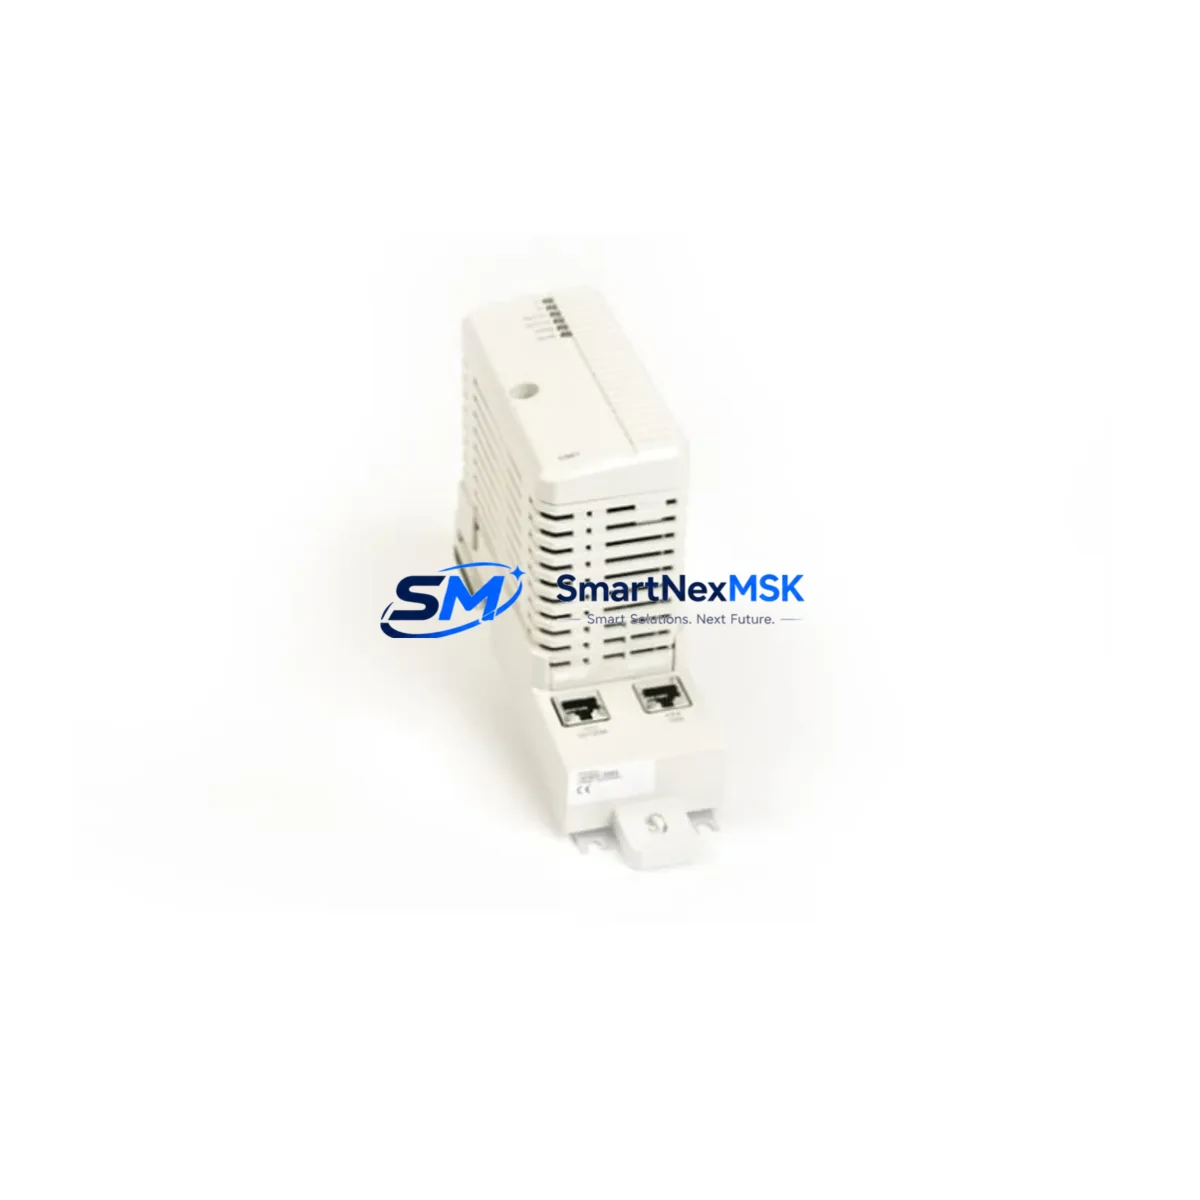
The ABB CI867K01 (3BSE043660R1) is a Modbus TCP communication interface module designed for the ABB AC 800M distributed control system platform. As legacy AC 800M installations approach end-of-life support cycles, the CI867K01 has become one of the most sought-after retrofit and replacement components for engineers tasked with modernizing existing control architectures without full system replacement. Whether you are restoring a failed communication link, expanding Modbus TCP connectivity, or migrating from an older CI860 or CI862 fieldbus interface, the CI867K01 provides a validated, drop-in upgrade path that preserves your existing program logic and minimizes engineering rework.
This module slots directly into the AC 800M controller rack — typically the TB820V2 or TB840A baseplate — and communicates with the PM864A or PM866A processor modules via the internal S800 I/O bus. Before installation, engineers should verify available rack slots, confirm the firmware revision of the resident PM module, and review the existing Modbus TCP node address assignments to avoid address conflicts with other communication modules already installed in the cabinet.
Upgrade Compatibility Table
| Parameter | CI867K01 (3BSE043660R1) | Notes / Retrofit Guidance |
|---|---|---|
| Compatible Controller | AC 800M (PM864A, PM866A) | Verify PM firmware ≥ 5.1 for full feature support |
| Communication Protocol | Modbus TCP (IEC 61158) | Replaces CI860 (PROFIBUS DP) with protocol migration required |
| Rack / Baseplate | TB820V2 / TB840A | Confirm slot availability; module occupies one rack position |
| Power Consumption | ≤ 3.5 W (from rack backplane) | Verify SA811 or SD821 power supply capacity before adding module |
| Network Interface | RJ45, 10/100 Mbps Ethernet | Assign static IP; update switch port VLAN if required |
| Modbus Register Map | Configurable via Control Builder Plus | Re-map registers if replacing CI862 or third-party Modbus RTU gateway |
| HMI Compatibility | ABB Panel 800 / third-party SCADA via OPC DA/UA | Update HMI tag addresses after module swap |
| Installation Method | Hot-swap capable (rack powered) | Confirm with site safety procedure; cold swap recommended for first install |
| Warranty | 12 Months | Covers manufacturing defects; includes pre-shipment functional test |
Retrofit Planning for Existing Automation Systems
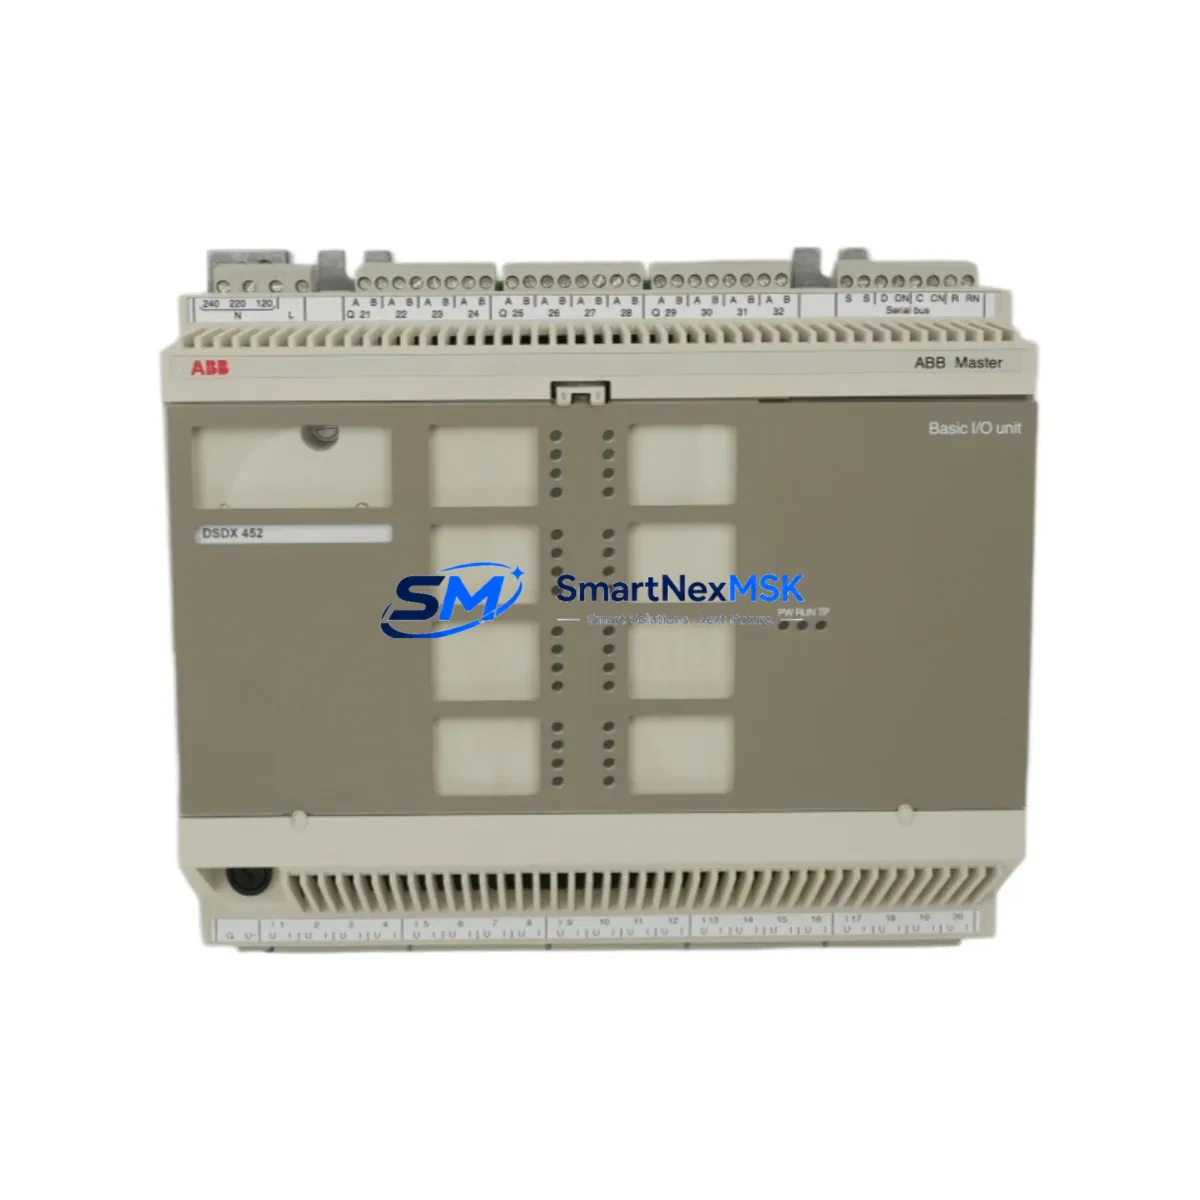
A successful CI867K01 retrofit begins well before the module arrives on site. The first step is a thorough audit of the existing control cabinet. In most AC 800M installations, the rack will already host a PM864A processor module, one or more S800 I/O modules such as the AI810 analog input or DI810 digital input cards, and a SA811 or SD821 power supply module. Engineers must calculate the total backplane power budget — adding the CI867K01’s 3.5 W draw — to confirm the existing power supply is not already at capacity. If the budget is tight, a second SD821 power supply may need to be added to the rack before the communication module is installed.
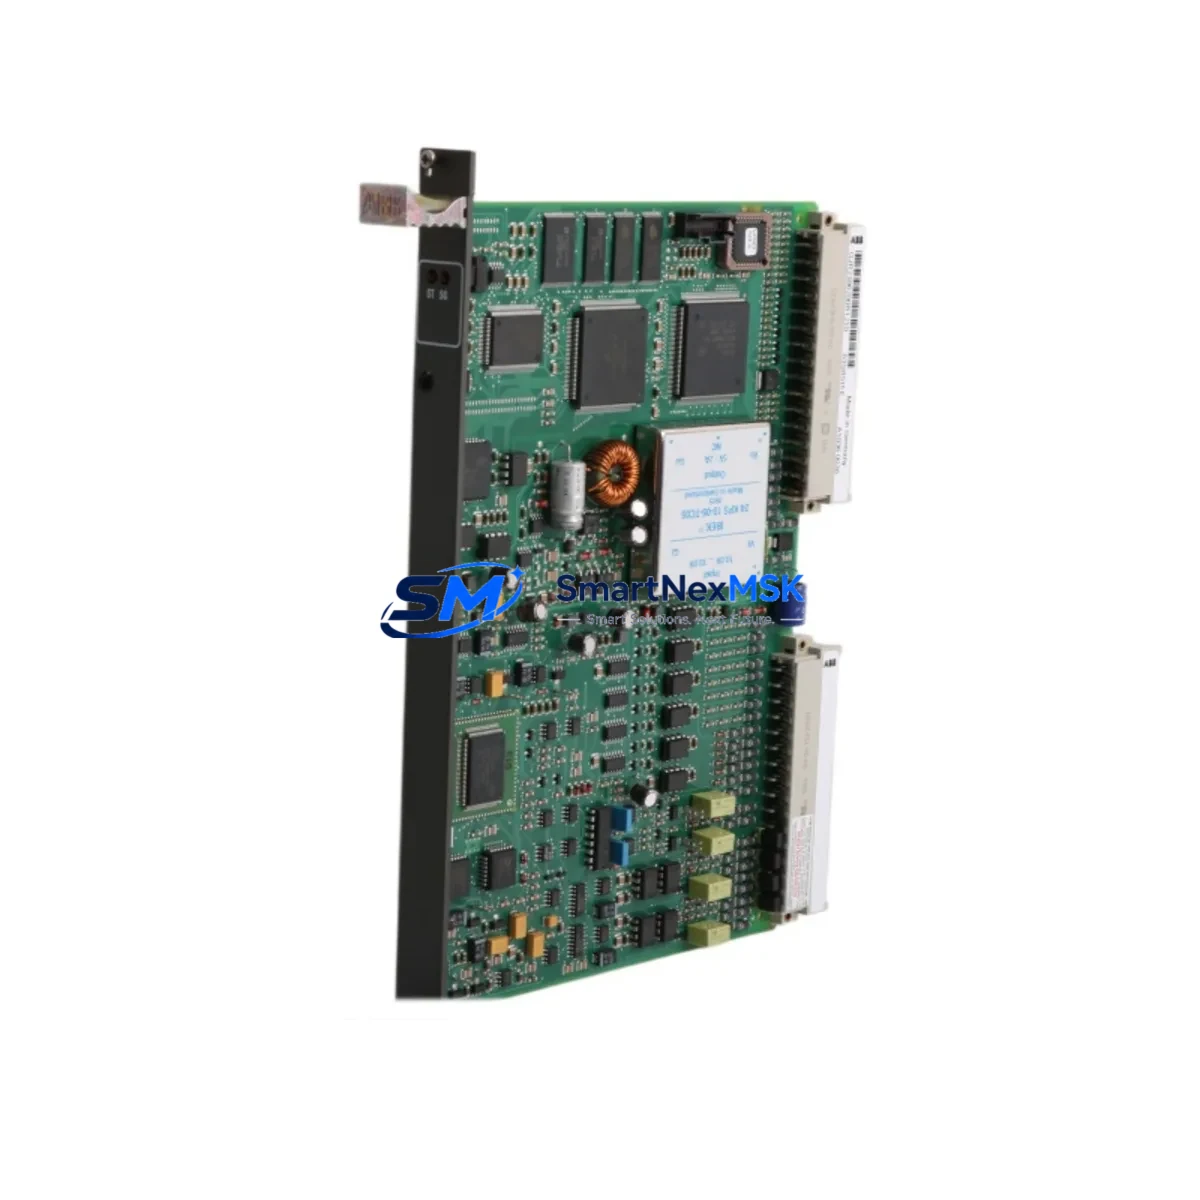
Terminal wiring is the next critical checkpoint. If the retrofit involves replacing a CI860 PROFIBUS DP module or a CI862 PROFIBUS DP-V1 interface, the physical wiring from the field devices will need to be re-terminated. PROFIBUS uses a 9-pin D-sub connector with specific bus termination resistors, while the CI867K01 uses a standard RJ45 Ethernet port. This means the field cable infrastructure must be updated — typically replacing the PROFIBUS trunk cable with a CAT5e or CAT6 Ethernet run to the nearest managed switch. If the plant already has an Ethernet backbone, this transition is straightforward; if not, network infrastructure planning becomes part of the project scope.
For sites migrating from a CI801 or CI830 fieldbus communication interface, the Modbus register map must be rebuilt from scratch in ABB Control Builder Plus. The existing application program in the PM module does not need to be rewritten — the function block library for Modbus TCP communication is compatible with the same IEC 61131-3 structured text and function block diagram logic used for other communication interfaces. However, all Modbus client/server function blocks referencing the old module must be updated to point to the CI867K01’s new hardware address on the rack.
HMI screens connected to the system via an ABB Panel 800 operator terminal or a third-party SCADA platform using OPC DA or OPC UA will require tag address updates after the module swap. If the plant uses a Symphony Plus or 800xA supervisory layer, the asset model in the engineering workspace must be updated to reflect the new communication module type before the system is brought back online. Failing to update the asset model can result in communication alarms and false fault indications on the operator display.
Finally, before closing the control cabinet, verify the TB820V2 baseplate module address switches are set correctly for the CI867K01’s rack position. Incorrect address settings are one of the most common causes of post-installation communication failures and can be confirmed in under two minutes with a laptop running Control Builder Plus connected to the PM module’s Ethernet service port.
Downtime Control During System Migration
Minimizing production downtime during a CI867K01 retrofit requires a structured pre-commissioning approach. The most effective strategy is to complete all configuration work — IP address assignment, Modbus register mapping, Control Builder Plus project compilation, and HMI tag updates — on a bench setup or in a simulation environment before the planned maintenance window begins. This allows the on-site swap to be reduced to a physical module exchange, cable connection, and a brief communication verification test, typically achievable in under 30 minutes for an experienced engineer.
Before powering down the rack, take a full backup of the PM module’s application program and configuration using Control Builder Plus. Store the backup on a local engineering laptop as well as a network share. If the retrofit encounters an unexpected issue, this backup allows the original configuration to be restored to a spare PM module without delay. For critical processes where even a 30-minute outage is unacceptable, consider staging a complete spare rack — pre-configured with the CI867K01, a PM864A, and the necessary I/O modules — that can be swapped in as a unit while the original rack is serviced offline.
After the CI867K01 is installed and the rack is powered up, the module’s status LEDs provide immediate feedback on communication health. A solid green RUN LED confirms the module has established communication with the PM processor. A flashing or red ERR LED indicates a configuration mismatch — most commonly an incorrect IP address, a subnet conflict, or a Modbus register map that has not been downloaded to the module. These issues are resolved at the engineering workstation without requiring any additional hardware changes, keeping the physical downtime window to a minimum.
Retrofit Support FAQ
Q1: Is the CI867K01 a direct drop-in replacement for the CI860 or CI862 PROFIBUS modules?
The CI867K01 occupies the same rack slot form factor as the CI860 and CI862, but it uses Modbus TCP over Ethernet rather than PROFIBUS DP. This means the physical installation is compatible, but the communication protocol, wiring infrastructure, and Control Builder Plus configuration must all be updated. It is not a plug-and-play swap for PROFIBUS-based systems without protocol migration work.
Q2: What pre-shipment testing is performed on the CI867K01?
Each CI867K01 unit supplied by SMARTNEXMSK undergoes a functional power-on test and communication verification before dispatch. The module is confirmed to initialize correctly, respond to Modbus TCP polling, and report no hardware fault codes. A 12-month warranty covers manufacturing defects from the date of shipment.
Q3: Can the CI867K01 be installed while the AC 800M rack is powered?
The AC 800M rack supports hot-swap insertion for communication modules under certain firmware and configuration conditions. However, for first-time installations or when replacing a module that was previously configured in the PM’s hardware definition, a cold swap — with the rack powered down — is recommended to ensure the PM correctly detects and initializes the new module without residual configuration conflicts.
Q4: What information should I have ready before ordering to confirm compatibility?
Please have the following ready: the PM module part number (e.g., PM864A or PM866A), the current Control Builder Plus version, the TB820V2 or TB840A baseplate revision, the number of occupied rack slots, and the existing communication module type being replaced. This allows our technical team to confirm compatibility and advise on any firmware or configuration prerequisites before the unit ships.
© 2026 SMARTNEXMSK. All rights reserved.
Original Source: https://smartnexmsk.com
Contact: sales@smartnexmsk.com | +86 18259474341