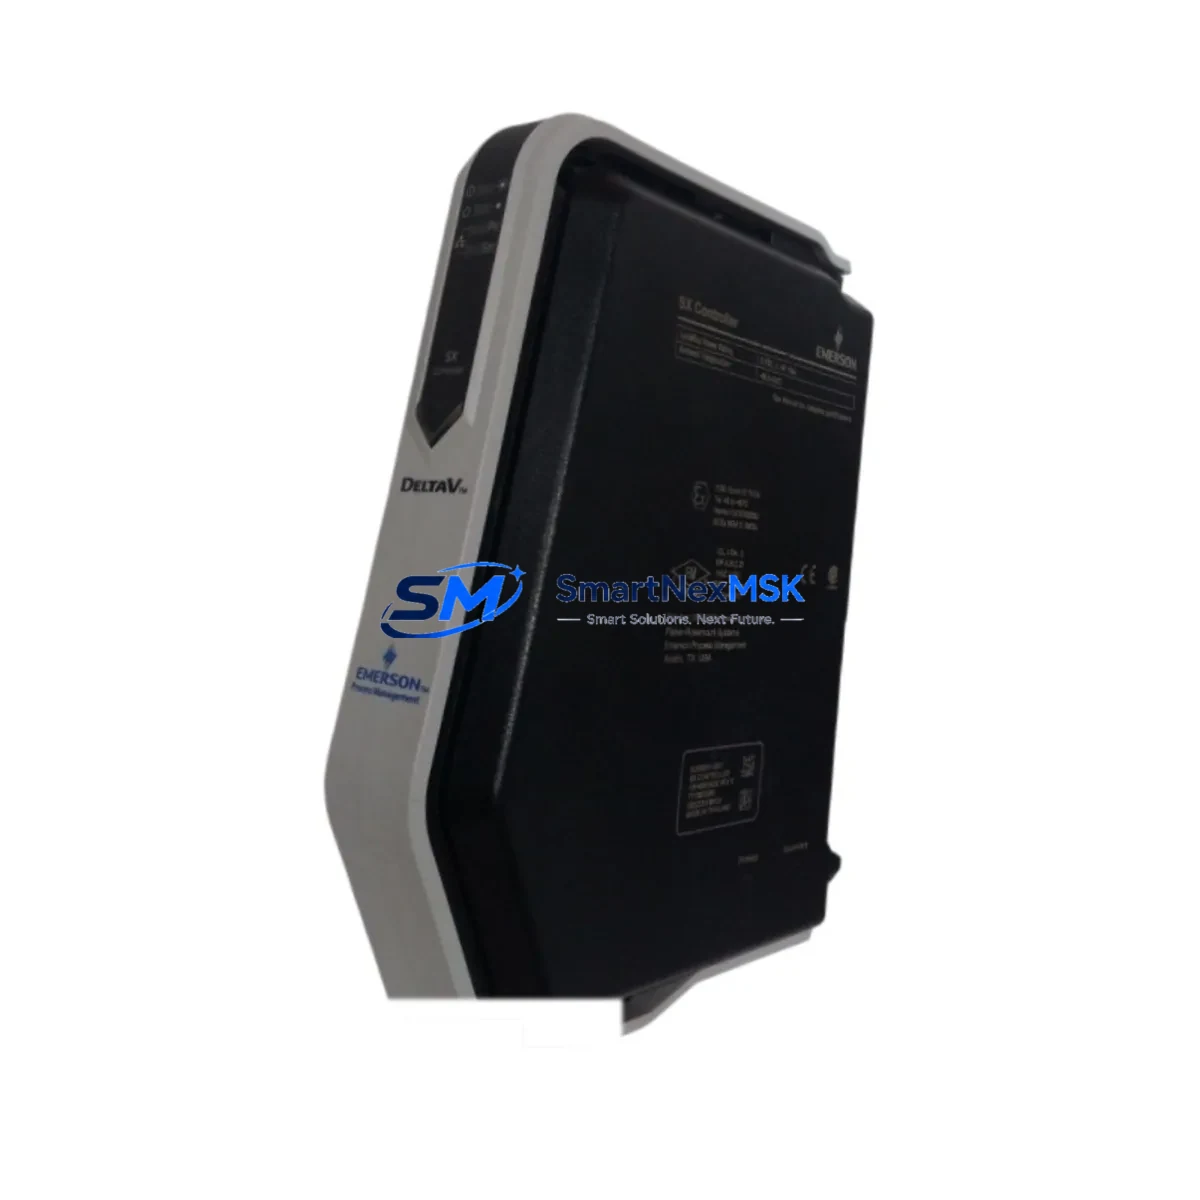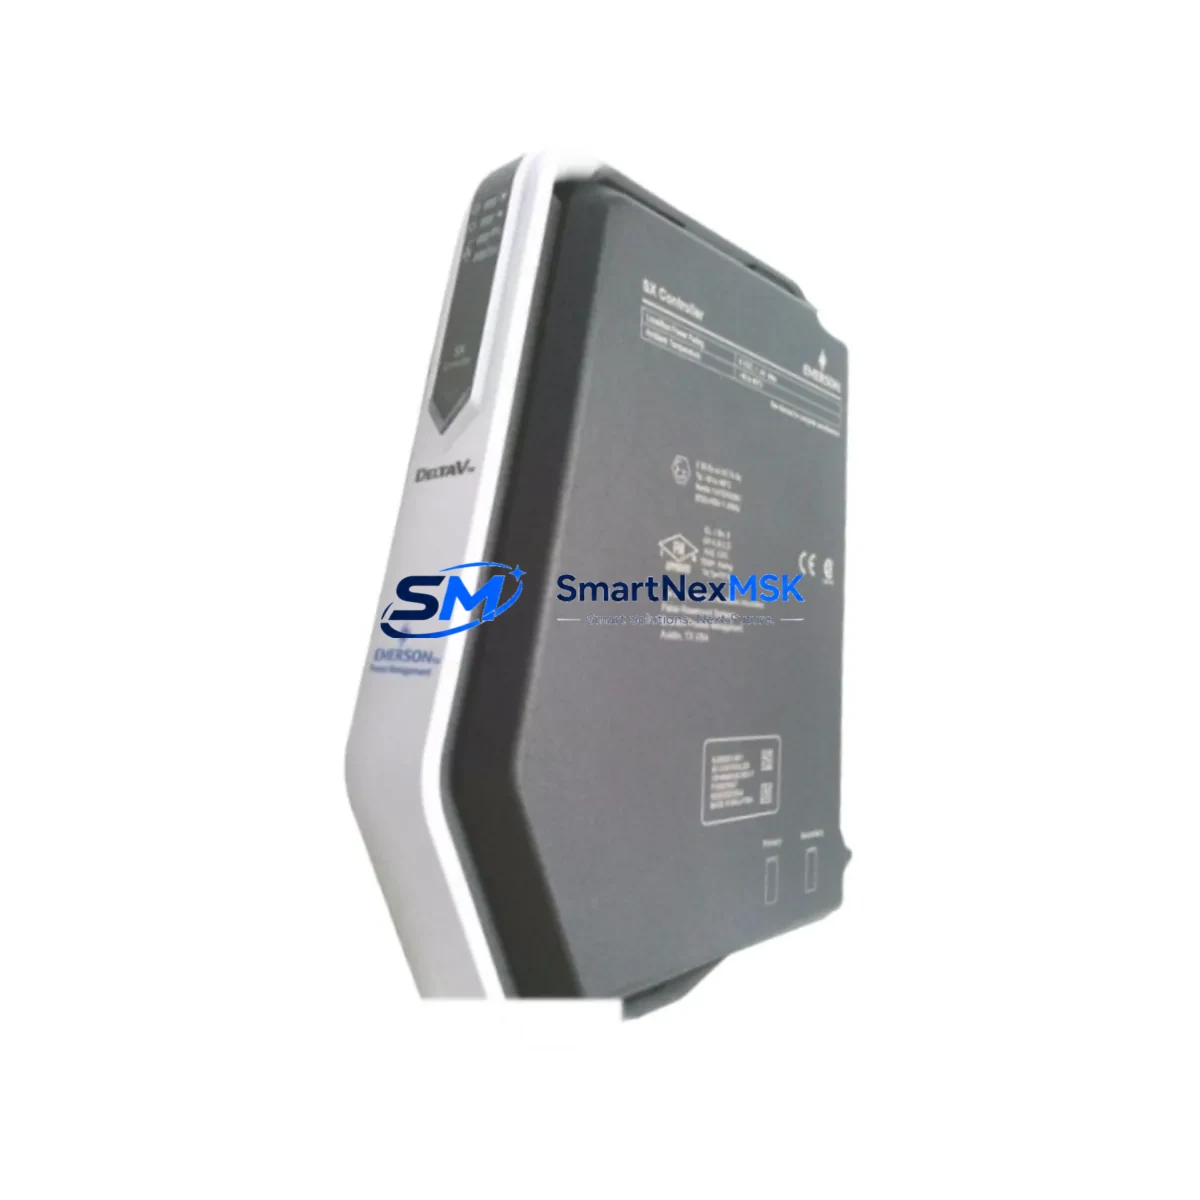
Emerson KJ4110X1-BC1 Maintenance-Ready Spare for DeltaV Automation
The Emerson KJ4110X1-BC1 12P1869X012 is an original I/O Terminal Block designed for the Emerson DeltaV distributed control system platform. In process industries — including oil & gas, chemical, power generation, and pharmaceuticals — the DeltaV I/O subsystem is the nerve center of field signal acquisition. A failed or degraded terminal block at this layer can interrupt analog and discrete I/O communication between field instruments and the DeltaV controller, triggering unplanned shutdowns and costly production losses.
Sourced as a genuine original spare, the KJ4110X1-BC1 12P1869X012 is pre-tested prior to shipment and backed by a 12-month warranty. Whether you are executing a planned turnaround, responding to an emergency fault, or building a strategic spare parts inventory for your DeltaV control room, this terminal block provides the direct-fit replacement you need to restore system integrity without re-engineering your I/O wiring infrastructure.
Spare Maintenance Table
| Parameter | Specification / Detail |
|---|---|
| Part Number | KJ4110X1-BC1 |
| Reference Number | 12P1869X012 |
| Brand | Emerson |
| Series / Platform | DeltaV Distributed Control System (DCS) |
| Product Type | I/O Terminal Block |
| Function | Field wiring termination for DeltaV I/O subsystem; interfaces field instrument signals to DeltaV I/O cards |
| Compatibility | Emerson DeltaV S-series and M-series I/O subsystems; compatible with standard DeltaV marshalling and I/O card assemblies |
| Installation | DIN rail or panel-mount; direct plug-in replacement for existing KJ4110X1-BC1 installations |
| Signal Types Supported | Analog input/output, discrete input/output (per associated I/O card type) |
| Operating Environment | Industrial control cabinet; suitable for Class I, Division 2 / Zone 2 environments when installed per DeltaV system guidelines |
| Country of Origin | United States |
| Condition | Original, unused or refurbished-to-spec; pre-tested before shipment |
| Warranty | 12 Months |
| Lead Time | In stock — ships within 1–3 business days |
| Maintenance Recommendation | Inspect terminal block seating, wiring torque, and corrosion annually; replace if contact resistance exceeds specification or physical damage is observed |
Maintenance Planning for Continuous Operation
When a maintenance or reliability engineer schedules replacement of the KJ4110X1-BC1 12P1869X012, the scope of inspection should extend beyond the terminal block itself. The DeltaV I/O subsystem is an integrated assembly, and adjacent components are subject to the same thermal cycling, vibration, and aging stresses.
Begin with the DeltaV I/O card seated above the terminal block — typically an analog input card such as the KJ3002X1-BA1 or a discrete I/O card like the KJ1501X1-BA2. Verify that the card-to-terminal block connector is fully seated and that the card’s LED diagnostics show no fault indication. A degraded terminal block often causes intermittent signal errors that are misdiagnosed as I/O card failures; replacing both components during the same maintenance window eliminates ambiguity.
Next, inspect the DeltaV controller module — such as the MD Plus Controller KJ2003X1-BA1 — for firmware currency and redundancy status. If the terminal block failure caused a channel fault, the controller’s diagnostic log should be reviewed and cleared after the replacement is confirmed good.
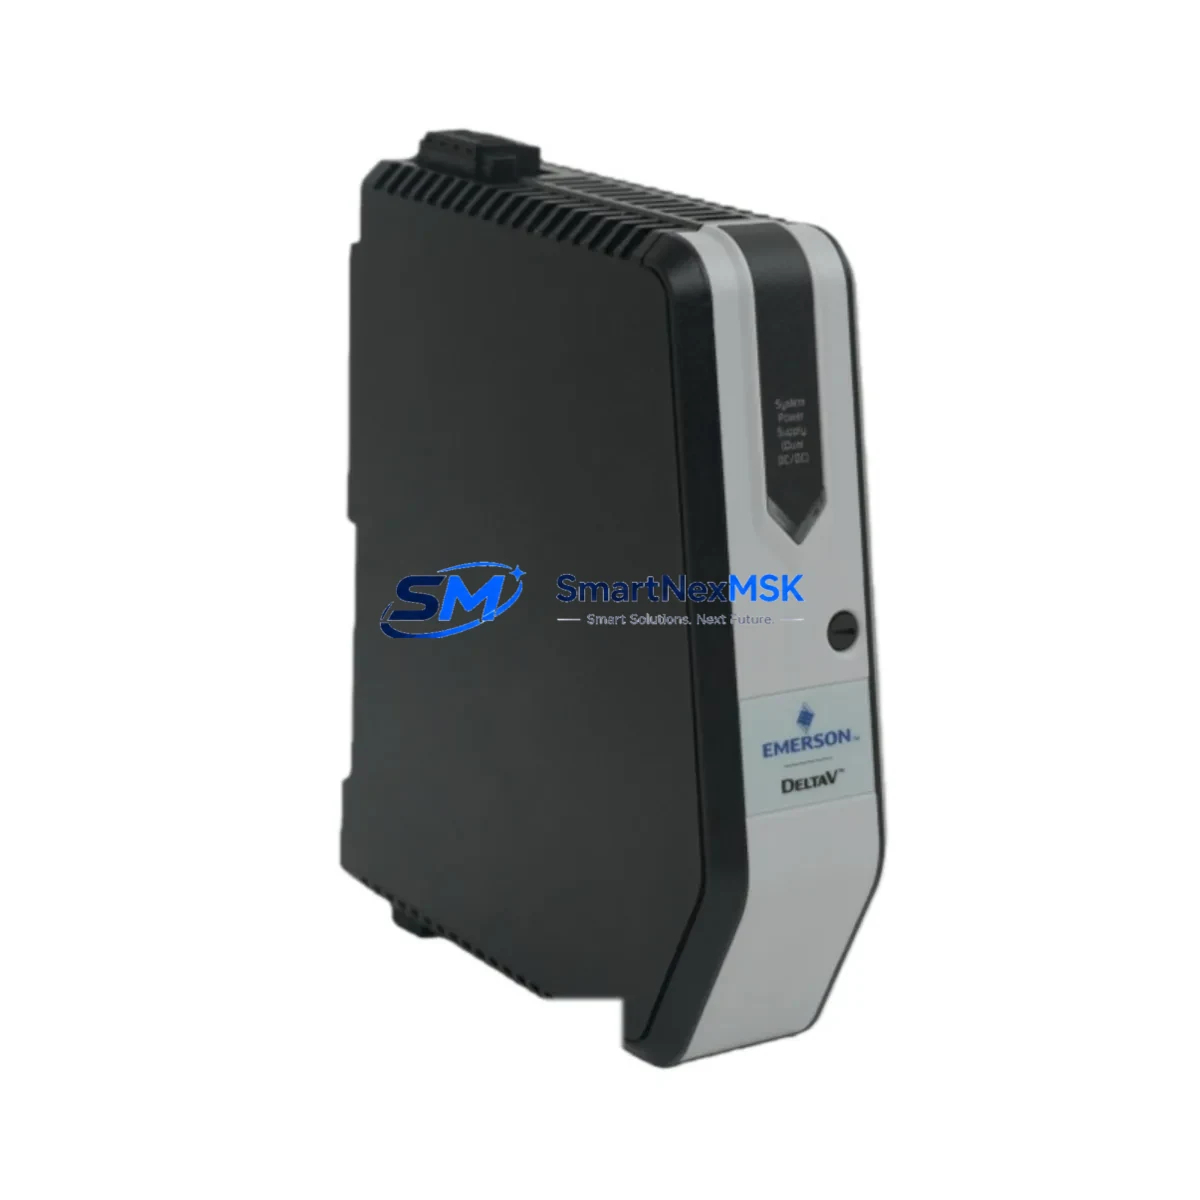
Check the DeltaV power supply module (e.g., KJ4001X1-BA1) supplying the I/O subsystem. Voltage sag or ripple from an aging power supply can accelerate terminal block contact wear. Measure output voltage under load and compare against specification.
Inspect field wiring and cable shields at the terminal block. Loose or corroded terminations at the marshalling panel — including junction box terminal strips and cable glands — are a common root cause of signal noise that is incorrectly attributed to the terminal block. Re-torque all field wire terminations to the manufacturer’s specified value.
For loops carrying 4–20 mA analog signals, verify the signal isolator or barrier in the circuit — such as a Pepperl+Fuchs KFD2-STC4-Ex1 or equivalent Zener barrier — is within calibration and shows no leakage current. A failing isolator can corrupt the signal even after the terminal block is replaced.
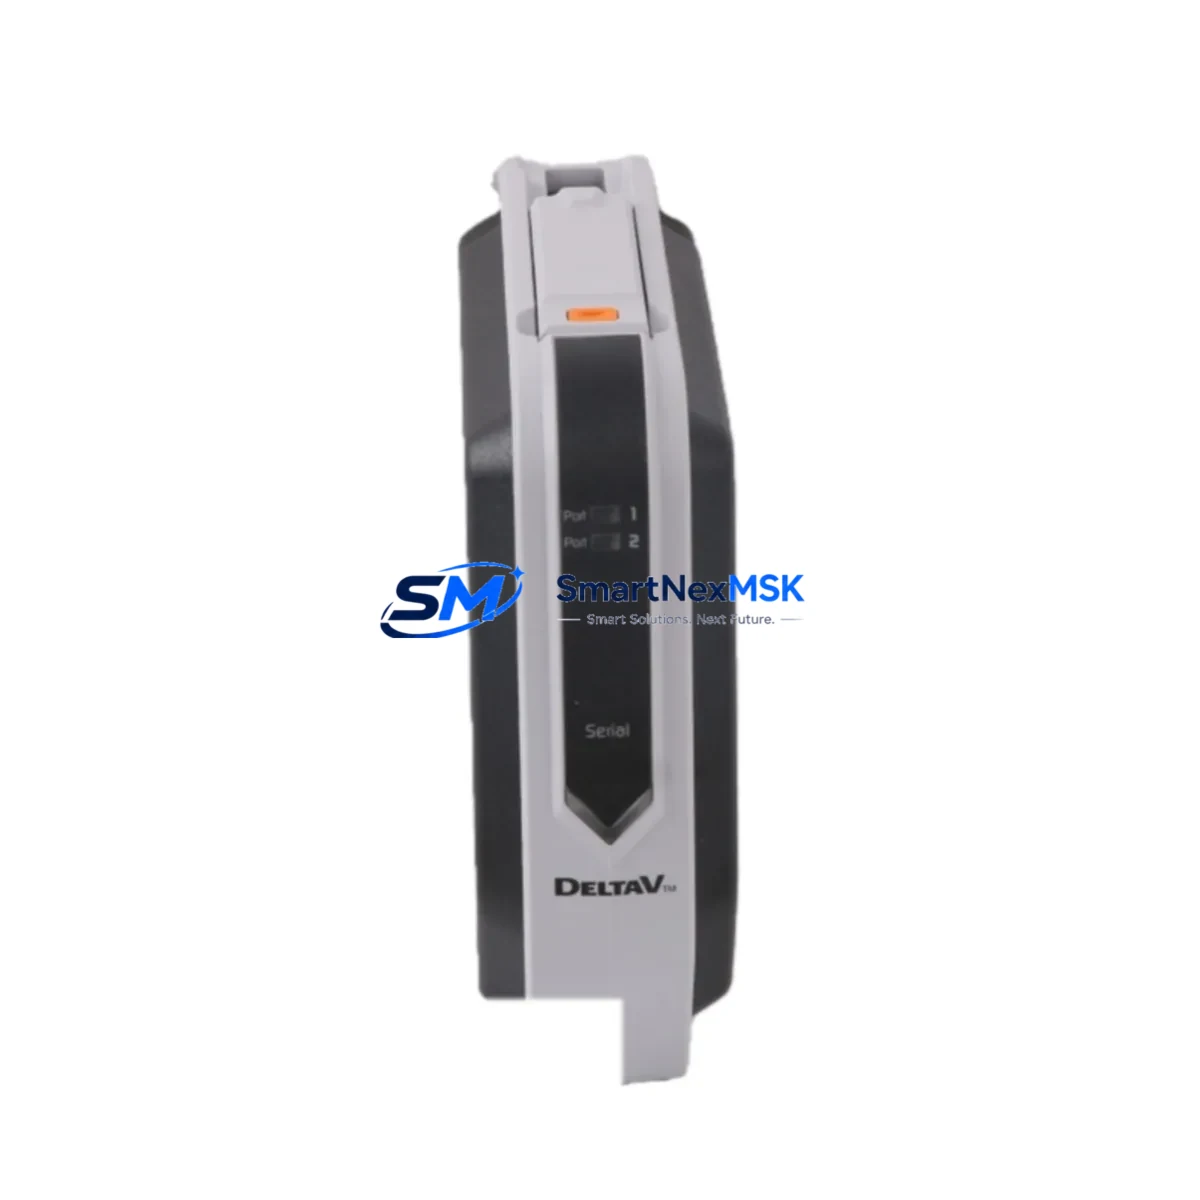
If the affected I/O channel is connected to a HART-enabled field instrument, confirm that the HART multiplexer or DeltaV HART interface module is communicating correctly after the swap. HART pass-through depends on clean wiring continuity through the terminal block.
Finally, review the DeltaV operator workstation and DeltaV HMI alarm history. Persistent alarms on the replaced channel after the terminal block swap may indicate a wiring error, an incorrect channel assignment in the DeltaV database, or a latent fault in the associated I/O card backplane connector. Clear and re-acknowledge alarms only after a full loop check confirms signal integrity end-to-end.
Maintaining a minimum of one spare KJ4110X1-BC1 12P1869X012 per DeltaV cabinet in your site spare parts inventory is recommended for facilities with high I/O channel counts or extended lead times from the OEM. Pair this with spares for the associated I/O cards, power supply modules, and communication cables to support a complete rapid-response maintenance kit.
Site Replacement Workflow
Step 1 — Isolation and permit: Obtain a work permit and place the affected DeltaV I/O channel in manual or out-of-service mode from the DeltaV operator station. Notify the control room of the planned maintenance window.
Step 2 — Document existing wiring: Photograph or sketch the field wire terminations on the existing KJ4110X1-BC1 before disconnecting. Record wire labels, terminal positions, and shield grounding points. This documentation is critical for restoring the loop correctly and reducing downtime.
Step 3 — Remove the I/O card: Carefully extract the DeltaV I/O card from its slot. The terminal block is typically retained by the card assembly. Follow Emerson’s DeltaV hardware installation guide for the correct removal sequence to avoid damaging the backplane connector.
Step 4 — Replace the terminal block: Install the new KJ4110X1-BC1 12P1869X012. Verify that the connector seats fully and that the locking tab engages. Re-terminate all field wires to the correct positions per your wiring documentation, applying the specified torque to each terminal screw.
Step 5 — Reinstate and verify: Re-insert the I/O card, restore the channel to service in DeltaV, and perform a full loop check. Confirm that the signal reads correctly at the operator station and that no diagnostic alarms are active. Document the replacement in your CMMS with the new part’s serial number and installation date.
This workflow supports a typical replacement time of under two hours for a single channel, minimizing production impact and ensuring the DeltaV system returns to full operational status with verified signal integrity.
Spare Parts Support FAQ
Q1: Is the KJ4110X1-BC1 12P1869X012 a direct drop-in replacement for the original Emerson part?
Yes. The KJ4110X1-BC1 12P1869X012 is the original Emerson part number and is a direct mechanical and electrical replacement for any existing installation of the same model. No wiring modifications or DeltaV database changes are required, provided the replacement is installed in the same terminal block position.
Q2: What pre-shipment testing is performed on this spare?
Each unit undergoes functional verification prior to shipment, including connector integrity checks and visual inspection for physical damage. Units sourced as refurbished-to-spec are additionally tested for contact resistance and insulation integrity. A test report is available upon request.
Q3: How should I manage long-term spare parts inventory for DeltaV I/O terminal blocks?
For sites with 50 or more DeltaV I/O channels, a minimum stock of 2–5 KJ4110X1-BC1 units is recommended, depending on system criticality and OEM lead times. Rotate stock on a first-in, first-out basis and inspect stored units annually for connector oxidation. Store in a dry, temperature-controlled environment in the original anti-static packaging.
Q4: What is covered under the 12-month warranty?
The 12-month warranty covers manufacturing defects and functional failures under normal operating conditions. It does not cover damage resulting from incorrect installation, overvoltage, physical abuse, or use outside the specified environmental ratings. Warranty claims are supported by our technical team at sales@smartnexmsk.com with a target response time of one business day.
© 2026 SMARTNEXMSK. All rights reserved.
Original Source: https://smartnexmsk.com
Contact: sales@smartnexmsk.com | +86 18259474341