Allen-Bradley 1756-L61S Spare for GuardLogix Automation: Spare Parts Replacement & Industrial Downtime Risk Control
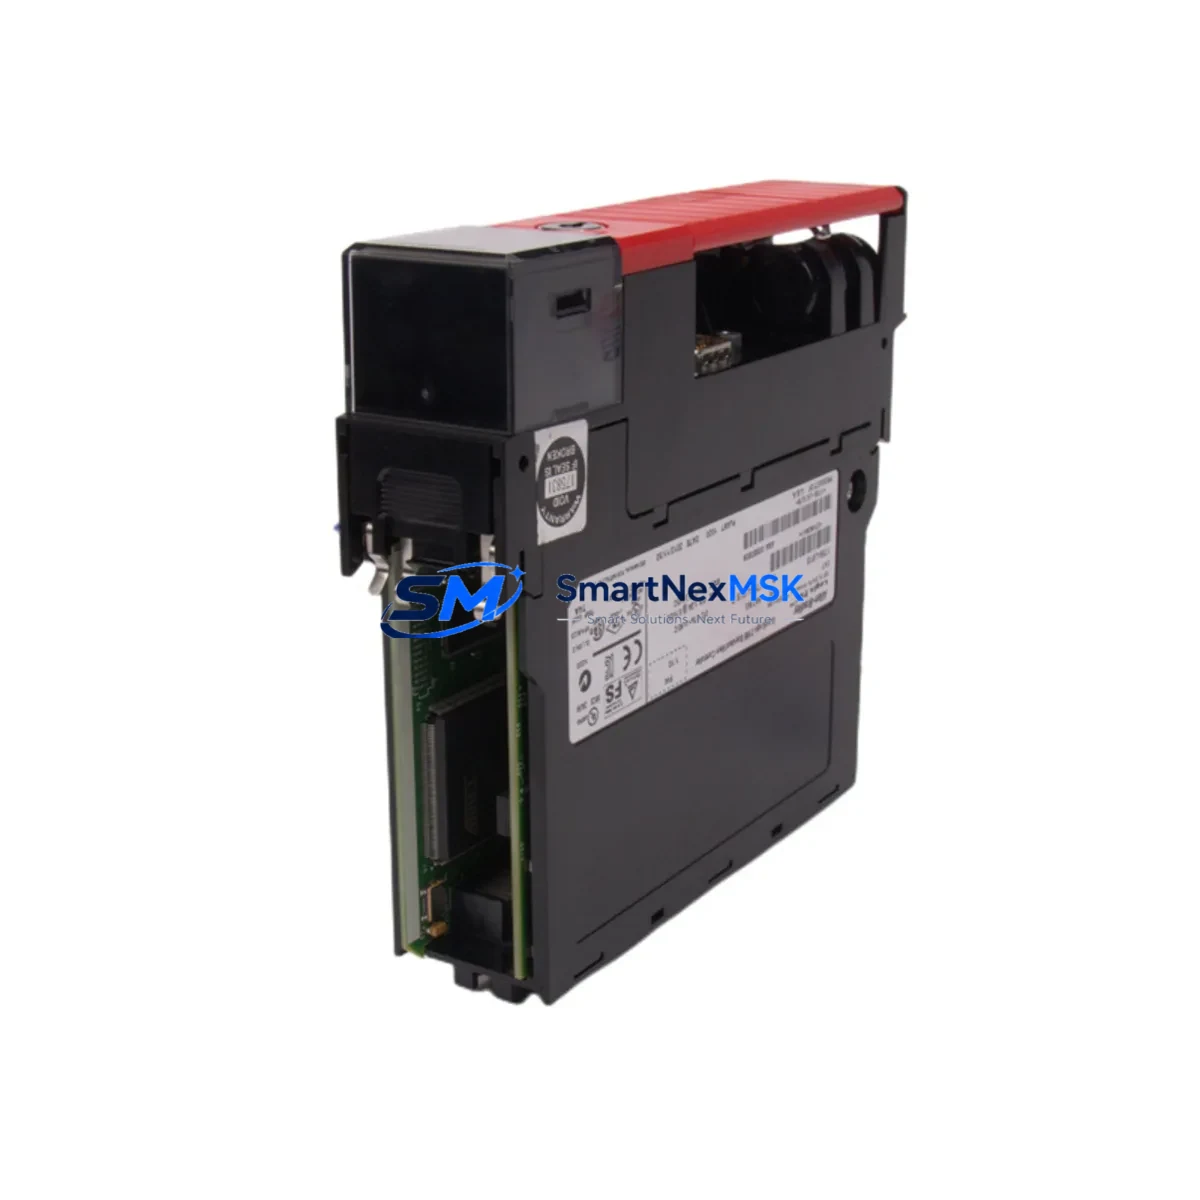
The Allen-Bradley 1756-L61S is a GuardLogix Safety PLC controller within the ControlLogix 1756 Series platform — one of the most widely deployed safety-rated programmable logic controllers in process automation, discrete manufacturing, and critical infrastructure. When this controller fails or reaches end-of-service life, the impact on production continuity is immediate. Sourcing a verified, original-spec 1756-L61S spare is the single most effective action a maintenance or procurement engineer can take to restore system integrity and minimize unplanned downtime.
This listing provides a maintenance-ready, original-specification 1756-L61S unit, tested prior to shipment, backed by a 12-month warranty, and available for fast dispatch to support emergency replacement or planned maintenance cycles. Every unit is verified for firmware compatibility, physical integrity, and functional performance before leaving our facility.
Spare Maintenance Table
| Parameter | Specification / Detail |
|---|---|
| SKU / Part Number | 1756-L61S |
| Brand | Allen-Bradley (Rockwell Automation) |
| Series | ControlLogix / GuardLogix 1756 |
| Controller Type | GuardLogix Safety PLC Controller |
| User Memory | 2 MB (Standard) + 1 MB (Safety) |
| Safety Rating | SIL 2 / SIL 3 (IEC 61508), PLe (ISO 13849) |
| Backplane Compatibility | 1756 ControlLogix Chassis (4, 7, 10, 13, 17-slot) |
| Communication | EtherNet/IP via 1756-EN2T / 1756-ENBT modules |
| Programming Software | Studio 5000 Logix Designer (RSLogix 5000 compatible) |
| Operating Temperature | 0°C to 60°C (32°F to 140°F) |
| Power Supply Compatibility | 1756-PA72 / 1756-PB72 / 1756-PA75 series |
| Installation | DIN rail / panel mount via 1756 chassis |
| Condition | Original, tested, pre-shipment verified |
| Warranty | 12 Months |
| Shipping | Fast global dispatch; ESD-safe packaging |
| Compatibility Verification | Confirmed against 1756 Series chassis and I/O modules |
Maintenance Planning for Continuous Operation
Replacing the 1756-L61S in a live GuardLogix system is rarely an isolated task. Experienced maintenance engineers know that a controller swap is the right moment to audit the entire control cabinet for latent faults and aging components. Before or during a 1756-L61S replacement, the following associated components should be inspected and, where necessary, replaced as part of a comprehensive maintenance event:
The 1756-PA72 or 1756-PB72 power supply module feeds the entire ControlLogix chassis. A degraded power supply can cause intermittent controller faults that mimic CPU failure — always verify output voltage stability and ripple before concluding the controller is at fault. Similarly, the 1756-EN2T EtherNet/IP communication module handles all network I/O and HMI traffic; a failing EN2T can cause the replacement controller to appear unresponsive on the network immediately after installation.
On the I/O side, inspect 1756-IB16 digital input modules and 1756-OB16E digital output modules for blown fuses, damaged field wiring terminals, or degraded optocoupler response. For safety-critical loops, the 1756-IB16S safety input module should be tested for proper SIL-rated response time and channel diagnostics. Analog signal integrity should be verified at the 1756-IF8 analog input module — signal drift or noise on analog channels is a common secondary fault discovered during controller replacements.
Terminal blocks and wiring within the cabinet — particularly Phoenix Contact or Weidmüller screw-clamp terminal strips — should be torque-checked and inspected for corrosion or loose conductors, especially in high-vibration or high-humidity environments. Relay output modules such as the 1756-OW16I should be checked for contact wear if they control motor starters or solenoid valves with high cycle counts.
For systems using DeviceNet or ControlNet alongside EtherNet/IP, the 1756-DNB DeviceNet Bridge or 1756-CNB ControlNet Bridge module should be verified for firmware version compatibility with the replacement 1756-L61S. Finally, if the system includes a PanelView Plus HMI communicating via EtherNet/IP, confirm that the HMI application’s controller path and tag database remain intact after the controller swap — a mismatch here can delay restart even after a successful hardware replacement.
Site Replacement Workflow
Step 1 — Pre-Replacement Backup: Using Studio 5000 Logix Designer or RSLogix 5000, upload and save the full controller project (.ACD file) including safety task, standard tasks, I/O configuration, and motion groups. Store the backup on a secure, offline medium before any hardware is touched.
Step 2 — Safety System De-energization: Follow site-specific LOTO (Lockout/Tagout) procedures. For GuardLogix systems, confirm that all safety outputs are in a safe state and that the safety partner (1756-LSP) is properly handled per Rockwell’s safety replacement guidelines.
Step 3 — Module Removal: Remove the 1756-L61S from the chassis slot. Note the slot number — the replacement unit must be installed in the same slot to preserve I/O mapping and network node addressing.
Step 4 — Firmware Verification: Before installing the replacement 1756-L61S, confirm the firmware revision matches the project requirements. Use ControlFLASH or Studio 5000 to update firmware if necessary. Mismatched firmware is the most common cause of failed controller restores.
Step 5 — Installation and Download: Install the replacement unit, restore power, and download the saved project. Verify that all I/O modules go online, safety tasks initialize correctly, and the system achieves RUN mode without faults.
Step 6 — Functional Test: Perform a full I/O checkout, safety function test, and HMI communication verification before returning the system to production. Document the replacement in the site maintenance log with the new unit’s serial number and firmware version.
Keeping a pre-configured, firmware-matched 1756-L61S spare on-site reduces mean time to repair (MTTR) from days to hours. For facilities running multiple ControlLogix or GuardLogix systems, a minimum stock of one controller spare per system tier is a widely adopted best practice in industrial maintenance planning.
Spare Parts Support FAQ
Q1: Is this 1756-L61S unit compatible with my existing ControlLogix chassis and I/O modules?
Yes. The 1756-L61S is fully compatible with all standard 1756-series chassis (4, 7, 10, 13, and 17-slot) and the complete range of 1756 I/O, communication, and motion modules. Firmware version should be matched to your existing project file — we can advise on firmware revision upon request before shipment.
Q2: What pre-shipment testing is performed on this unit?
Each 1756-L61S unit undergoes power-on functional verification, memory integrity check, and communication port testing prior to dispatch. Units are shipped in ESD-safe packaging with inspection documentation. The 12-month warranty covers functional defects identified after installation under normal operating conditions.
Q3: Can this unit replace an older 1756-L61S that has been discontinued or is no longer available through standard distribution channels?
Yes. This is a direct form-fit-function replacement for the original 1756-L61S. It is suitable for legacy system life extension, emergency replacement of failed units, and planned maintenance stock replenishment. No chassis or wiring modifications are required.
Q4: What is the recommended spare parts inventory strategy for GuardLogix systems?
For critical production lines, maintain at minimum one 1756-L61S controller spare, one compatible power supply (1756-PA72 or PB72), and one EtherNet/IP communication module (1756-EN2T) per system. For multi-chassis installations, a shared spare pool with documented firmware versions and a tested backup project file is the most cost-effective approach to minimizing unplanned downtime risk.
© 2026 SMARTNEXMSK. All rights reserved.
Original Source: https://smartnexmsk.com
Contact: sales@smartnexmsk.com | +86 18259474341


