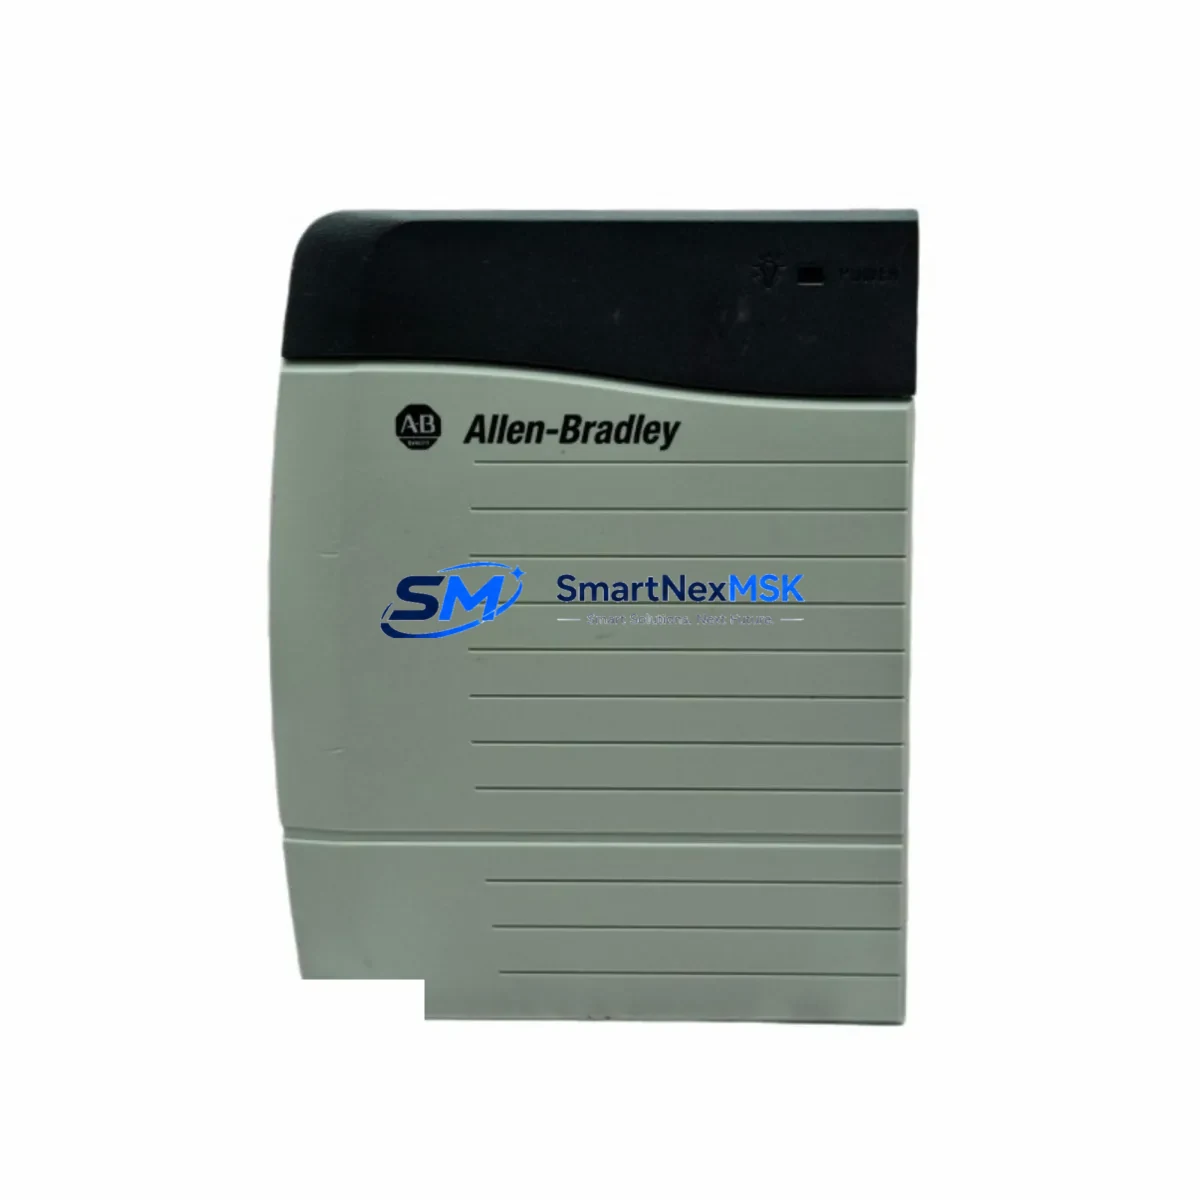
Allen-Bradley 1756-PA72 Retrofit-Ready AC Power Supply for ControlLogix Control Systems
The Allen-Bradley 1756-PA72 is a 72-watt AC input power supply engineered for the ControlLogix 1756 platform — one of Rockwell Automation’s most widely deployed control architectures in continuous manufacturing, utilities, and process industries. As legacy ControlLogix installations age and original power supply units approach end-of-service, the 1756-PA72 remains the definitive retrofit-ready replacement, offering full backward compatibility with existing 1756-series chassis, backplane interfaces, and field wiring without requiring program modifications or I/O remapping.
When planning a power supply replacement in an operational ControlLogix cabinet, engineers must verify several critical parameters before committing to a swap. First, confirm that the existing chassis — whether a 4-slot 1756-A4, 7-slot 1756-A7, 10-slot 1756-A10, or 13-slot 1756-A13 — is operating within the 1756-PA72’s rated 72W backplane power budget. Installations running high-density analog I/O modules such as the 1756-IF16 or 1756-OF8, combined with communication modules like the 1756-EN2T EtherNet/IP bridge or the 1756-DHRIO Data Highway Plus/Remote I/O module, may approach or exceed this threshold. In such cases, a load calculation must be performed using Rockwell’s chassis power tool before proceeding.
Terminal wiring compatibility is a key advantage of the 1756-PA72 retrofit path. The unit accepts 85–265V AC input across a wide voltage range, eliminating the need to reconfigure field power wiring in most North American and international installations. The three-position AC input terminal block (L1, L2/N, PE) matches the footprint of earlier 1756-PA72 revisions, allowing direct reconnection of existing conductors. Engineers should inspect terminal torque specifications and conductor gauge compatibility as part of the pre-installation checklist.
Backplane interface alignment is automatic — the 1756-PA72 slides into the leftmost slot of any 1756-series chassis and locks via the standard ControlLogix keying mechanism. No module address configuration is required, as the power supply does not occupy a logical slot in the controller’s I/O tree. This means the existing RSLogix 5000 or Studio 5000 Logix Designer project file requires no modification, and the controller — typically a 1756-L71, 1756-L73, or 1756-L83E — will resume normal scan cycle operation immediately upon power restoration.
For sites running FactoryTalk View SE or PanelView Plus HMI terminals connected via EtherNet/IP, the power supply replacement does not interrupt the HMI communication path, provided the controller retains its IP address and the EtherNet/IP network remains energized through an uninterruptible power source during the swap window. Communication links to remote I/O drops via 1756-EN2TR or fiber-connected 1756-ENBT modules are similarly unaffected by a like-for-like power supply replacement.
Field commissioning after installation is straightforward. Restore AC input power, verify the green PWR LED illuminates on the 1756-PA72 faceplate, and confirm the controller transitions from FAULTED to RUN mode without generating a power-related fault code. If a 1756-EWEB web server module or 1756-DNB DeviceNet bridge is present in the chassis, verify their status LEDs independently to confirm backplane power distribution is nominal across all slots.
Every 1756-PA72 unit supplied by SMARTNEXMSK undergoes pre-shipment functional testing, including AC input acceptance, DC output regulation verification, and backplane connector inspection. Units are shipped with original-style packaging and include a 12-month warranty covering manufacturing defects and operational failures under normal industrial service conditions. Stock is maintained to support urgent replacement requirements, with same-day dispatch available for in-stock orders.
Upgrade Compatibility Table
| Parameter | Specification / Notes |
|---|---|
| SKU | 1756-PA72 |
| Brand / Series | Allen-Bradley / ControlLogix 1756 |
| Input Voltage | 85–265V AC, 47–63 Hz (wide-range universal input) |
| Backplane Power Output | 72W maximum |
| Compatible Chassis | 1756-A4, 1756-A7, 1756-A10, 1756-A13, 1756-A17 |
| Backplane Interface | Standard ControlLogix keyed backplane connector — no address assignment |
| Terminal Block | 3-position AC input (L1, L2/N, PE) — direct rewire from prior revision |
| Communication Compatibility | Fully compatible with 1756-EN2T, 1756-EN2TR, 1756-DHRIO, 1756-DNB in same chassis |
| Controller Compatibility | 1756-L6x, 1756-L7x, 1756-L8x series (all ControlLogix generations) |
| Replacement Recommendation | Direct drop-in for all 1756-PA72 revisions; no program changes required |
| Commissioning Checklist | Load calculation → terminal rewire → backplane insertion → PWR LED verification → controller RUN confirmation |
| Warranty | 12-Month Warranty — covers manufacturing defects and operational failures |
Retrofit Planning for Existing Automation Systems
A successful ControlLogix power supply retrofit begins well before the maintenance window opens. The first step is auditing the full module complement in the target chassis. A typical 1756-A10 chassis running a process control application might contain a 1756-L73 controller, a 1756-EN2T EtherNet/IP communication module, two 1756-IF8 analog input modules, a 1756-OF4 analog output module, a 1756-IB16 digital input module, and a 1756-OB16E digital output module. Each module draws a defined backplane current at 5.1V and 24V rails — these values, published in Rockwell’s technical specifications, must be summed and compared against the 1756-PA72’s 72W rated output before confirming the replacement is appropriate.
If the audit reveals that backplane power consumption is within safe margins, the retrofit plan should document the existing AC input wiring configuration, including conductor colors, gauge, conduit routing, and terminal torque values. Photographs of the terminal block before disconnection are strongly recommended. The 1756-PA72’s input terminal block accepts conductors up to 2.5mm² (14 AWG), consistent with standard industrial panel wiring practice.
For sites where the ControlLogix chassis is integrated into a larger control architecture — for example, a distributed control system using 1756-RIO remote I/O adapters or a safety system incorporating a 1756-L7SP safety controller — the retrofit plan must account for the impact of a brief power interruption on downstream devices. Coordinating the replacement with the site’s permit-to-work system and notifying operators of the planned outage window is essential for maintaining process safety and regulatory compliance.
Programming cable access is not required for a like-for-like 1756-PA72 replacement, as no firmware or configuration changes are needed. However, having a 1784-U2DHP USB-to-DH+ adapter or a standard Ethernet-connected programming workstation running Studio 5000 Logix Designer available on-site during commissioning allows engineers to monitor controller status, review fault logs, and verify I/O module health immediately after power restoration — reducing the risk of extended downtime if an unrelated fault is discovered during the maintenance window.
Downtime Control During System Migration
Minimizing downtime during a ControlLogix power supply replacement requires disciplined pre-planning and a clearly defined execution sequence. The target maintenance window for a straightforward 1756-PA72 swap in a single-chassis system is typically 15–30 minutes, assuming all preparatory steps have been completed in advance.
Before the maintenance window begins, confirm that the replacement 1756-PA72 unit has been tested and is ready for installation, all required tools (screwdrivers, torque wrench, PPE) are staged at the panel, the controller’s program has been backed up to a memory card or offline project file, and the site’s safety interlock and permit-to-work procedures have been completed. If the chassis contains a 1756-ESMNSE energy storage module, verify its charge state and discharge procedure before opening the cabinet.
During the swap, de-energize the AC input circuit at the upstream disconnect, not at the power supply itself. Remove the 1756-PA72 by releasing the top and bottom locking tabs and sliding it out of the chassis. Insert the replacement unit, ensuring the backplane connector is fully seated before engaging the locking tabs. Reconnect the AC input terminals in the documented sequence, verify conductor seating, and apply the specified torque. Re-energize the circuit and observe the PWR LED. A solid green indication confirms successful backplane power delivery.
If the controller does not transition to RUN mode automatically, connect a programming workstation and review the fault log in Studio 5000 Logix Designer. Common post-replacement faults include I/O module communication timeouts caused by modules that require a brief re-initialization period after power restoration — these typically clear within one scan cycle and do not indicate a hardware fault. Once the controller is confirmed in RUN mode and all I/O modules report healthy status, the maintenance window can be closed and normal production resumed.
For multi-chassis systems where the 1756-PA72 powers a chassis containing only communication or I/O modules — with the primary controller residing in a separate chassis — the replacement can often be performed without interrupting the controller’s scan cycle, provided the communication modules re-establish their connections within the configured RPI timeout period. This approach is particularly effective in large distributed architectures where chassis are interconnected via 1756-EN2TR ring-topology EtherNet/IP networks, as the ring redundancy maintains communication continuity during the brief power interruption to the affected chassis.
Retrofit Support FAQ
Q1: Is the 1756-PA72 a direct replacement for all previous revisions of the same part number?
Yes. All catalog revisions of the 1756-PA72 share the same backplane connector, chassis mounting interface, and AC input terminal block. The replacement unit installs directly into any 1756-series chassis without modification to wiring, mounting hardware, or controller configuration. No program changes are required in RSLogix 5000 or Studio 5000 Logix Designer.
Q2: What pre-shipment testing is performed on each 1756-PA72 unit?
Every unit undergoes functional testing prior to dispatch, including AC input acceptance across the full 85–265V range, DC output regulation verification at the 5.1V and 24V backplane rails, and physical inspection of the backplane connector and AC terminal block. Units that do not meet specification are quarantined and not shipped. A test record is available upon request.
Q3: What does the 12-month warranty cover, and how is a warranty claim processed?
The 12-month warranty covers manufacturing defects and operational failures occurring under normal industrial service conditions. It does not cover damage resulting from incorrect installation, overvoltage events, or physical mishandling. To initiate a warranty claim, contact sales@smartnexmsk.com with the order reference, unit serial number, and a description of the fault. Replacement units are dispatched upon fault confirmation, with return shipping of the defective unit required within 30 days.
Q4: Can SMARTNEXMSK support long-term supply for ongoing maintenance programs?
Yes. SMARTNEXMSK maintains standing inventory of the 1756-PA72 and related ControlLogix components to support planned maintenance schedules, emergency replacements, and multi-site procurement programs. Customers with recurring requirements are encouraged to contact the sales team to discuss volume pricing, reserved stock arrangements, and lead-time commitments tailored to their maintenance calendar.
© 2026 SMARTNEXMSK. All rights reserved.
Original Source: https://smartnexmsk.com
Contact: sales@smartnexmsk.com | +86 18259474341


