Allen-Bradley 193-ESM-IG-30A-E3T Retrofit-Ready Soft Starter for E3T Series Control Systems
The Allen-Bradley 193-ESM-IG-30A-E3T is a 30A electronic overload and soft starter module engineered for the E3T Series platform — one of Rockwell Automation’s most widely deployed motor protection and soft-starting solutions in industrial control cabinets worldwide. As legacy E3T installations age and original spare parts become increasingly difficult to source, the 193-ESM-IG-30A-E3T has become a critical retrofit component for maintenance engineers managing aging motor control centers (MCCs), control panels, and distributed automation systems.
This module is designed for direct integration into existing E3T Series control architectures without requiring panel redesign or PLC program restructuring. Whether you are replacing a failed unit on a running production line, upgrading a discontinued predecessor model, or modernizing a legacy soft-start system to meet current safety and communication standards, the 193-ESM-IG-30A-E3T delivers the compatibility and reliability that industrial retrofit projects demand.
Upgrade Compatibility Table
| Parameter | Details |
|---|---|
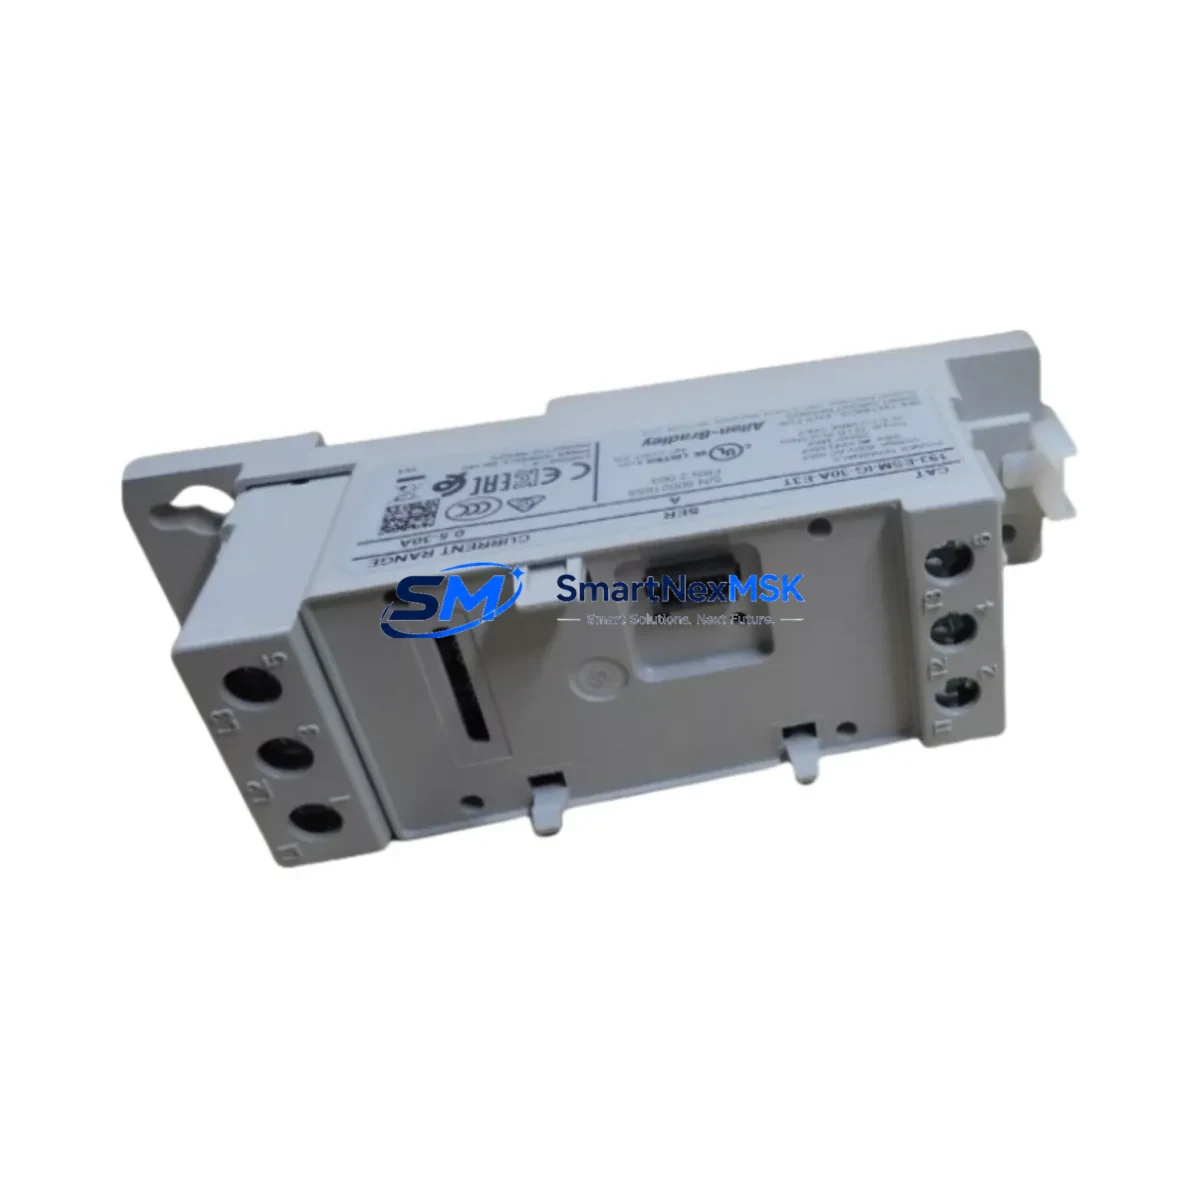
| SKU / Part Number | 193-ESM-IG-30A-E3T |
| Series | Allen-Bradley E3T Series |
| Rated Current | 30A |
| Communication Protocol | DeviceNet (via E3T gateway module) |
| Mounting / Installation | Direct plug-in to E3T Series base unit; no additional hardware required |
| Terminal Wiring Compatibility | Compatible with existing E3T terminal block layouts; no rewiring required for standard replacements |
| Backplane / Rack Interface | E3T Series base — compatible with 193-EEJB, 193-EEJC, and related base units |
| PLC Program Compatibility | Fully compatible with existing ControlLogix, CompactLogix, and MicroLogix ladder logic referencing E3T I/O tags |
| HMI Screen Compatibility | No HMI screen reconfiguration required when replacing like-for-like; tag addresses remain unchanged |
| Replacement Recommendation | Direct drop-in replacement for 193-ESM-IG-30A-E3T; verify firmware revision if integrating with updated E3T gateway |
| Commissioning Notes | Confirm module address via RSNetWorx for DeviceNet; validate trip class and FLA settings post-installation |
| Warranty | 12-Month Warranty — covers manufacturing defects and functional failures under normal operating conditions |
Retrofit Planning for Existing Automation Systems
Successful retrofit of the 193-ESM-IG-30A-E3T into an existing control system requires a structured pre-installation review. Before removing the failed or obsolete module, engineers should document the current DeviceNet node address assigned to the E3T gateway — typically configured via the 193-DNENCAT or 193-DNENCATR communication adapter mounted on the E3T base. This node address must be replicated on the replacement module to avoid network conflicts and ensure the ControlLogix or CompactLogix controller continues to poll the correct device instance.
Power supply capacity is a frequent oversight in E3T retrofit projects. The 24VDC control power rail feeding the E3T base must be verified against the total current draw of all connected modules, including any 193-EEJB or 193-EEJC expansion bases in the same MCC bucket. If the existing 1606-XLP or 1606-XLS series power supply is operating near its rated output, adding a replacement module with updated firmware may marginally increase standby current — a pre-retrofit load calculation is strongly recommended.
Terminal wiring on the E3T base is standardized across the 193-ESM family, meaning the L1, L2, L3 line-side and T1, T2, T3 load-side connections remain physically identical. However, engineers should inspect terminal torque values and conductor insulation condition before re-energizing, particularly in installations where the original module has been in service for more than five years. In high-vibration environments, terminal screws may have loosened over time, and a full torque check per the E3T installation manual is best practice.
For systems where the E3T communicates upstream to a PanelView Plus HMI via FactoryTalk View, no screen reconfiguration is typically required for a like-for-like module swap. The tag database in the ControlLogix program references the E3T I/O structure by node address and device type, not by physical module serial number. However, if the replacement module carries a different firmware revision than the original, engineers should verify that the EDS file registered in RSNetWorx for DeviceNet matches the new module’s firmware to prevent parameter mismatch faults on the DeviceNet scanner card — such as the 1756-DNB or 1769-SDN.
In multi-drive MCC lineups where several E3T modules share a common DeviceNet trunk, the retrofit window should be planned during a scheduled maintenance shutdown. Isolate the affected MCC bucket, de-energize the DeviceNet segment if possible, and perform the module swap with the network offline to prevent spurious fault messages from propagating to the controller. After reinstallation, bring the DeviceNet segment back online and use RSNetWorx to verify that the 193-ESM-IG-30A-E3T is recognized at the correct node address before re-enabling the motor starter output from the PLC.
Downtime Control During System Migration
Minimizing unplanned downtime is the primary concern in any E3T Series retrofit. The 193-ESM-IG-30A-E3T is designed to support rapid field replacement — the plug-in module architecture of the E3T base eliminates the need for rewiring, and the module can typically be swapped in under 15 minutes by a qualified technician familiar with the E3T platform.
To protect the original PLC program logic during the replacement, engineers should export and archive the current ControlLogix or CompactLogix project file before beginning any hardware work. This ensures that if a firmware incompatibility or configuration issue arises after the swap, the original program can be restored without data loss. Similarly, the RSNetWorx for DeviceNet configuration file should be saved and backed up, as it contains the node address assignments, EDS file mappings, and scan list entries for all DeviceNet devices on the network segment.
For facilities where continuous motor operation is critical — such as HVAC systems, water treatment pumps, or conveyor drives — a pre-staged replacement module should be kept in local inventory. Having a tested and pre-configured 193-ESM-IG-30A-E3T on the shelf, with the correct trip class and FLA settings pre-entered, reduces mean time to repair (MTTR) from hours to minutes. Each unit shipped by SMARTNEXMSK undergoes functional testing prior to dispatch, and is accompanied by a test report confirming key electrical parameters — providing additional confidence for time-critical maintenance scenarios.
Where a full shutdown is not feasible, some facilities implement a staged migration strategy: the replacement module is installed in a parallel test panel and validated against the live PLC program using a spare DeviceNet node address before the final cutover. This approach is particularly effective in large MCC lineups where multiple E3T modules are being replaced as part of a broader system modernization program.
Retrofit Support FAQ
Q1: Is the 193-ESM-IG-30A-E3T a direct replacement for my existing E3T module?
Yes. The 193-ESM-IG-30A-E3T is a direct plug-in replacement for the same SKU in the E3T Series base. It maintains the same terminal layout, DeviceNet communication interface, and I/O tag structure as the original module. No PLC program changes or HMI reconfiguration are required for a like-for-like swap, provided the DeviceNet node address is correctly set to match the original configuration.
Q2: What commissioning steps are required after installation?
After installing the replacement module, verify the DeviceNet node address using RSNetWorx for DeviceNet and confirm the module appears on the scan list without faults. Set the Full Load Amps (FLA) and trip class parameters to match the motor nameplate and original configuration. If the module firmware revision differs from the original, update the EDS file in RSNetWorx and re-download the scan list to the DeviceNet scanner (e.g., 1756-DNB or 1769-SDN). Finally, perform a test start of the motor under no-load conditions before returning the system to full production.
Q3: How do I verify wiring compatibility before installation?
The E3T Series base unit uses a standardized terminal block layout across the 193-ESM module family. Line-side (L1/L2/L3) and load-side (T1/T2/T3) connections are physically identical across 30A-rated modules. Verify conductor gauge and insulation rating against the E3T installation manual (publication 193-UM002), and confirm terminal torque values are within specification. No rewiring is required for a standard like-for-like replacement.
Q4: What does the 12-month warranty cover?
All 193-ESM-IG-30A-E3T units supplied by SMARTNEXMSK carry a 12-month warranty covering manufacturing defects and functional failures under normal operating conditions. Each unit is functionally tested prior to shipment, and a test report is included with the delivery. In the event of a warranty claim, contact our technical support team with the order reference and fault description. Replacement or repair will be arranged promptly to minimize impact on your production schedule.
© 2026 SMARTNEXMSK. All rights reserved.
Original Source: https://smartnexmsk.com
Contact: sales@smartnexmsk.com | +86 18259474341


