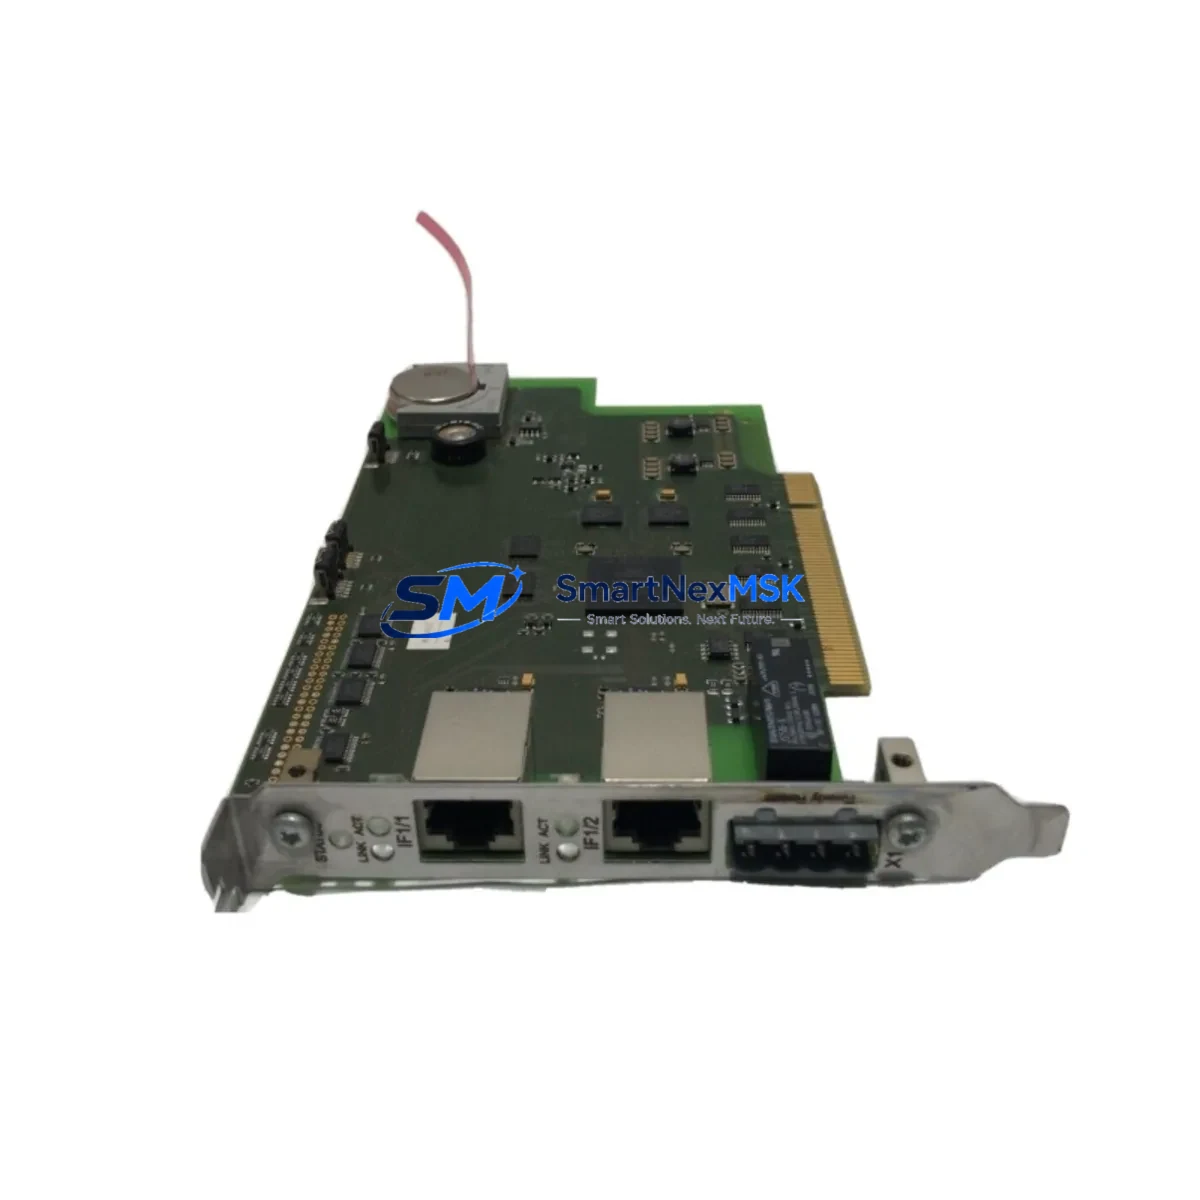
B&R X67DO1332 Retrofit-Ready Digital Output for X67 Control Systems
The B&R X67DO1332 is a 12-channel, 24 VDC digital output module engineered for the B&R X67 distributed I/O platform. Rated to IP67, it is designed for direct field-bus mounting without a control cabinet, making it the preferred retrofit solution for aging X67-series installations, discontinued spare-part programs, and production lines undergoing control-system modernization. Whether you are replacing a failed unit, upgrading an end-of-life node, or migrating an entire machine network to a current firmware baseline, the X67DO1332 delivers a verified drop-in fit with no mechanical rework and no PLC program restructuring.
Upgrade Compatibility Table
| Parameter | X67DO1332 Specification | Retrofit Notes |
|---|---|---|
| Output Channels | 12 × 24 VDC digital outputs | Pin-compatible with prior X67 DO variants; verify channel mapping in Automation Studio I/O configuration |
| Protection Rating | IP67 | Suitable for direct machine-frame mounting; no cabinet enclosure required |
| Communication Interface | X2X Link (B&R proprietary fieldbus) | Fully compatible with existing X2X Link segments; no gateway or protocol converter needed |
| Power Supply | 24 VDC module supply + 24 VDC field supply | Confirm existing X67 power module (e.g., X67PS1300) capacity covers added load; check segment current budget |
| Backplane / Rack | X67 bus module mounting (M12 connectors) | Mounts directly to X67 bus module chain; no additional backplane hardware required |
| Module Address | Configured via Automation Studio hardware tree | Retain original slot address to avoid PLC variable remapping |
| Firmware Compatibility | Compatible with Automation Runtime B4.x and later | Update X67 firmware via Automation Studio if running legacy AR versions below B4.0 |
| HMI / SCADA Impact | No tag-name changes required | Existing Automation Studio mappings and Visual Components / mapp View HMI screens remain valid |
| Replacement Fit | Drop-in for discontinued X67DO variants | Verify output current rating per channel matches actuator load specifications |
| Warranty | 12-Month Warranty | Covers manufacturing defects; includes pre-shipment functional test report |
Retrofit Planning for Existing Automation Systems
Successful integration of the X67DO1332 into a running production environment begins well before the module arrives on site. Start by auditing the existing X67 bus module chain to confirm the total number of nodes, the current X2X Link segment load, and the available capacity on the X67PS1300 or X67PS2100 power supply module feeding that segment. A segment that is already near its current limit will require either a power supply upgrade or a segment split before the new output module can be added safely.
Next, review the terminal wiring. The X67DO1332 uses M12 connectors for both the bus interface and the field I/O. If the existing installation uses an older wiring harness or a non-standard M12 pin assignment, prepare a revised wiring diagram before shutdown. Cross-reference the actuator load current against the per-channel output rating of the X67DO1332 to avoid nuisance overcurrent trips during commissioning.
In Automation Studio, open the hardware configuration and locate the slot occupied by the module being replaced. Note the I/O variable mappings, channel enable masks, and any diagnostic task references. When the X67DO1332 is inserted into the same slot position, Automation Studio will recognize it automatically if the hardware description file (HDF) version matches. If the project was built on an older HDF, update the X67 module library before downloading the configuration. This step also applies when migrating from a legacy X67DO1300 or similar discontinued variant.
For systems that include an X67BC0087 or X67BC0083 bus controller, confirm that the bus controller firmware supports the X67DO1332 module descriptor. Bus controllers running firmware older than a certain revision may not enumerate the module correctly, resulting in a bus error on startup. A firmware update to the bus controller resolves this without requiring any changes to the PLC application program.
Where the control architecture includes a B&R X20CP1586 or X20CP3586 CPU module communicating over POWERLINK to remote X67 stations, verify that the POWERLINK cycle time is sufficient to handle the additional I/O data from the new output module. In most cases the existing cycle time is adequate, but systems running at sub-millisecond cycle times should be validated in a test environment first.
If the machine also uses an X67DI1372 digital input module or an X67AI1322 analog input module in the same bus segment, confirm that the combined I/O data length does not exceed the X2X Link frame capacity. Automation Studio’s I/O mapping view displays the total frame utilization and will flag an overflow before the configuration is downloaded.
For installations that include a B&R Automation Panel (AP900 or AP1000 series) as the operator interface, no HMI screen modifications are required when replacing a like-for-like output module. The process variable names and alarm tags remain unchanged, preserving operator familiarity and reducing revalidation effort.
Finally, prepare a commissioning checklist that covers: power-on sequence, bus controller status LED verification, Automation Studio online diagnostics, channel-by-channel output force test, and a 30-minute soak run under normal production load. Document the results and retain them as part of the machine’s maintenance record.
Downtime Control During System Migration
Minimizing unplanned downtime is the primary concern for any retrofit involving a live production line. The X67DO1332 supports a structured hot-swap preparation workflow: because the module communicates over X2X Link rather than a traditional backplane bus, the replacement sequence can be rehearsed offline using a spare X67 bus module chain and a laptop running Automation Studio in simulation mode. This allows the maintenance team to validate the new hardware configuration, confirm variable mappings, and generate a tested download package before the production machine is taken offline.
When the maintenance window opens, follow a controlled shutdown sequence: disable outputs via the PLC application, set the relevant task to safe state, then remove power from the field supply before disconnecting the M12 I/O connector. Install the X67DO1332, reconnect the field supply, and allow the bus controller to enumerate the new module. Automation Studio’s online view will confirm successful enumeration within seconds. Download the pre-validated configuration, force-test each output channel against its actuator, and release the machine to production. A well-prepared team can complete this sequence in under 20 minutes for a single-module replacement.
To protect the original program logic, always back up the Automation Studio project — including the hardware configuration, task programs, and I/O mappings — to a version-controlled repository before beginning any hardware change. If the replacement module triggers an unexpected bus error, the backup allows an immediate rollback to the previous hardware configuration without loss of program data. Retaining the original module as a tested spare further reduces recovery time in the event of a secondary failure.
Retrofit Support FAQ
Q1: Is the X67DO1332 a direct replacement for discontinued X67 digital output modules?
Yes. The X67DO1332 is mechanically and electrically compatible with the X67 bus module mounting system and communicates over the same X2X Link protocol used by earlier X67 digital output variants. In most cases, replacing a discontinued module with the X67DO1332 requires only a hardware configuration update in Automation Studio — no rewiring and no PLC program changes.
Q2: What commissioning steps are required after installation?
After physical installation, download the updated hardware configuration from Automation Studio, verify that the bus controller enumerates the module without errors, and perform a channel-by-channel output force test to confirm actuator response. Check the diagnostic page in Automation Studio for any overcurrent or short-circuit flags before releasing the machine to production. The entire commissioning sequence typically takes 15–30 minutes for a single-module replacement.
Q3: How do I verify wiring compatibility before installation?
Compare the M12 connector pin assignment of the X67DO1332 with the existing wiring harness using the B&R X67 user manual. Confirm that the field supply voltage (24 VDC), the output load current per channel, and the cable shielding arrangement match the module’s specifications. If the existing harness uses a non-standard pin assignment, prepare a revised wiring adapter before the maintenance window to avoid delays during installation.
Q4: What does the 12-month warranty cover, and is a test report included?
The 12-month warranty covers manufacturing defects and functional failures under normal operating conditions. Every X67DO1332 unit shipped by SMARTNEXMSK undergoes a pre-shipment functional test, and a test report is available upon request. Warranty claims are processed promptly; contact sales@smartnexmsk.com with the order reference and a description of the fault for rapid resolution.
© 2026 SMARTNEXMSK. All rights reserved.
Original Source: https://smartnexmsk.com
Contact: sales@smartnexmsk.com | +86 18259474341