Bently Nevada 330130-040-11-05 Maintenance-Ready Spare for 3300 XL Automation
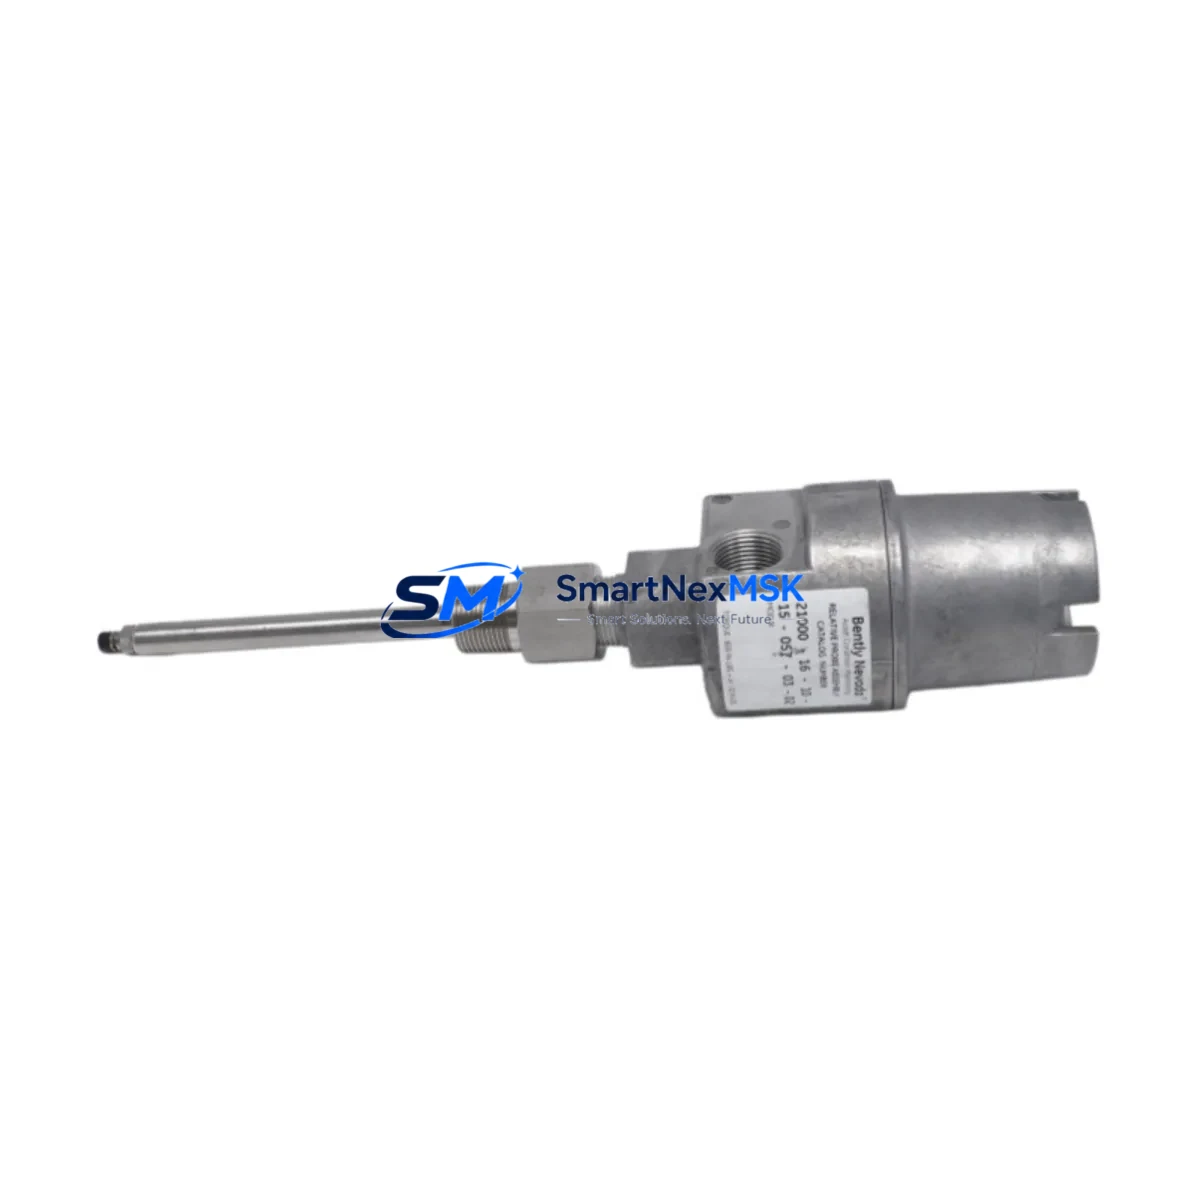
The Bently Nevada 330130-040-11-05 is an 8mm proximity transducer engineered for continuous vibration and position monitoring within the 3300 XL Series machinery protection system. For maintenance engineers managing rotating equipment — turbines, compressors, pumps, and gearboxes — this transducer is a critical front-line component. Its failure or degradation directly triggers false trips, missed fault detection, or unplanned downtime. Holding a verified spare on the shelf is not optional; it is a core element of any credible predictive maintenance strategy.
This unit is an original Bently Nevada component, not an aftermarket substitute. It ships tested, calibrated, and ready for immediate field installation. Each unit carries a 12-month warranty covering manufacturing defects and is dispatched with full inspection documentation to support your maintenance records and audit trail.
Spare Maintenance Table
| Parameter | Specification |
|---|---|
| Part Number | 330130-040-11-05 |
| Brand | Bently Nevada |
| Series | 3300 XL |
| Transducer Type | 8mm Eddy-Current Proximity Transducer |
| Cable Length | 5m (integral) |
| Sensitivity | 7.87 V/mm (200 mV/mil) |
| Linear Range | 0.25 – 2.25 mm (10 – 90 mil) |
| Supply Voltage | -24 VDC (nominal) |
| Operating Temperature | -35°C to +121°C |
| Compatibility | 3300 XL Monitor, 3500 Series (with adapter), Proximitor® 3300 XL |
| Thread Size | M10 x 1 |
| Installation Environment | Industrial — turbine halls, compressor skids, pump stations |
| Maintenance Interval | Inspect every 12 months or per OEM schedule |
| Warranty | 12 Months — manufacturing defects covered |
| Origin | USA |
Maintenance Planning for Continuous Operation
When a 330130-040-11-05 proximity transducer is flagged for replacement during a planned outage or emergency shutdown, experienced maintenance engineers know that the transducer itself is rarely the only component requiring attention. A systematic inspection of the full measurement chain prevents repeat failures and maximizes the value of each maintenance window.
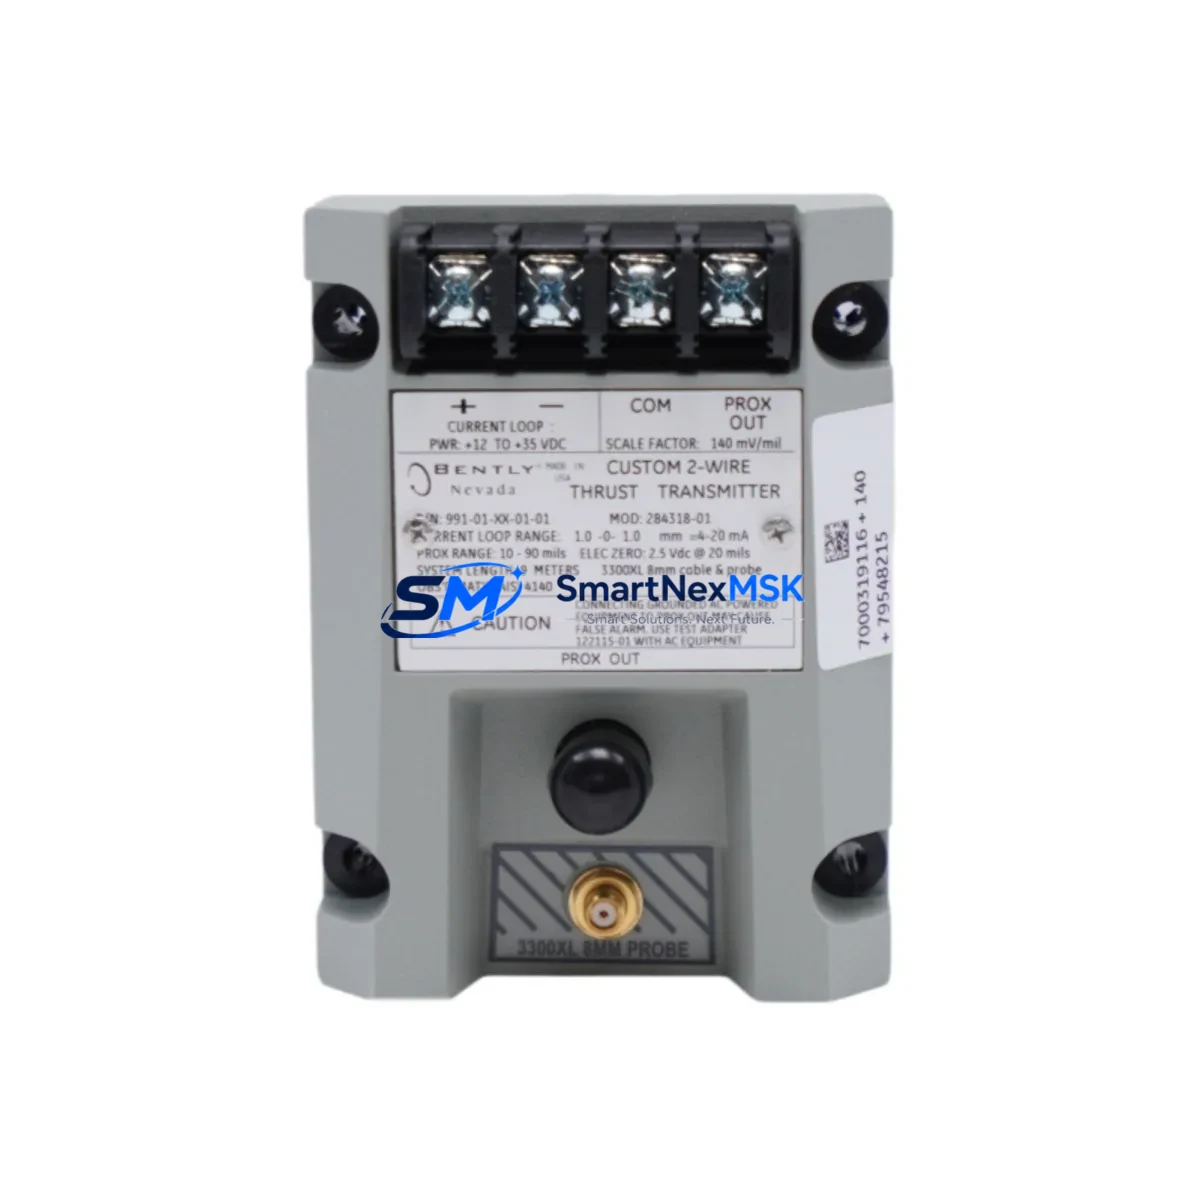
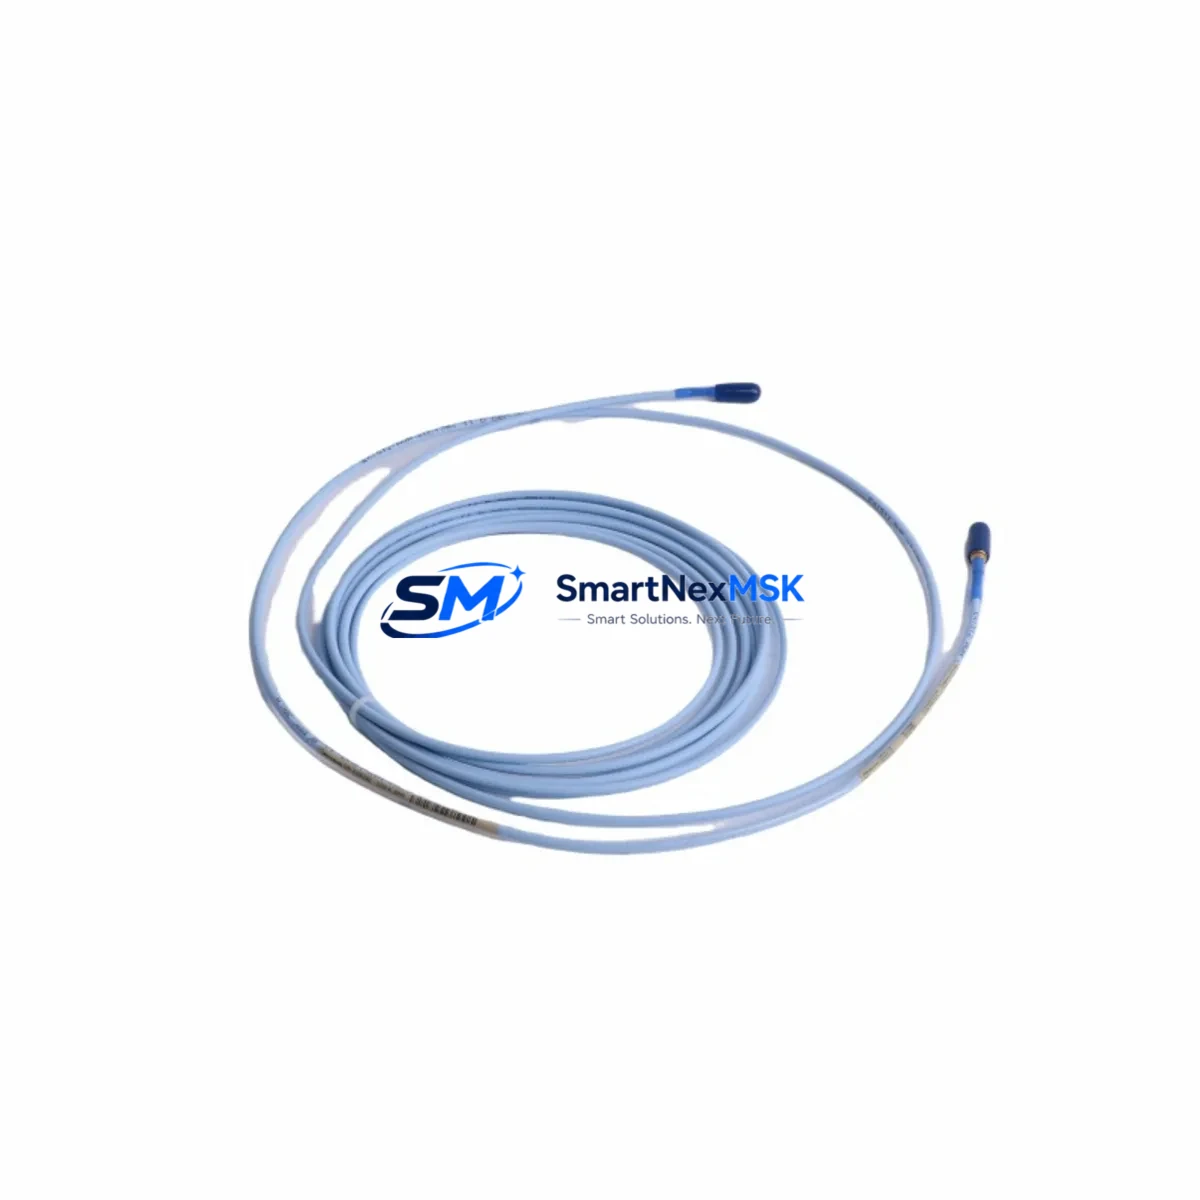
Begin with the Proximitor® sensor (3300 XL Proximitor®) — the signal conditioning module paired with this transducer. If the transducer has been running in a high-vibration or high-temperature environment, the Proximitor® should be bench-tested for output linearity before the machine is returned to service. Next, inspect the extension cable (330130 series extension cable) connecting the transducer to the Proximitor®; cable jacket cracking, connector corrosion, or shield continuity loss are common failure modes that mimic transducer faults.
At the monitor level, verify the 3300 XL Monitor module channel configuration — gap voltage, OK limits, and alarm setpoints — before reinstalling. If the monitor card has accumulated years of service, this is an appropriate time to cross-check it against a known-good spare. For sites running the 3500 Series rack, confirm that the correct adapter and channel configuration are in place for 3300 XL transducer compatibility.
Within the control cabinet, inspect the terminal blocks and field wiring for the transducer loop. Loose terminations or corroded contacts introduce noise that can cause nuisance alarms after reinstallation. Check the -24 VDC power supply rail feeding the Proximitor® — voltage sag or ripple will shift the transducer’s gap voltage output and compromise measurement accuracy. A dedicated DC/DC isolated power module for the vibration monitoring loop is recommended if power quality issues are suspected.
For sites with signal isolators or barriers in the transducer loop (common in hazardous area installations), verify that the isolator’s input impedance and bandwidth are compatible with the 3300 XL transducer output. Zener barriers or galvanic isolators that have degraded will attenuate the proximity signal and produce misleading gap readings. Also confirm the integrity of the earth/ground bonding at the Proximitor® housing and the machine casing — ground loops are a persistent source of noise in eddy-current measurement systems.
Finally, if this replacement is part of a broader control system audit, consider the condition of adjacent I/O modules, relay output cards, and communication modules in the 3300 XL or 3500 rack. A rack-level inspection during a planned outage is far more cost-effective than responding to cascading failures during production.
Site Replacement Workflow
Step 1 — Pre-replacement verification: Confirm the replacement unit part number (330130-040-11-05) matches the installed transducer label and the monitor channel configuration. Do not substitute a different cable-length variant without recalculating gap voltage targets.
Step 2 — Safe isolation: Follow your site’s lockout/tagout (LOTO) procedure. De-energize the Proximitor® supply before disconnecting the transducer. Avoid pulling the transducer connector under live power — the resulting voltage spike can damage the monitor input card.
Step 3 — Physical removal and inspection: Remove the transducer using the correct spanner on the M10 thread. Inspect the probe tip for impact damage or contamination. Inspect the target area on the shaft for scoring or runout anomalies that may have contributed to the original fault.
Step 4 — Installation and gap setting: Install the new 330130-040-11-05 and set the air gap to the OEM-specified nominal position (typically 1.0–1.27 mm / 40–50 mil). Measure the Proximitor® output voltage with a calibrated DMM to confirm the gap is within the linear range (nominally -10 to -12 VDC at the set gap).
Step 5 — System verification: Re-energize the Proximitor® and confirm OK status on the 3300 XL Monitor. Verify that gap voltage, vibration amplitude, and phase readings are within expected baseline values before releasing the machine to operations.
Step 6 — Documentation: Record the replacement in your CMMS, including the new unit serial number, gap voltage reading, and technician sign-off. Retain the original unit for failure analysis if required.
This workflow applies equally to legacy installations where the 330130-040-11-05 is replacing an older 330130 series transducer. The 3300 XL system’s backward compatibility with earlier 330130 variants means downtime can be minimized without requiring monitor reconfiguration in most cases.
Spare Parts Support FAQ
Q1: What is the shelf life of the 330130-040-11-05 in storage?
When stored in original packaging in a dry, temperature-controlled environment (0–40°C, <85% RH non-condensing), the 330130-040-11-05 has an indefinite shelf life for the mechanical and electrical components. The integral cable jacket should be inspected annually for any signs of plasticizer migration or cracking. We recommend rotating stock on a first-in, first-out basis and performing a bench gap-voltage check before installation if the unit has been stored for more than 3 years.
Q2: How do I verify compatibility before installation?
Confirm that your installed Proximitor® is a 3300 XL variant (not an earlier 3300 non-XL unit). Check the monitor channel configuration for the correct transducer type selection. The 330130-040-11-05 is compatible with all standard 3300 XL Monitor channels and most 3500 Series channels when the appropriate transducer type is selected in the rack configuration software. If in doubt, provide your monitor model number and rack configuration to our technical team before ordering.
Q3: What pre-shipment testing is performed on each unit?
Every 330130-040-11-05 unit is bench-tested for output sensitivity (7.87 V/mm ± 10%), OK voltage range, and cable continuity before dispatch. Units are shipped with a test report confirming these parameters. The 12-month warranty covers any manufacturing defect identified after installation under normal operating conditions.
Q4: Can this transducer replace older 330130 series variants with different cable lengths?
The -05 suffix denotes a 5m integral cable. Substituting a different cable-length variant (e.g., -03 for 3m or -08 for 8m) will shift the Proximitor® output voltage at a given gap, requiring gap re-setting and potentially alarm setpoint adjustment. Always match the cable length suffix to the original installed configuration unless a full recalibration is planned. Contact our team if you need assistance selecting the correct variant for your installation.
© 2026 SMARTNEXMSK. All rights reserved.
Original Source: https://smartnexmsk.com
Contact: sales@smartnexmsk.com | +86 18259474341