Honeywell 20VR6 Retrofit-Ready EMI Filter for 20VR Control Systems
The Honeywell 20VR6 is a 20-amp EMI power line filter engineered for seamless compatibility with legacy 20VR series control panel installations. As industrial facilities face increasing pressure to modernize aging power distribution infrastructure without full system overhauls, the 20VR6 provides a proven, drop-in retrofit path that preserves existing wiring topology, cabinet layout, and grounding schemes. Whether you are replacing a failed unit on a running production line, upgrading a control cabinet to meet updated EMC compliance standards, or migrating from an end-of-life filter model, the 20VR6 delivers the electrical performance and mechanical fit required for a low-risk, minimum-downtime changeover.
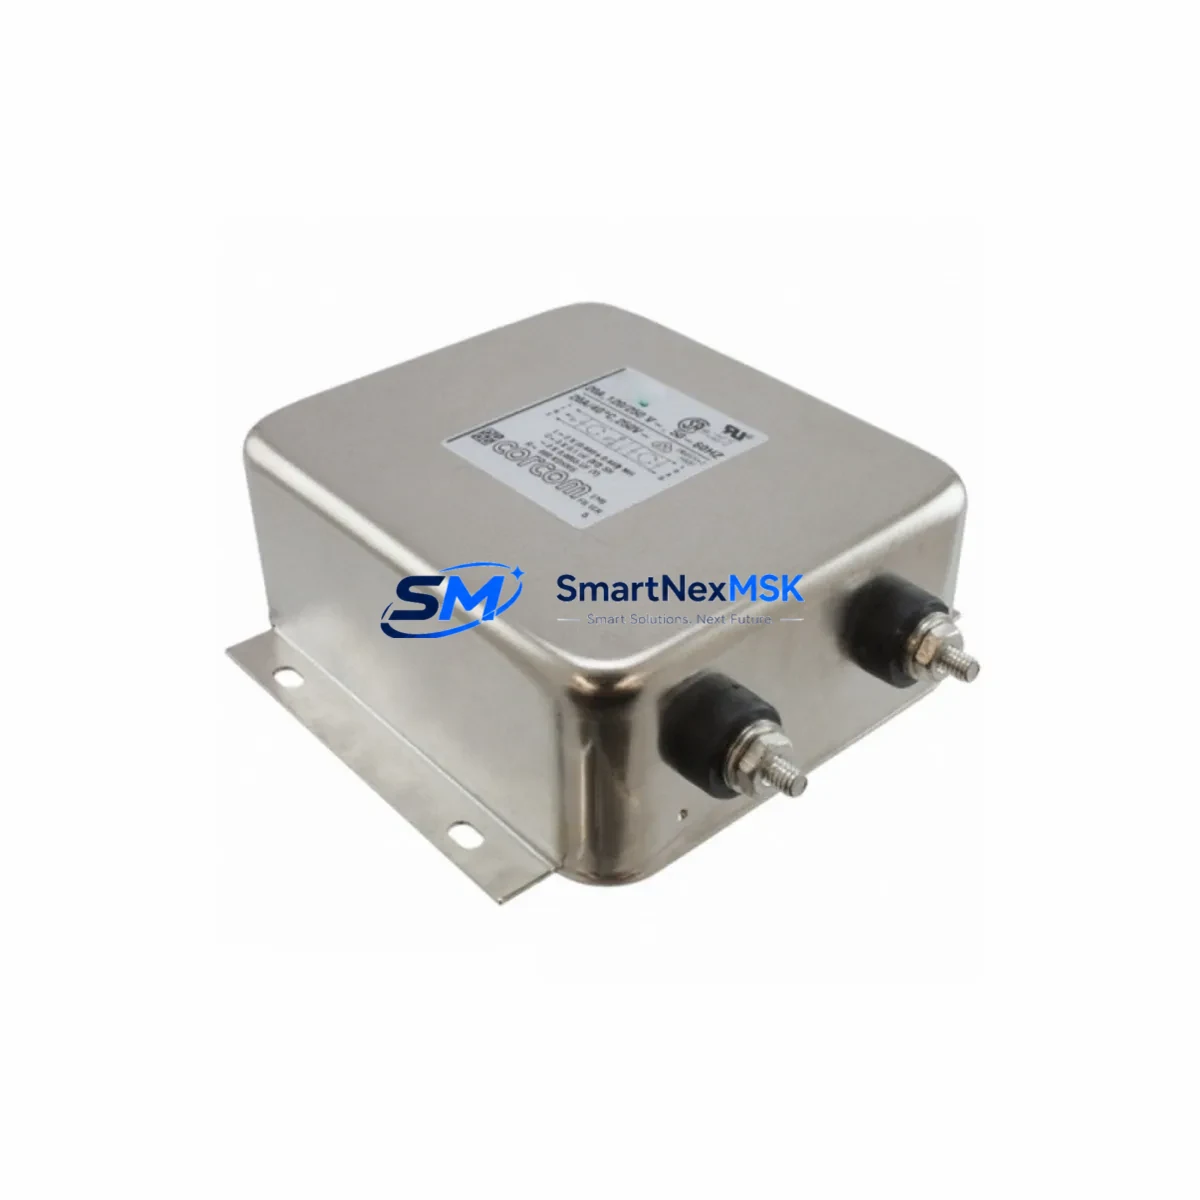
Designed for single-phase AC power line applications, the 20VR6 suppresses conducted electromagnetic interference across a broad frequency range, protecting sensitive PLC CPUs, servo drives, variable frequency drives (VFDs), and HMI panels from noise-induced faults. Its stud terminal construction allows direct connection to existing bus bars and ring-lug wiring without re-termination, making it particularly well-suited for retrofit scenarios where the original wiring must be preserved. The compact form factor fits standard DIN-rail enclosures and panel-mount cutouts common in 20VR series control cabinets.
Upgrade Compatibility Table
| Parameter | Honeywell 20VR6 | Retrofit Notes |
|---|---|---|
| Rated Current | 20A | Verify upstream breaker and wire gauge match 20A rating before installation |
| Terminal Type | Stud Terminal | Compatible with ring-lug wiring; no re-termination required for most 20VR installations |
| Mounting | Panel Mount / DIN Rail | Fits standard 20VR series cutout dimensions; check torque spec on mounting hardware |
| Communication Compatibility | Passive filter — protocol-agnostic | Compatible with Modbus RTU, PROFIBUS, DeviceNet, and Ethernet/IP control architectures |
| Replacement Fit | Direct drop-in for 20VR series | Confirm chassis ground bonding point matches original installation drawing |
| Commissioning Focus | Ground continuity, leakage current, insertion loss verification | Use LCR meter to confirm filter performance post-installation |
| Warranty | 12-Month Warranty | Covers manufacturing defects; includes pre-shipment functional test report |
Retrofit Planning for Existing Automation Systems
Successful integration of the Honeywell 20VR6 into an existing control system begins with a thorough review of the original panel drawings and power distribution schematic. In most 20VR series installations, the EMI filter is positioned between the main disconnect and the 24VDC power supply module — typically a Honeywell or third-party DIN-rail power supply rated for the panel’s I/O load. Before removing the legacy filter, document the existing wiring labels, terminal positions, and ground bonding points using the as-built drawings or a site survey.
For control cabinets that also house a PLC rack — such as a Honeywell HC900 controller chassis or a ControlEdge PLC backplane — it is critical to verify that the 20VR6’s leakage current specification is within the acceptable range for the installed CPU module and I/O modules. High leakage current from an improperly specified filter can trigger ground fault protection on sensitive analog input modules or cause erratic behavior in thermocouple input cards. Cross-reference the filter’s leakage current rating against the PLC manufacturer’s grounding guidelines before finalizing the retrofit plan.
In panels where the 20VR6 shares a cabinet with servo drives or VFDs, pay particular attention to the physical separation between the filter’s output wiring and the drive’s motor cable. Parallel routing of these conductors over distances greater than 300mm can reintroduce the conducted noise the filter is designed to suppress. Use shielded cable for motor connections and maintain the shield termination at the drive’s PE terminal, not at the filter housing.
Communication modules installed in the same cabinet — including PROFIBUS DP adapters, Modbus TCP gateways, or EtherNet/IP scanner cards — should be powered from a separate 24VDC rail downstream of the 20VR6 to ensure maximum noise attenuation on the logic supply. If the existing installation uses a Honeywell Experion PKS remote I/O node or a Series C I/O FIM (Field Interface Module), confirm that the node’s power input specification is compatible with the filtered supply voltage tolerance.
For facilities upgrading from older panel designs that used legacy EMI filters with screw-clamp terminals, the 20VR6’s stud terminal design may require the addition of ring-lug crimps to existing wire ends. This is a straightforward field modification that can be completed during the planned maintenance window without affecting the overall wiring topology. Ensure that the crimping tool and lug size match the wire cross-section specified in the original panel BOM.
Downtime Control During System Migration
Minimizing production downtime during an EMI filter replacement requires a structured pre-outage preparation protocol. Before the scheduled maintenance window, stage all replacement components — including the Honeywell 20VR6, replacement ring lugs, torque wrench, and a calibrated insulation resistance tester — at the work site. Obtain a current backup of the PLC program from the CPU module using the engineering workstation and the appropriate programming cable (such as a USB-to-serial adapter for legacy RS-232 ports or a standard Ethernet cable for newer ControlEdge platforms). Store the backup on a local drive and a network share to ensure redundancy.
During the outage, follow a defined sequence: isolate the main disconnect, verify zero-energy state with a voltage tester, remove the legacy filter, install the 20VR6, torque all stud terminals to specification, verify ground continuity with a low-resistance ohmmeter, and restore power in a controlled sequence. After power restoration, confirm that the PLC CPU module returns to RUN mode without fault codes, that all I/O modules report healthy status on the HMI overview screen, and that communication links to remote I/O nodes and field devices are re-established within the expected timeout window.
If the control system includes a Honeywell Safety Manager or a SIL-rated safety I/O module, coordinate the filter replacement with the site safety engineer and follow the applicable proof-test procedure before returning the safety system to operational mode. Document the replacement in the panel maintenance log, including the 20VR6 serial number, installation date, torque values, and the name of the technician who performed the work. This documentation supports the 12-month warranty claim process and satisfies most facility maintenance audit requirements.
Retrofit Support FAQ
Q1: Is the Honeywell 20VR6 a direct replacement for all models in the 20VR series?
The 20VR6 is designed as a drop-in replacement for 20VR series EMI filters with equivalent current ratings and stud terminal configurations. Before ordering, confirm the original model’s rated current, terminal type, and mounting dimensions against the 20VR6 datasheet. For installations where the original filter used a different terminal style or a higher current rating, contact our technical team to confirm compatibility or identify the correct replacement model.
Q2: What commissioning checks are required after installing the 20VR6?
Post-installation commissioning should include: (1) ground continuity test between the filter housing and the panel PE busbar, (2) insulation resistance test on the line and load terminals, (3) leakage current measurement to confirm compliance with the site’s ground fault protection settings, and (4) functional verification that the downstream PLC, I/O modules, and HMI panels power up without fault. Record all test values in the maintenance log.
Q3: Can the 20VR6 be used in systems with PROFIBUS or EtherNet/IP communication networks?
Yes. The 20VR6 is a passive power line filter and is protocol-agnostic. It is compatible with control architectures using PROFIBUS DP, PROFIBUS PA, EtherNet/IP, Modbus RTU, Modbus TCP, DeviceNet, and other industrial communication standards. The filter attenuates conducted EMI on the AC power supply line and does not interact with the communication network wiring.
Q4: What does the 12-month warranty cover, and how is a claim initiated?
The 12-month warranty covers manufacturing defects in materials and workmanship from the date of shipment. Each unit undergoes a pre-shipment functional test, and a test report is available upon request. To initiate a warranty claim, contact sales@smartnexmsk.com with the unit serial number, purchase order reference, installation date, and a description of the fault. Replacement units are dispatched after fault verification, and return shipping instructions are provided at the time of claim approval.
© 2026 SMARTNEXMSK. All rights reserved.
Original Source: https://smartnexmsk.com
Contact: sales@smartnexmsk.com | +86 18259474341