Honeywell MMX-10M Retrofit-Ready Digital Input for MMX Series Control Systems
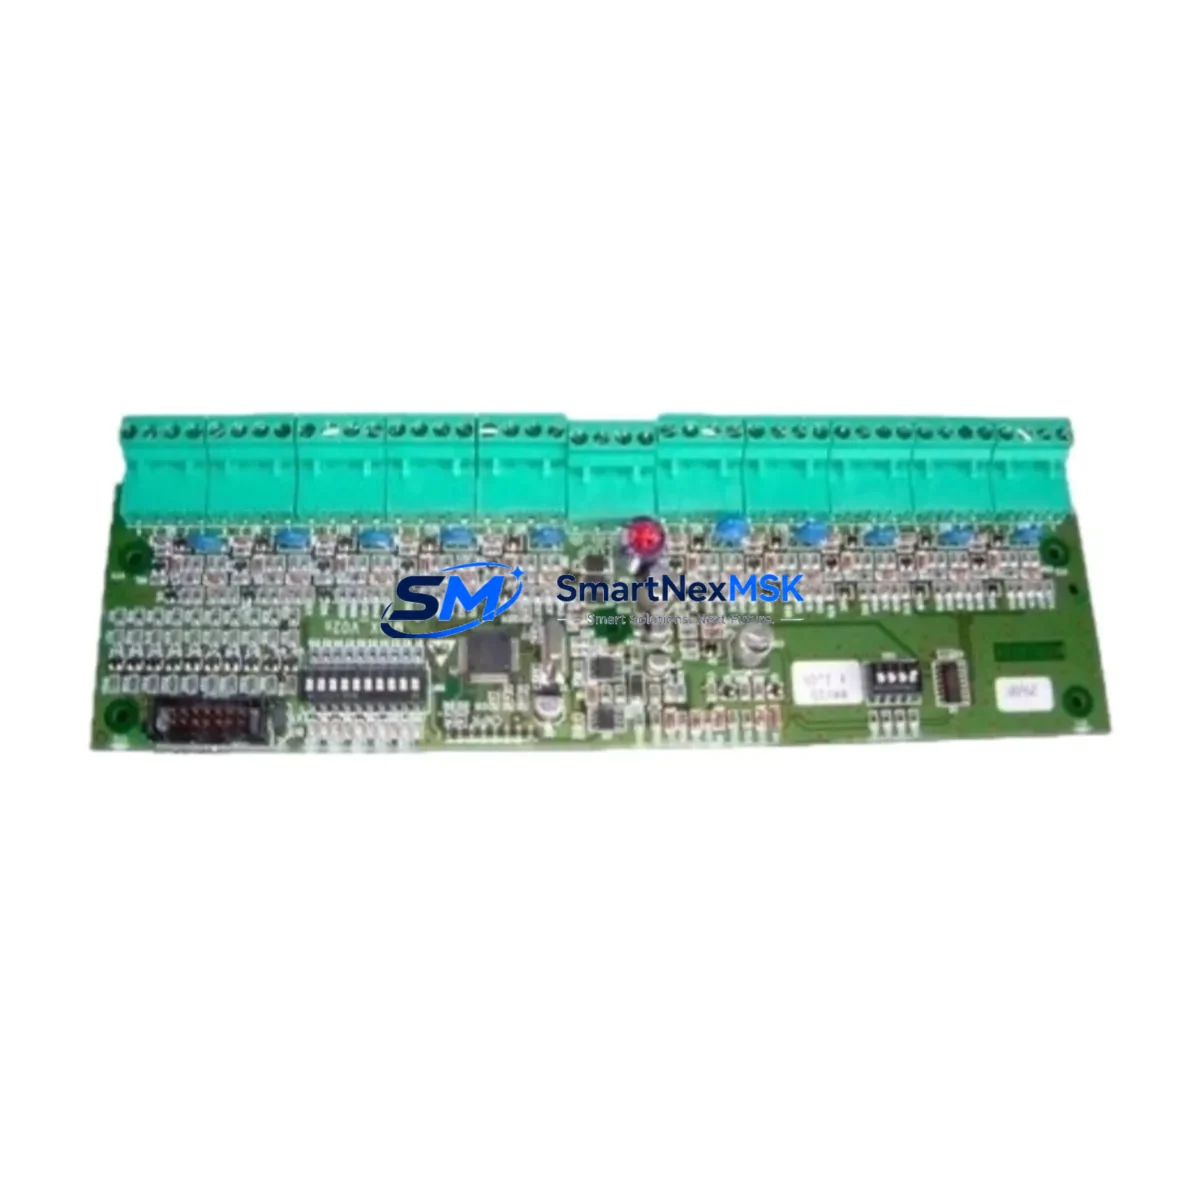
The Honeywell MMX-10M is a 10-channel digital input module engineered for seamless integration into the Honeywell Micro PLC MMX Series control platform. Designed with retrofit-first engineering, this module addresses the growing demand for compatible replacement parts in aging automation infrastructure — particularly in facilities where the original MMX Series controllers remain the backbone of production lines, packaging systems, HVAC control panels, and discrete manufacturing cells.
As legacy Honeywell Micro PLC systems approach end-of-life or encounter discontinued spare parts, the MMX-10M provides a verified drop-in solution that preserves existing wiring topology, backplane addressing, and ladder logic without requiring a full controller migration. Engineers and maintenance teams can install this module during a planned maintenance window or emergency breakdown scenario with confidence that the I/O mapping, terminal block pinout, and rack slot assignment remain consistent with the original hardware specification.
For facilities running mixed-generation control cabinets — where an MMX-series rack may share a panel with newer Honeywell HC900 process controllers or third-party SCADA interfaces — the MMX-10M maintains signal integrity across 24 VDC discrete inputs, supporting both sourcing and sinking field device configurations. This flexibility is critical when integrating proximity sensors, limit switches, pushbuttons, and photoelectric detectors from multiple vendors without rewiring the field junction boxes.
Upgrade Compatibility Table
| Parameter | MMX-10M Specification | Retrofit Notes |
|---|---|---|
| Input Channels | 10 x Digital Input | Direct replacement for original MMX DI slot |
| Input Voltage | 24 VDC (sourcing/sinking) | Compatible with existing field wiring; no rewiring required |
| Backplane Interface | MMX Series rack connector | Slot-compatible; verify rack generation (MMX-BASE or MMX-EXT) |
| Module Address | Configured via rack slot position | Retain original slot assignment to preserve PLC program I/O mapping |
| Communication Protocol | Internal backplane bus | No protocol migration required; transparent to CPU module |
| Terminal Block | Removable screw-type terminal block | Transfer existing wiring block directly; verify torque spec (0.5 Nm) |
| Power Consumption | Verify against MMX-PSU power budget | Confirm rack power supply (MMX-PSU) headroom before installation |
| HMI Compatibility | Transparent to HMI tag database | No HMI screen or tag remapping required if slot address is preserved |
| Commissioning | Hot-swap capable (verify CPU firmware) | Force I/O test recommended post-installation; verify input status in PLC online mode |
| Warranty | 12-Month Warranty — covers manufacturing defects, DOA replacement, and functional verification | |
Retrofit Planning for Existing Automation Systems
A successful MMX-10M retrofit begins with a thorough audit of the existing control cabinet. Before removing the failed or obsolete module, engineers should document the current rack configuration — noting the position of the MMX CPU module, the MMX-PSU power supply module, any installed MMX analog input/output modules, and the MMX communication module (typically handling Modbus RTU or Ethernet/IP links to upstream SCADA or DCS systems). Photographing the terminal block wiring and printing the current I/O force table from the programming software are essential pre-removal steps.
When the control system includes an MMX expansion rack connected via the rack expansion cable, verify that the I/O address offset for the expansion slots is correctly reflected in the PLC program. Replacing a digital input module in an expansion rack without confirming the address offset is a common source of post-retrofit faults. The Honeywell Hybrid Control Designer (HCD) programming software should be used to go online with the CPU, verify the I/O configuration tree, and confirm that the MMX-10M appears correctly in the hardware configuration before downloading any program changes.
For panels that also house Honeywell HC900 controller modules or third-party PLCs communicating over Modbus TCP or PROFIBUS DP, the MMX-10M retrofit is isolated to the MMX rack and does not affect inter-controller communication links. However, if the digital inputs being replaced feed interlock logic that triggers outputs on a separate controller or safety relay module, the interlock chain should be verified end-to-end after module replacement.
In applications where the MMX Series rack is mounted alongside Honeywell UDC series temperature controllers, DIN-rail mounted 24 VDC power supplies, and field terminal marshalling blocks, the physical installation of the MMX-10M is straightforward — the module slides into the rack slot and locks with the standard MMX retention latch. The removable terminal block transfers directly from the old module, preserving all field wiring without disturbing cable routing or ferrule crimps.
All MMX-10M units supplied by SMARTNEXMSK are sourced from verified inventory channels, individually inspected, and shipped with a 12-month warranty covering manufacturing defects and functional performance. Units are available for immediate dispatch with standard export documentation suitable for international customs clearance.
Downtime Control During System Migration
Minimizing unplanned downtime is the primary concern for any maintenance team executing an MMX-10M replacement in a live production environment. The recommended approach is to pre-stage the replacement module, verify its physical condition and firmware compatibility, and prepare all documentation — including the current PLC program backup, I/O wiring diagram, and rack configuration printout — before taking the system offline.
Where the CPU firmware supports hot-swap of I/O modules, the replacement can be performed without a full controller shutdown. In this scenario, the CPU continues executing the scan cycle while the module is swapped, and the I/O channel status is restored automatically once the new MMX-10M is seated and the backplane connection is re-established. For CPU firmware versions that do not support hot-swap, a controlled stop sequence should be executed — placing all outputs in a safe state, notifying upstream and downstream process operators, and coordinating with the SCADA operator to suppress nuisance alarms during the maintenance window.
After installation, the commissioning sequence should include: forcing each of the 10 digital input channels individually from the PLC programming terminal, verifying the corresponding field device response, checking the input LED status indicators on the module face, and confirming that all interlock and permissive logic dependent on these inputs is functioning correctly before returning the system to automatic mode. This structured commissioning approach typically allows a complete MMX-10M replacement to be executed within a 30–60 minute maintenance window, significantly reducing production impact compared to a full controller replacement.
Retrofit Support FAQ
Q1: Is the MMX-10M a direct drop-in replacement for the original Honeywell MMX digital input module?
Yes. The MMX-10M is designed to be slot-compatible with the Honeywell Micro PLC MMX Series rack. The backplane connector, module form factor, and terminal block pinout are consistent with the original specification, allowing direct substitution without mechanical modification or wiring changes.
Q2: Do I need to modify my PLC program after replacing the module?
In most cases, no. If the replacement MMX-10M is installed in the same rack slot as the original module, the I/O address mapping in the PLC program remains valid. A program download is not required. However, it is recommended to go online with the CPU after installation to verify that all 10 input channels are reporting correctly before returning to automatic operation.
Q3: What wiring checks should be performed before and after installation?
Before removal, photograph the existing terminal block wiring and record the signal assignment for each of the 10 input terminals. After installing the MMX-10M and transferring the terminal block, verify continuity for each input channel using a multimeter or the PLC’s online I/O diagnostic view. Confirm that the 24 VDC common reference is correctly connected and that the field device supply voltage is within the module’s rated input range.
Q4: What does the 12-month warranty cover, and what is the process for a warranty claim?
The 12-month warranty covers manufacturing defects, premature component failure under normal operating conditions, and DOA (dead-on-arrival) units. If a warranty issue is identified, contact SMARTNEXMSK at sales@smartnexmsk.com with the order reference, a description of the fault, and photographic evidence. Replacement units are dispatched upon fault verification, and return shipping of the defective module is coordinated by our technical support team.
© 2026 SMARTNEXMSK. All rights reserved.
Original Source: https://smartnexmsk.com
Contact: sales@smartnexmsk.com | +86 18259474341