YASKAWA UGRMEM-01SNQ72 Maintenance-Ready Spare for Sigma-III Automation
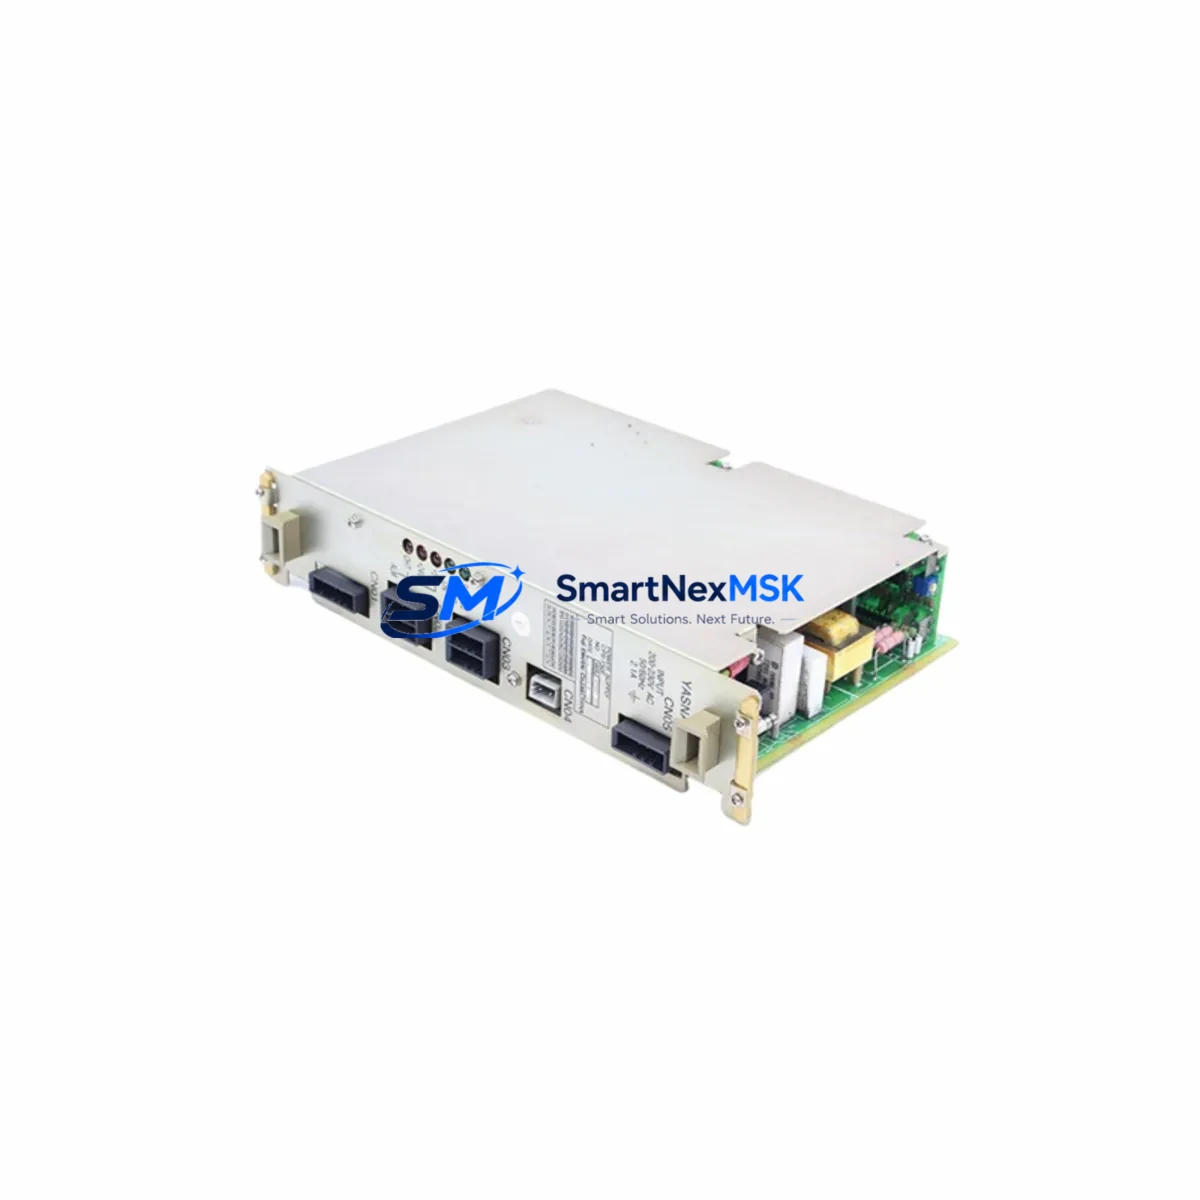
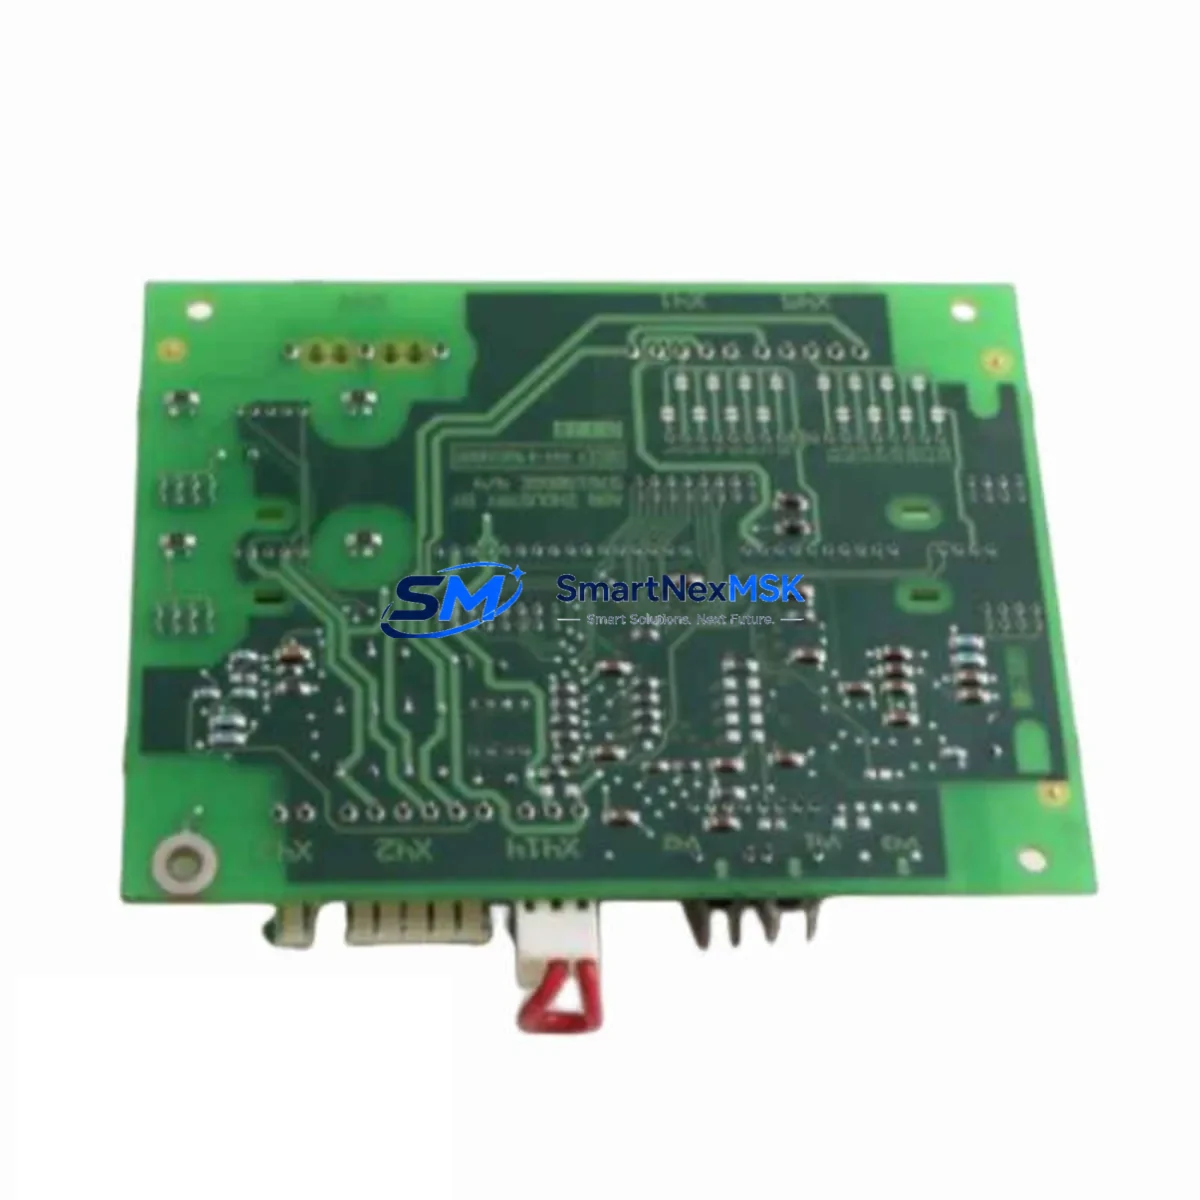
The YASKAWA UGRMEM-01SNQ72 is a 100W AC servo motor from the Sigma-III series, engineered for precision motion control in demanding industrial automation environments. As a maintenance-ready original spare part, it is sourced, inspected, and dispatched to support rapid downtime recovery across manufacturing lines, packaging systems, CNC machining centers, and process automation installations. Every unit is verified against YASKAWA factory specifications before shipment, ensuring drop-in compatibility with existing Sigma-III servo drive systems without parameter reconfiguration or mechanical adaptation.
For maintenance engineers managing aging servo systems, the UGRMEM-01SNQ72 represents a reliable, long-term stocking solution. Its IP67-rated enclosure provides robust protection against dust ingress and temporary water immersion, making it suitable for wash-down environments, outdoor control cabinets, and high-humidity production floors. With a 12-month warranty covering manufacturing defects and performance deviations, procurement engineers can confidently include this unit in their critical spare parts inventory without exposure to unplanned capital risk.
Spare Maintenance Table
| Parameter | Specification |
|---|---|
| Part Number / SKU | UGRMEM-01SNQ72 |
| Brand | YASKAWA |
| Series | Sigma-III (SGMAE / SGDAE compatible) |
| Motor Type | AC Servo Motor |
| Rated Output Power | 100W |
| Rated Voltage | 200V AC (3-phase) |
| Encoder Type | Incremental / Absolute (series-dependent) |
| Protection Rating | IP67 |
| Shaft Configuration | Straight shaft with key |
| Mounting | Flange mount (IEC standard) |
| Operating Temperature | 0°C to +40°C |
| Storage Temperature | -20°C to +65°C |
| Country of Origin | Japan |
| Compatibility | YASKAWA Sigma-III SGDAE series servo drives |
| Application | CNC, packaging, conveyor, robotics, process automation |
| Maintenance Recommendation | Replace encoder cable and motor connector on installation; verify drive parameters before power-on |
| Warranty | 12 Months — covers manufacturing defects and performance deviations |
| Pre-shipment Testing | Function-tested and inspected against YASKAWA factory specifications |
Maintenance Planning for Continuous Operation
When replacing the UGRMEM-01SNQ72 in a Sigma-III servo axis, a disciplined maintenance engineer will not stop at the motor itself. The servo system is an integrated electrical loop, and a motor failure event is an opportunity to audit the entire axis for latent faults that could trigger the next unplanned stoppage.
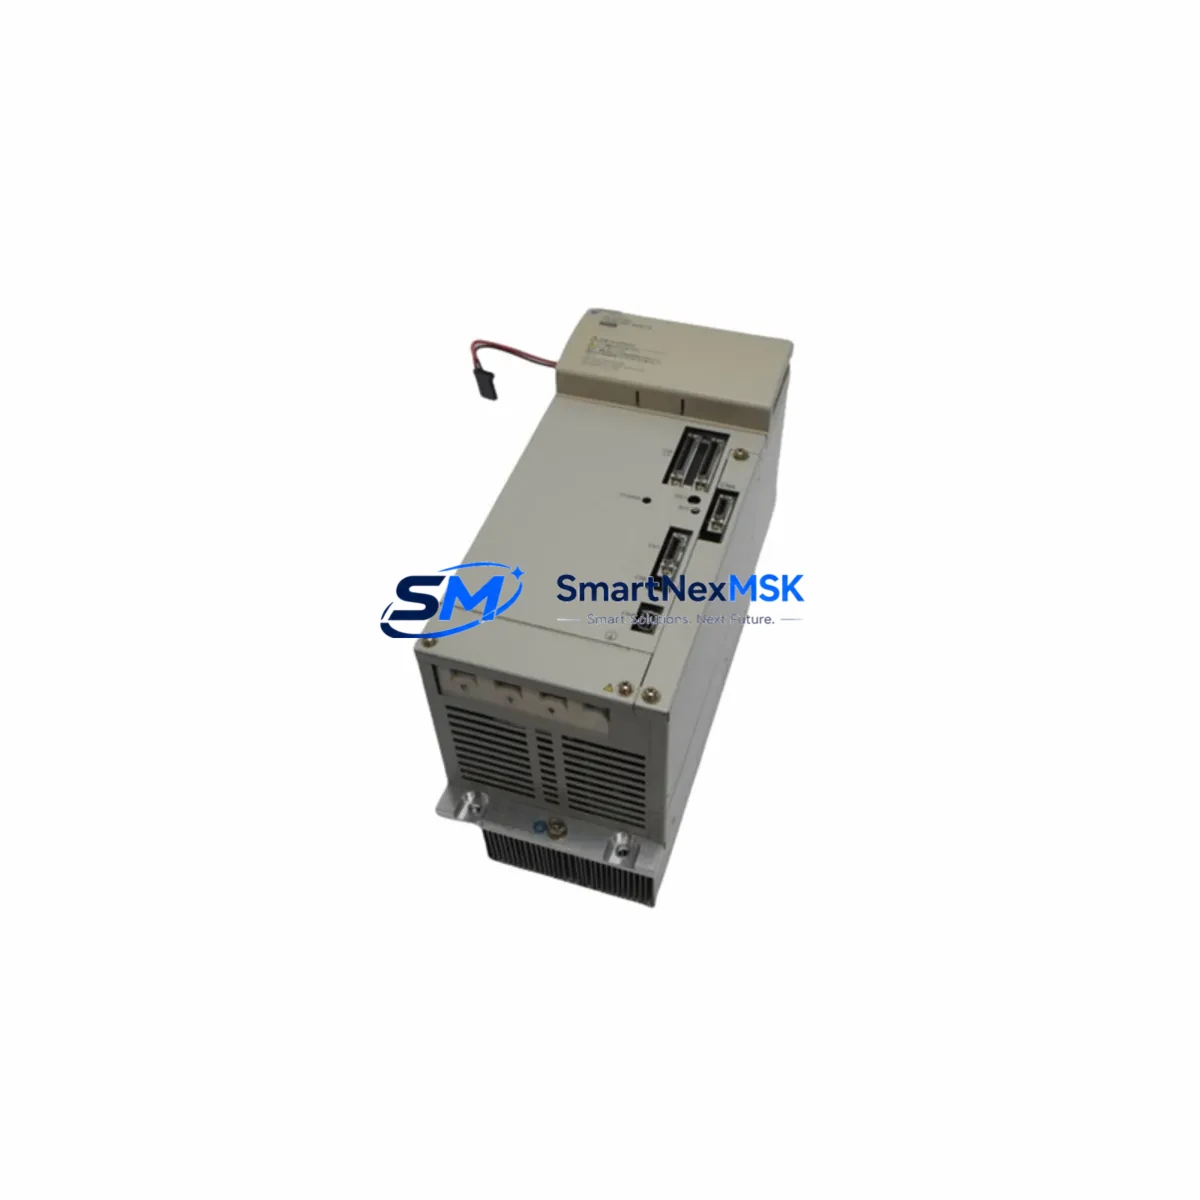
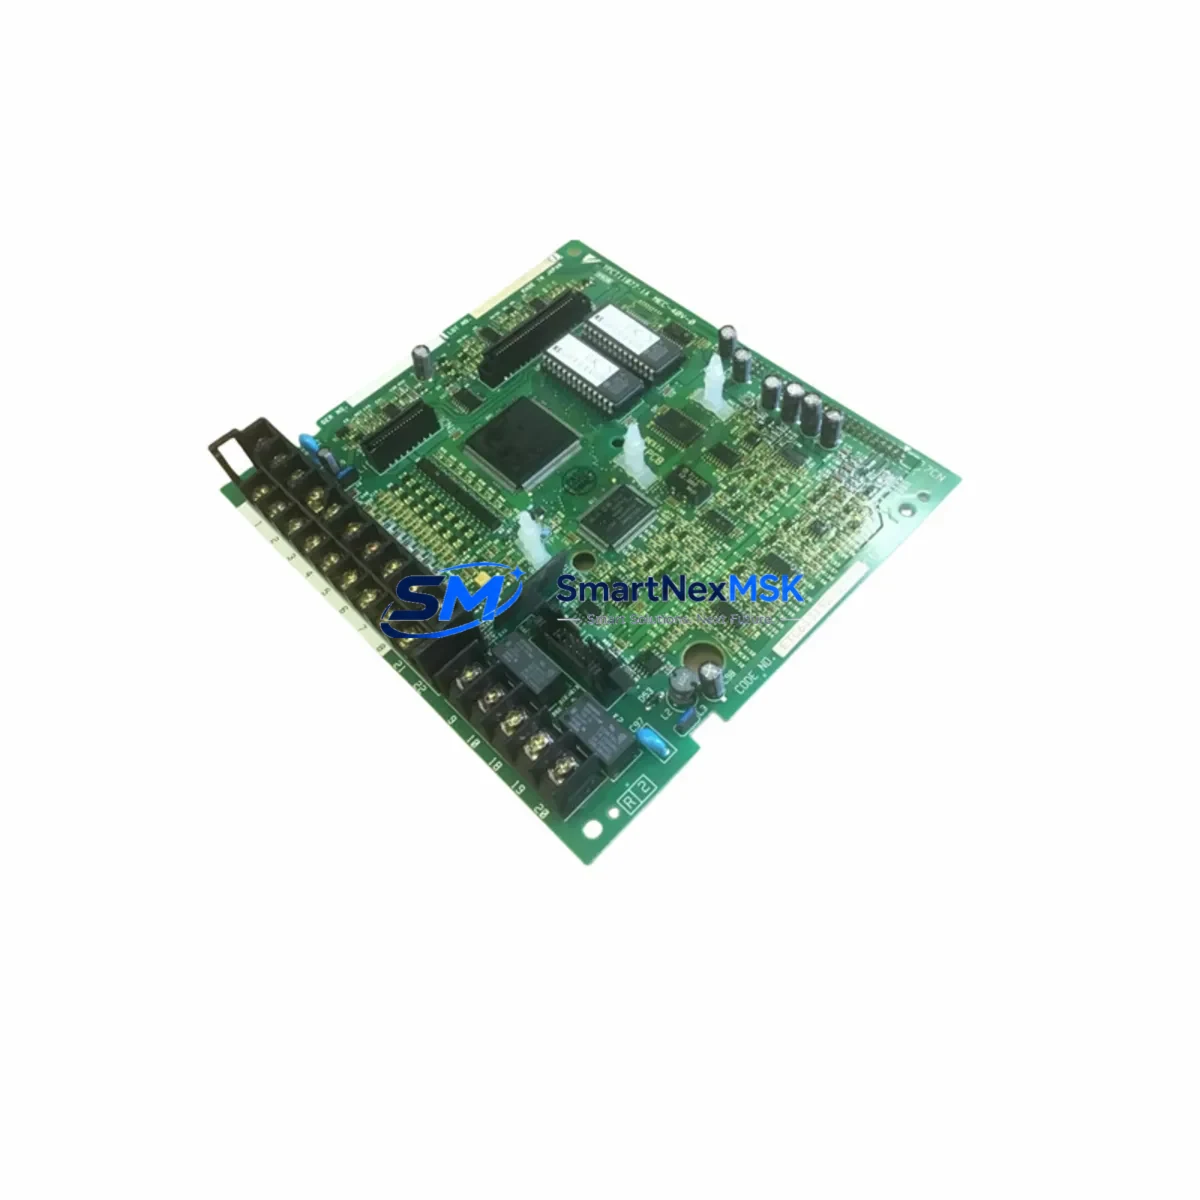
Begin with the SGDAE-series servo amplifier (drive unit) paired to this motor. Inspect the drive’s regenerative resistor and capacitor bank for signs of thermal stress — these components degrade silently and are a common secondary failure point after a motor replacement. If the drive has accumulated more than 30,000 operating hours, consider stocking a replacement SGDAE drive unit alongside the motor spare.
Next, inspect the encoder feedback cable (JZSP-CMP series) connecting the motor to the drive. Encoder cable degradation — caused by repeated flexing, oil contamination, or connector corrosion — is one of the leading causes of Sigma-III alarm codes (A.810, A.820). Replace the cable as a matter of course during any motor swap, and verify shield continuity with a multimeter before closing the cabinet.
The motor power cable and connector assembly should be checked for insulation resistance (minimum 10MΩ at 500VDC) and pin contact integrity. Corroded or loose power connectors cause intermittent torque faults that are difficult to diagnose under load.
At the control cabinet level, inspect the 24VDC control power supply module feeding the servo drive’s logic circuit. Voltage ripple or dropout on the 24V rail causes spurious drive faults and can mask genuine motor issues. A replacement 24VDC DIN-rail power supply should be part of any Sigma-III maintenance kit.
Review the I/O interface between the PLC and the servo drive — specifically the servo-on (S-ON), alarm reset, and positioning complete signals. Faulty I/O wiring or degraded PLC output modules can cause the drive to behave erratically after a motor replacement, leading to misdiagnosis. Verify signal levels with a logic probe or oscilloscope before declaring the axis operational.
For systems using MECHATROLINK-II or analog command interfaces, inspect the communication cable shielding and termination resistors. Noise on the command signal line produces position error alarms that are often mistakenly attributed to the motor or encoder.
If the servo axis drives a brake-equipped load, test the electromagnetic brake release circuit independently. The brake coil, relay, and wiring should be verified — a seized brake will destroy a new motor within hours of commissioning.
Finally, check the terminal block and DIN rail assembly inside the control cabinet for loose connections, discolored terminals, and signs of arc tracking. Thermal imaging during a planned shutdown is the most efficient method for identifying high-resistance joints before they cause a fault.
A complete Sigma-III axis maintenance kit should include: UGRMEM-01SNQ72 motor, JZSP-CMP encoder cable, motor power connector set, 24VDC control power supply, I/O relay module, MECHATROLINK termination resistor, and a spare SGDAE drive unit for critical axes.
Site Replacement Workflow
Step 1 — Isolation & Lockout: De-energize the servo drive and apply LOTO (Lockout/Tagout) per site safety procedures. Wait a minimum of 5 minutes for the drive’s DC bus capacitors to discharge before opening the cabinet or disconnecting motor cables.
Step 2 — Documentation: Record the existing drive parameter file using YASKAWA’s SigmaWin+ software before disconnecting any wiring. This backup is essential if drive parameters are lost during the replacement process.
Step 3 — Motor Disconnection: Label and photograph all cable connections before removal. Disconnect the encoder cable first, then the motor power cable. Remove the motor mounting bolts and extract the motor from the machine frame, noting the shaft coupling alignment.
Step 4 — Inspection & Comparison: Compare the replacement UGRMEM-01SNQ72 against the removed unit — verify frame size, shaft diameter, encoder connector type, and brake option (if applicable). Confirm the nameplate ratings match the drive’s motor code parameter (Pn080).
Step 5 — Installation: Mount the new motor, torque fasteners to specification, and reconnect cables in reverse order (power cable first, then encoder cable). Verify shield grounding at both ends of the encoder cable.
Step 6 — Parameter Verification: Power on the drive in a no-load condition. Confirm no alarms are present. Verify encoder signal quality using SigmaWin+ oscilloscope function. Run a JOG operation at low speed before returning the axis to automatic mode.
Step 7 — Functional Test: Execute a full-cycle test under normal load conditions. Monitor drive current, position error, and temperature for the first 30 minutes of operation. Log results in the maintenance record.
This workflow minimizes total downtime to under 2 hours for a trained technician and eliminates the most common post-replacement failure modes associated with Sigma-III servo axis maintenance.
Spare Parts Support FAQ
Q1: Is the UGRMEM-01SNQ72 a direct drop-in replacement for older Sigma-III motors with the same frame size?
A: In most cases, yes. The UGRMEM-01SNQ72 shares the same flange dimensions and shaft specification as other 100W Sigma-III motors. However, you must verify the encoder type (incremental vs. absolute) and brake option against your drive’s configuration parameters (Pn080, Pn081) before installation. If the encoder type differs, a parameter update via SigmaWin+ is required.
Q2: What pre-shipment testing is performed on each unit?
A: Every UGRMEM-01SNQ72 unit undergoes functional verification against YASKAWA factory specifications prior to dispatch. This includes insulation resistance testing, encoder signal verification, and mechanical rotation check. A test report is available upon request for quality-critical procurement processes.
Q3: How should this spare part be stored to maintain its service life?
A: Store the motor in its original packaging in a dry, temperature-controlled environment (0°C to +40°C, relative humidity below 85% non-condensing). Avoid storing near sources of vibration or magnetic fields. Rotate the shaft manually every 6 months to prevent bearing brinelling during extended storage. Recommended maximum storage period before installation is 24 months.
Q4: What does the 12-month warranty cover, and how is a warranty claim initiated?
A: The 12-month warranty covers manufacturing defects, encoder failures, and performance deviations from YASKAWA specifications under normal operating conditions. It does not cover damage caused by incorrect installation, overvoltage, mechanical overload, or unauthorized modification. To initiate a warranty claim, contact our technical support team with the unit serial number, fault description, and drive alarm history log. Replacement or repair is processed within 5–10 business days upon receipt of the returned unit.
© 2026 SMARTNEXMSK. All rights reserved.
Original Source: https://smartnexmsk.com
Contact: sales@smartnexmsk.com | +86 18259474341