GE UR9HH Retrofit-Ready CPU Module for UR Series Control Systems
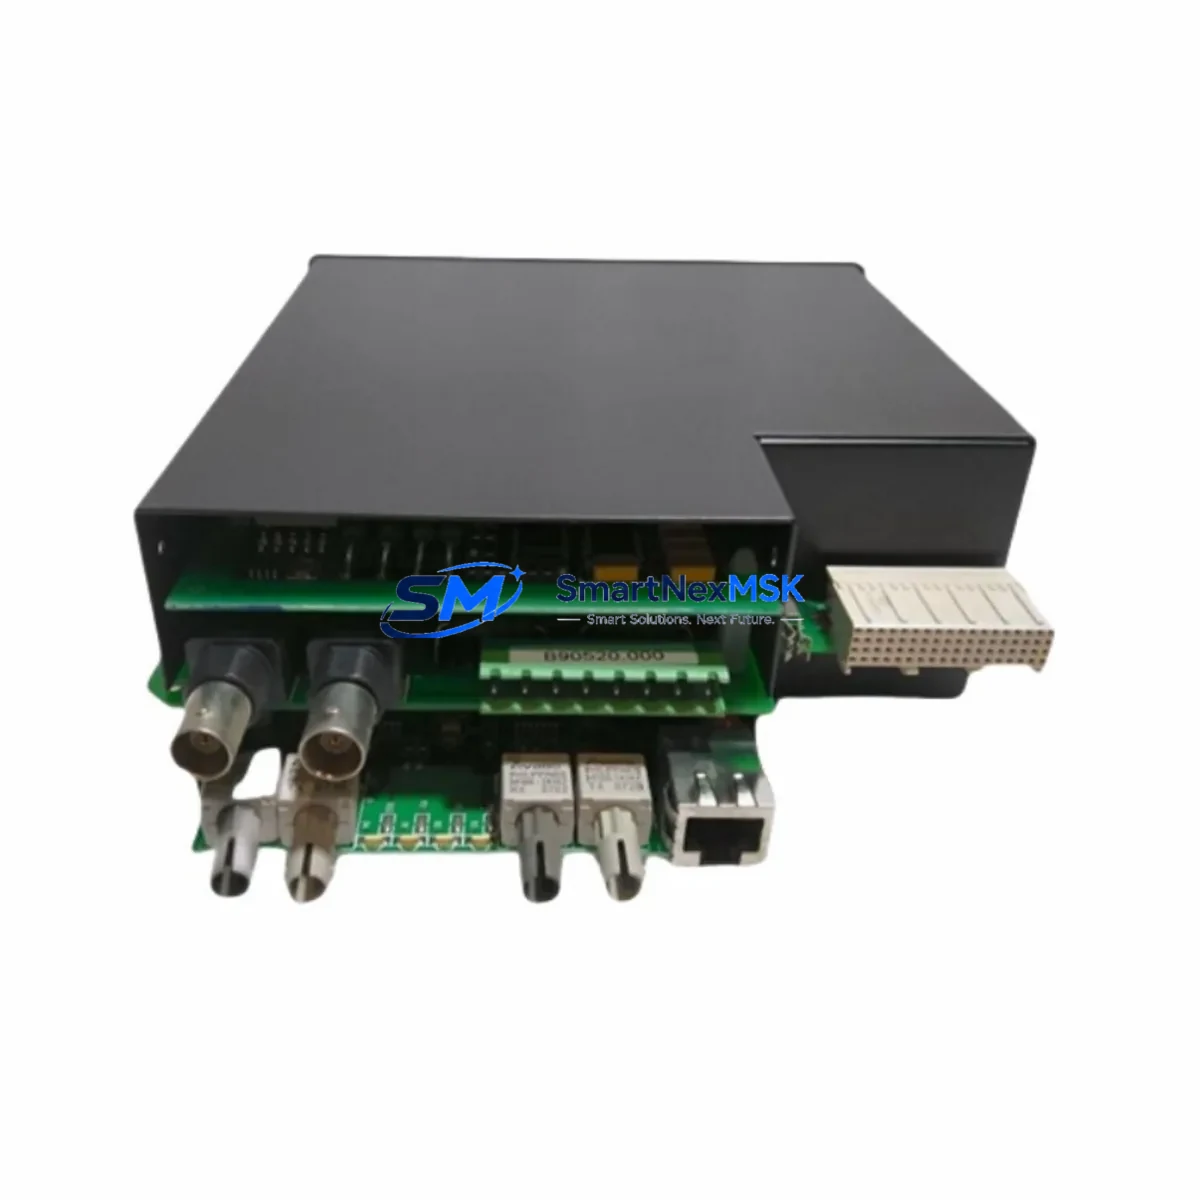
The GE UR9HH is a high-performance central processing unit module engineered for the GE Grid Solutions UR Series Universal Relay platform. As aging UR-based protection and control systems approach end-of-life or face discontinued spare-part availability, the UR9HH provides a proven, drop-in retrofit path that preserves existing relay logic, wiring infrastructure, and SCADA integration — minimizing both capital expenditure and field downtime during system modernization.
Whether you are replacing a failed processor in a T60 Transformer Protection Relay, upgrading the CPU in an L90 Line Differential Relay, or restoring a decommissioned D60 Distance Relay to service, the UR9HH delivers the processing headroom and firmware compatibility required for seamless migration. Its architecture supports the full UR platform backplane, making it interchangeable across relay types including the C60 Breaker Protection Relay, F60 Feeder Protection Relay, and B90 Bus Differential Relay — provided firmware versions and ordered module slots are correctly matched during commissioning.
Upgrade Compatibility Table
| Parameter | Details |
|---|---|
| Compatible Platform | GE UR Series Universal Relay (all variants) |
| Typical Replaced Models | UR6HH, UR7HH, UR8HH, and earlier UR CPU generations |
| Backplane Interface | UR Series standard backplane slot — no mechanical modification required |
| Communication Compatibility | IEC 61850 GOOSE, DNP3, Modbus RTU/TCP, IEC 60870-5-104 |
| Firmware Upgrade Path | Supports UR firmware v7.x and above; field-upgradeable via EnerVista UR Setup |
| Installation Requirement | Module slot insertion; no rewiring of CT/VT or binary I/O terminals required |
| Settings Migration | Existing .urs settings files compatible; verify via EnerVista before energization |
| HMI / Front Panel | Compatible with existing UR Series front panel display and keypad |
| Retrofit Recommendation | Recommended for systems with CPU failures, firmware lock-out, or obsolete processor cards |
| Commissioning Focus | Module address verification, settings file reload, comms link test, protection function check |
| Warranty | 12-Month Warranty — covers manufacturing defects and functional failures under normal operating conditions |
Retrofit Planning for Existing Automation Systems
A successful UR9HH retrofit begins well before the module arrives on site. Engineers should first audit the existing relay chassis to confirm the UR Series backplane revision and available slot positions. In multi-slot chassis configurations, the CPU module occupies a dedicated slot — typically Slot A — and must not be confused with adjacent UR digital input/output modules or analog output cards that share the same backplane bus.
Power supply capacity is a critical pre-check. The existing UR Series power supply module (typically a 125 Vdc or 250 Vdc variant) must be verified to support the UR9HH’s current draw alongside all installed I/O and communication modules. In older installations where the power supply module itself is approaching end-of-life, a concurrent power supply replacement is strongly recommended to avoid nuisance trips post-retrofit.
Communication infrastructure requires particular attention. Sites running legacy RS-485 Modbus RTU links to a substation RTU or SCADA master must verify that the UR9HH firmware supports the existing baud rate, parity, and device address configuration. For sites migrating to IEC 61850, the UR9HH supports GOOSE messaging and MMS reporting natively — but this requires a compatible UR Ethernet communication module installed in the chassis and a corresponding ICD/CID file update in the substation configuration tool. Sites already using DNP3 over TCP/IP will find the transition straightforward, as the UR9HH retains full DNP3 point mapping compatibility.
For sites with GE EnerVista Viewpoint Monitoring or third-party HMI systems displaying relay status, the UR9HH retrofit does not require HMI screen redesign — provided the Modbus or DNP3 register map remains unchanged. Engineers should export and archive the existing settings file using EnerVista UR Setup software prior to module removal, then reload and verify the file on the replacement UR9HH before closing the relay panel. Any UR Series programming cable (USB or RS-232 front port) can be used for local settings upload during commissioning.
In applications where the UR relay interfaces with a GE D20MX RTU or similar substation automation controller, the retrofit team should coordinate with the SCADA engineer to confirm that no point database changes are required. Binary output wiring to trip coils, lockout relays, and annunciator panels should be documented and verified for continuity before re-energization. Where the control cabinet also houses a UR Series rack-mount chassis alongside other protection IEDs, physical clearance and airflow around the UR9HH module should be confirmed per GE installation guidelines.
Downtime Control During System Migration
Minimizing protection outage duration is the primary operational constraint in any live substation retrofit. For the UR9HH replacement, the recommended approach is a cold-swap procedure: de-energize the relay panel section, remove the failed or obsolete CPU module, insert the UR9HH, restore auxiliary power, and upload the pre-verified settings file — all within a planned maintenance window typically achievable in under two hours for experienced technicians.
Before initiating the outage, the protection engineer should confirm that backup protection is in service on the protected element — for example, a remote end differential relay or a backup distance zone on an adjacent relay. This ensures that the protected feeder, transformer, or bus remains covered during the CPU swap interval.
The existing CT and VT wiring at the relay terminal blocks does not need to be disturbed during a CPU-only replacement, which significantly reduces the risk of inadvertent CT open-circuit conditions. Binary input and output wiring similarly remains intact, as the UR9HH interfaces through the backplane rather than through direct terminal connections.
After module insertion and settings reload, the commissioning sequence should include: firmware version confirmation, protection function enable/disable status check, communication link verification (Modbus poll or DNP3 integrity poll from the SCADA master), and a functional test of at least one trip output using the relay’s built-in test mode. Event log review post-energization confirms that the relay has correctly identified all connected I/O and communication modules. With this structured approach, sites consistently achieve protection restoration within the planned window — with no modification to existing control logic, wiring, or SCADA point databases.
Retrofit Support FAQ
Q1: Is the UR9HH a direct drop-in replacement for older UR CPU modules such as the UR6HH or UR8HH?
In most cases, yes. The UR9HH is mechanically and electrically compatible with the UR Series backplane used across all UR relay types. However, firmware compatibility must be verified — older relay chassis running firmware below v6.x may require a firmware upgrade before the UR9HH is recognized. Our technical team can confirm compatibility based on your relay model and existing firmware version prior to shipment.
Q2: Can I reuse my existing settings file (.urs) after installing the UR9HH?
Yes. Settings files created in EnerVista UR Setup are forward-compatible with the UR9HH in the vast majority of retrofit scenarios. The recommended procedure is to open the existing .urs file in the latest version of EnerVista UR Setup, allow the software to perform any automatic parameter mapping, review flagged differences, and then upload the verified file to the new module. This process preserves all protection element settings, communication parameters, and I/O assignments.
Q3: What commissioning tests are required after installing the UR9HH?
Minimum commissioning tests include: (1) settings file upload and verification, (2) communication link test from SCADA or RTU, (3) binary input status verification against field device states, (4) trip output functional test using relay test mode, and (5) event log review to confirm no module fault alarms. For IEC 61850 sites, a GOOSE subscription test with peer relays is also required. Full secondary injection testing is recommended when the relay has been out of service for an extended period.
Q4: What does the 12-month warranty cover, and what is the return process?
The 12-month warranty covers all manufacturing defects and functional failures under normal operating conditions, including CPU processing faults, communication port failures, and backplane interface issues. It does not cover damage resulting from incorrect installation, overvoltage events, or physical mishandling. To initiate a warranty claim, contact our sales team with the module serial number, fault description, and site installation date. Replacement units are dispatched within 3–5 business days upon claim verification, with advance replacement available for critical substation applications.
© 2026 SMARTNEXMSK. All rights reserved.
Original Source: https://smartnexmsk.com
Contact: sales@smartnexmsk.com | +86 18259474341