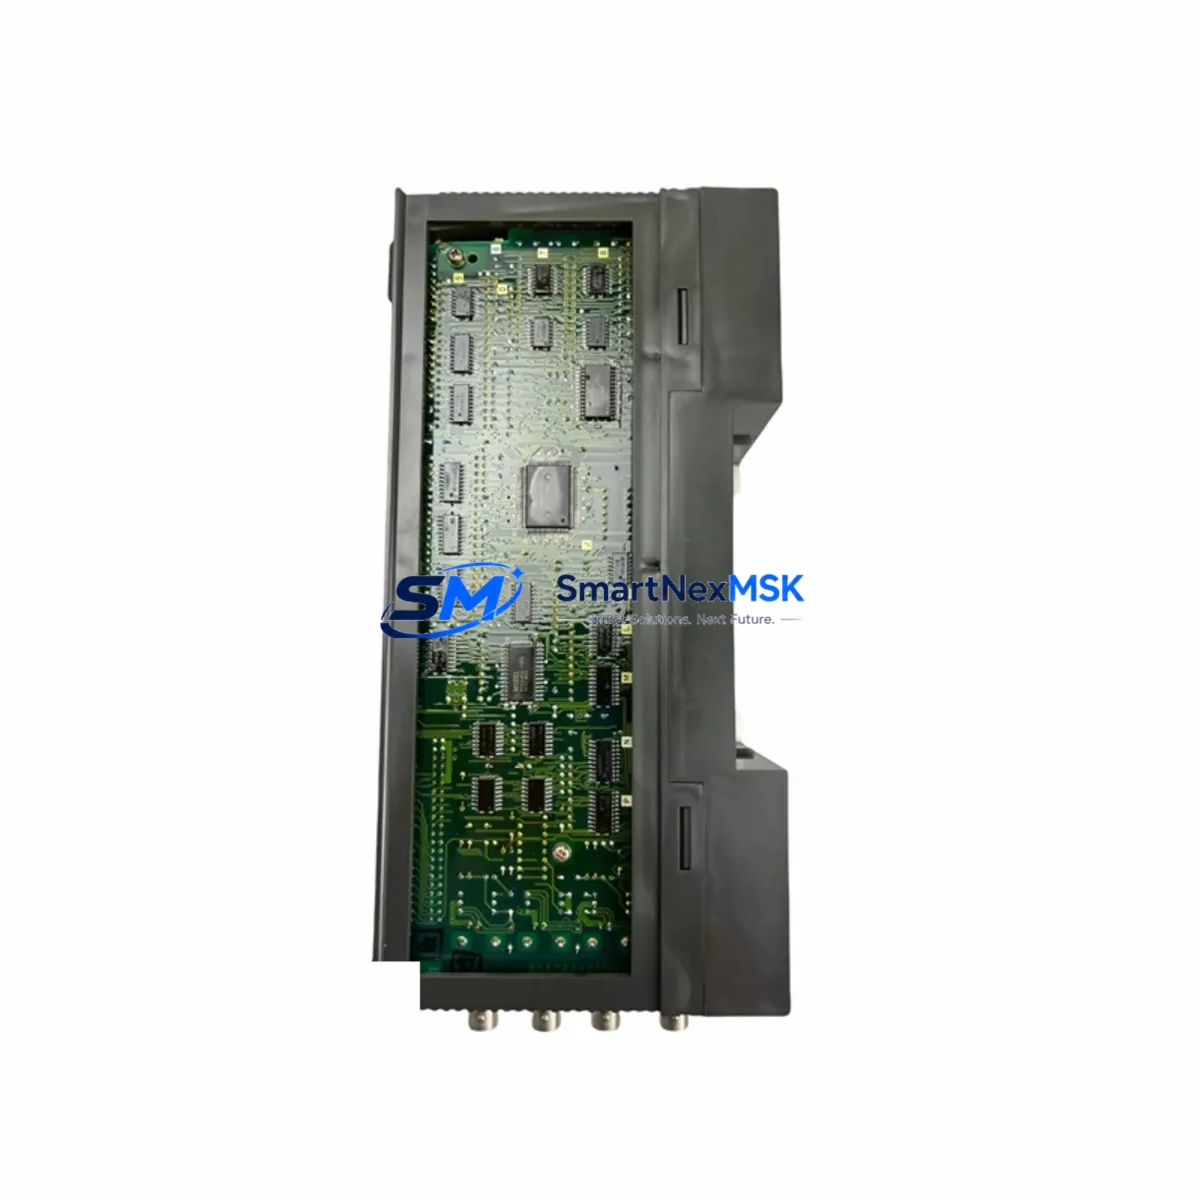
Mitsubishi A3NCPUR21 Retrofit-Ready CPU for MELSEC-A Control Systems
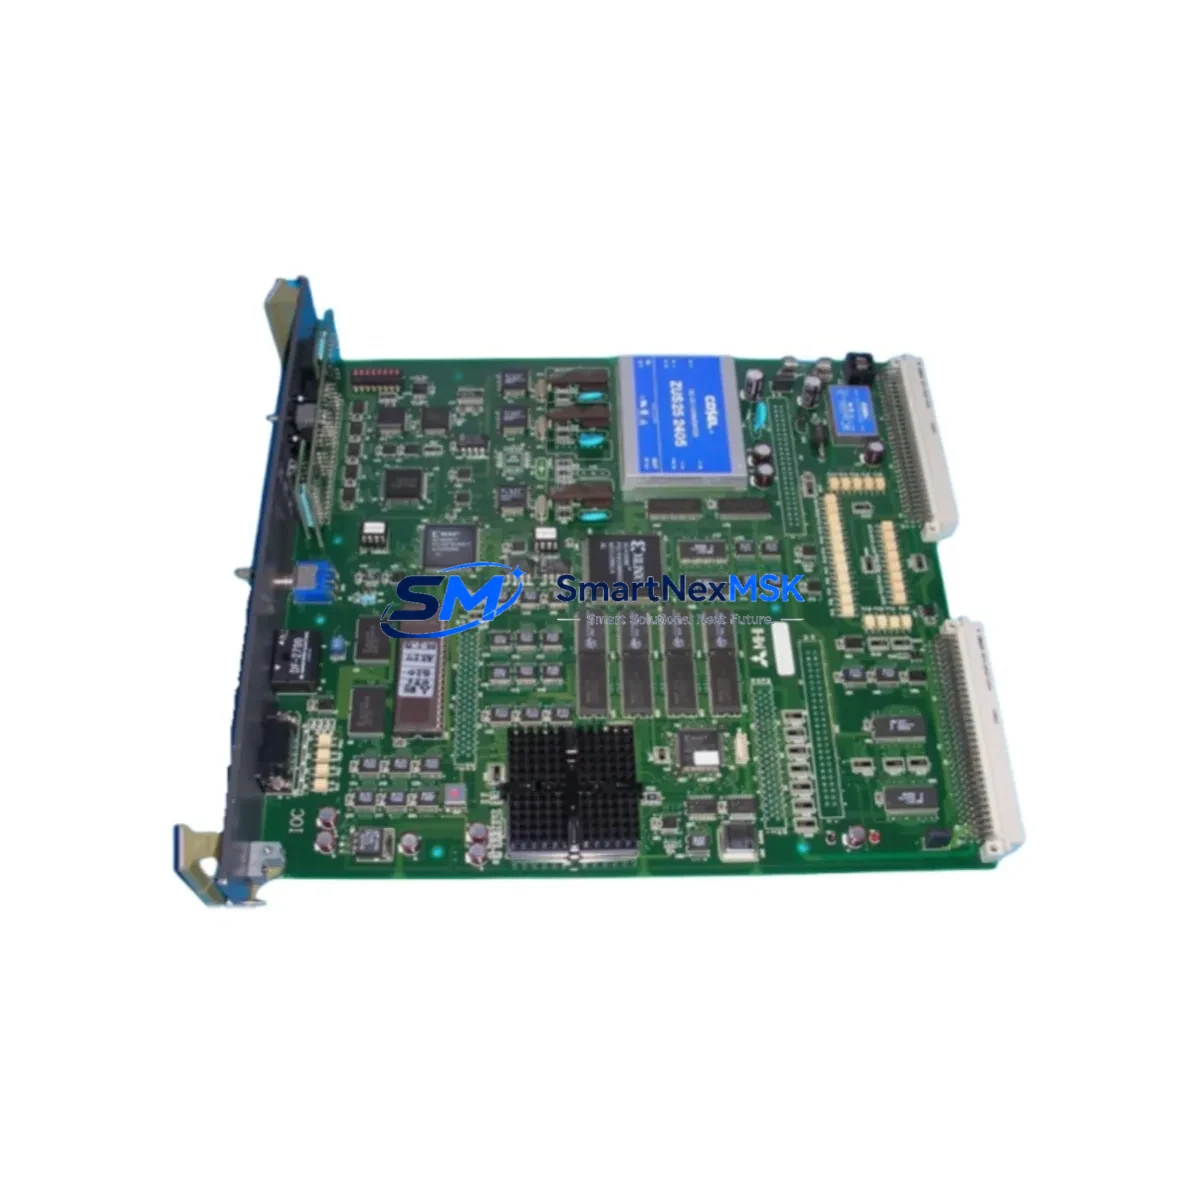
The Mitsubishi Electric A3NCPUR21 is a high-performance CPU module engineered for the MELSEC-A series programmable logic controller platform. As legacy A-series control systems approach end-of-life and original spare parts become increasingly scarce, the A3NCPUR21 remains one of the most sought-after retrofit and replacement components for engineers tasked with sustaining aging production lines, upgrading control cabinets, and migrating automation architectures without full system replacement.
Whether you are replacing a failed A3NCPUR21 on an active production line, upgrading from an earlier A2NCPUR21 or A2ACPUR21 CPU, or consolidating a multi-rack MELSEC-A installation into a more maintainable configuration, this module provides the processing capacity, memory architecture, and I/O scan performance required to maintain control continuity across AnS-series and A-series backplane environments.
Upgrade Compatibility Table
| Parameter | A3NCPUR21 (This Module) | Retrofit Notes |
|---|---|---|
| Rack Compatibility | A38B, A35B, A32B, A33B AnS-series racks | Verify rack slot count and power budget before installation |
| Power Supply Requirement | 5 VDC internal bus via A61P / A62P / A63P PSU | Confirm PSU capacity covers all installed I/O modules; replace A61P if output is degraded |
| Communication Protocol | MELSEC-A, CC-Link (via AJ65BT-R2 or equivalent adapter) | Validate CC-Link station address and baud rate settings match existing network topology |
| Direct Replacement For | A2NCPUR21, A2ACPUR21, A3ACPUR21 | Program re-verification required; I/O map and timer/counter values must be confirmed |
| Programming Interface | GX Developer / GX Works2 (A-series mode) | Use SC-09 or USB-SC09-A programming cable for direct CPU connection |
| HMI Compatibility | GOT1000 / GOT2000 series via RS-232C or RS-422 | Update GOT screen project device addresses if replacing a different CPU model |
| Installation Format | Slot 0 (CPU slot) of A-series main rack | Do not install in extension racks; CPU must occupy slot 0 of main base unit |
| Warranty | 12-Month Warranty — covers manufacturing defects and functional failure under normal operating conditions | |
Retrofit Planning for Existing Automation Systems
Successful integration of the A3NCPUR21 into an existing MELSEC-A installation requires a structured pre-replacement assessment. Begin by auditing the current rack configuration: identify the main base unit model (A38B, A35B, or A32B), document all installed I/O modules such as AX40, AY40, AX80, and AY80 digital I/O cards, and record the slot addresses assigned to each module. This mapping is critical because the A3NCPUR21 reads I/O device assignments from the CPU parameter file, and any mismatch between the physical slot layout and the stored program will cause I/O scan errors on startup.
Next, evaluate the power supply module. The A61P and A62P power supply units are the most common PSUs found in A-series main racks. If the existing PSU shows signs of output voltage drift, capacitor aging, or thermal stress, replace it concurrently with the CPU to avoid a secondary failure shortly after commissioning. The A3NCPUR21 draws its operating power from the 5 VDC internal bus, and an undersized or degraded PSU will cause intermittent CPU resets that are difficult to diagnose in the field.
For installations that include communication modules — such as the A1SJ71UC24-R4 serial communication module or the AJ71UC24 RS-232C/RS-422 interface — verify that the communication parameters stored in the CPU program (baud rate, station number, data format) match the physical DIP switch settings on each communication card. After replacing the CPU, these parameters are re-read from the program on the first power cycle, so any discrepancy will prevent the communication link from establishing.
If the control system includes a GOT1000 or GOT2000 HMI panel connected via RS-422 or RS-232C, open the GOT screen project in GT Designer3 and confirm that the controller type and CPU model settings match the A3NCPUR21. In most cases, if you are replacing a same-generation CPU (e.g., A2NCPUR21 to A3NCPUR21), the GOT project requires no modification. However, if migrating from an A3ACPUR21 or an older A3CPU, verify that all device addresses referenced in the HMI screens — including internal relays (M), data registers (D), and timer contacts (T) — are within the memory range supported by the A3NCPUR21.
For systems using CC-Link remote I/O — typically via AJ65SBTB1-16D or AJ65SBTB2N-8R remote terminal modules — confirm the CC-Link master module (such as the AJ61BT11 or A1SJ61BT11) is installed in the rack and that its station count and occupied station settings are correctly configured in the CPU network parameters. After CPU replacement, perform a CC-Link network refresh test from GX Developer to confirm all remote stations are communicating before returning the system to automatic mode.
Downtime Control During System Migration
Minimizing unplanned downtime during a CPU replacement is the primary concern for maintenance engineers working on active production lines. The recommended approach is to perform a full program backup from the existing A3NCPUR21 (or its predecessor) using GX Developer before any hardware is removed. Connect the SC-09 programming cable or USB-SC09-A adapter to the CPU programming port, read the entire program including parameters, comments, and device initial values, and save the project to a local workstation. Verify the backup by comparing the program checksum or step count against the last known good version in your maintenance records.
During the physical swap, power down the control cabinet using the main isolator and follow lockout/tagout procedures. Remove the existing CPU module from slot 0 of the main rack, install the replacement A3NCPUR21, and restore power. The module will enter STOP mode on first power-up. Write the backed-up program to the new CPU, set the RUN/STOP switch to RUN, and monitor the diagnostic LEDs: the RUN LED should illuminate solid green, and the ERR LED should remain off. If the ERR LED flashes, use GX Developer diagnostic function to read the error code and resolve any parameter or I/O configuration mismatch before proceeding.
For systems where even a brief interruption is unacceptable, consider staging the replacement during a scheduled maintenance window and pre-configuring the replacement A3NCPUR21 offline using GX Developer simulation mode. This allows the engineering team to verify program execution logic, timer values, and counter presets before the module is installed in the live rack, reducing the on-site commissioning window to the minimum time required for physical installation and a functional I/O check.
Retrofit Support FAQ
Q1: Is the A3NCPUR21 a direct drop-in replacement for the A2NCPUR21?
In most cases, yes. Both modules occupy slot 0 of the A-series main rack and share the same backplane bus interface. However, the A3NCPUR21 has a larger program memory capacity and an extended instruction set. After installation, verify that all program steps, parameter settings, and device ranges are within the A3NCPUR21 supported limits using GX Developer. No wiring changes to I/O modules or terminal blocks are required.
Q2: What programming cable is required to connect to the A3NCPUR21?
The A3NCPUR21 uses a standard RS-232C programming port compatible with the SC-09 cable or the USB-SC09-A USB-to-serial adapter. Connect to the CPU programming port (labeled RS-232C on the front panel) and configure GX Developer with the correct COM port, baud rate (typically 9600 or 19200 bps), and CPU type (MELSEC-A series). Ensure the CPU is in STOP mode before initiating a program write operation.
Q3: How is the A3NCPUR21 tested before shipment?
Each A3NCPUR21 unit undergoes a pre-shipment functional test that includes power-on self-diagnostics, memory read/write verification, and communication port continuity checks. Units that pass all test criteria are packaged with anti-static protection and shipped with a test report. All units are covered by a 12-month warranty against manufacturing defects and functional failure under normal operating conditions. If a unit fails within the warranty period, contact our technical support team for a replacement or repair assessment.
Q4: Can the A3NCPUR21 communicate with newer MELSEC-Q or iQ-R series systems?
The A3NCPUR21 is a native MELSEC-A series CPU and does not natively support MELSEC-Q or iQ-R communication protocols. However, protocol conversion is possible using a dedicated gateway module such as the QJ71C24N serial communication module on the Q-series side, configured to bridge MELSEC-A device data to the Q-series CPU via RS-232C or RS-422. This approach is commonly used in phased migration projects where the A-series system must remain operational while a new Q-series or iQ-R platform is commissioned in parallel.
© 2026 SMARTNEXMSK. All rights reserved.
Original Source: https://smartnexmsk.com
Contact: sales@smartnexmsk.com | +86 18259474341