Mitsubishi MY41 Retrofit-Ready Relay Output for MELSEC-A Control Systems
The Mitsubishi Electric MY41 is a relay output unit designed for the MELSEC-A Series programmable logic controller platform. As legacy MELSEC-A systems approach end-of-life and original spare parts become increasingly difficult to source, the MY41 serves as a critical retrofit component for engineers tasked with maintaining, upgrading, or migrating aging production lines. Whether you are replacing a failed output module in a running control cabinet or executing a planned system modernization, the MY41 provides the relay contact output capacity and backplane compatibility required to restore or extend system operation with minimal disruption.
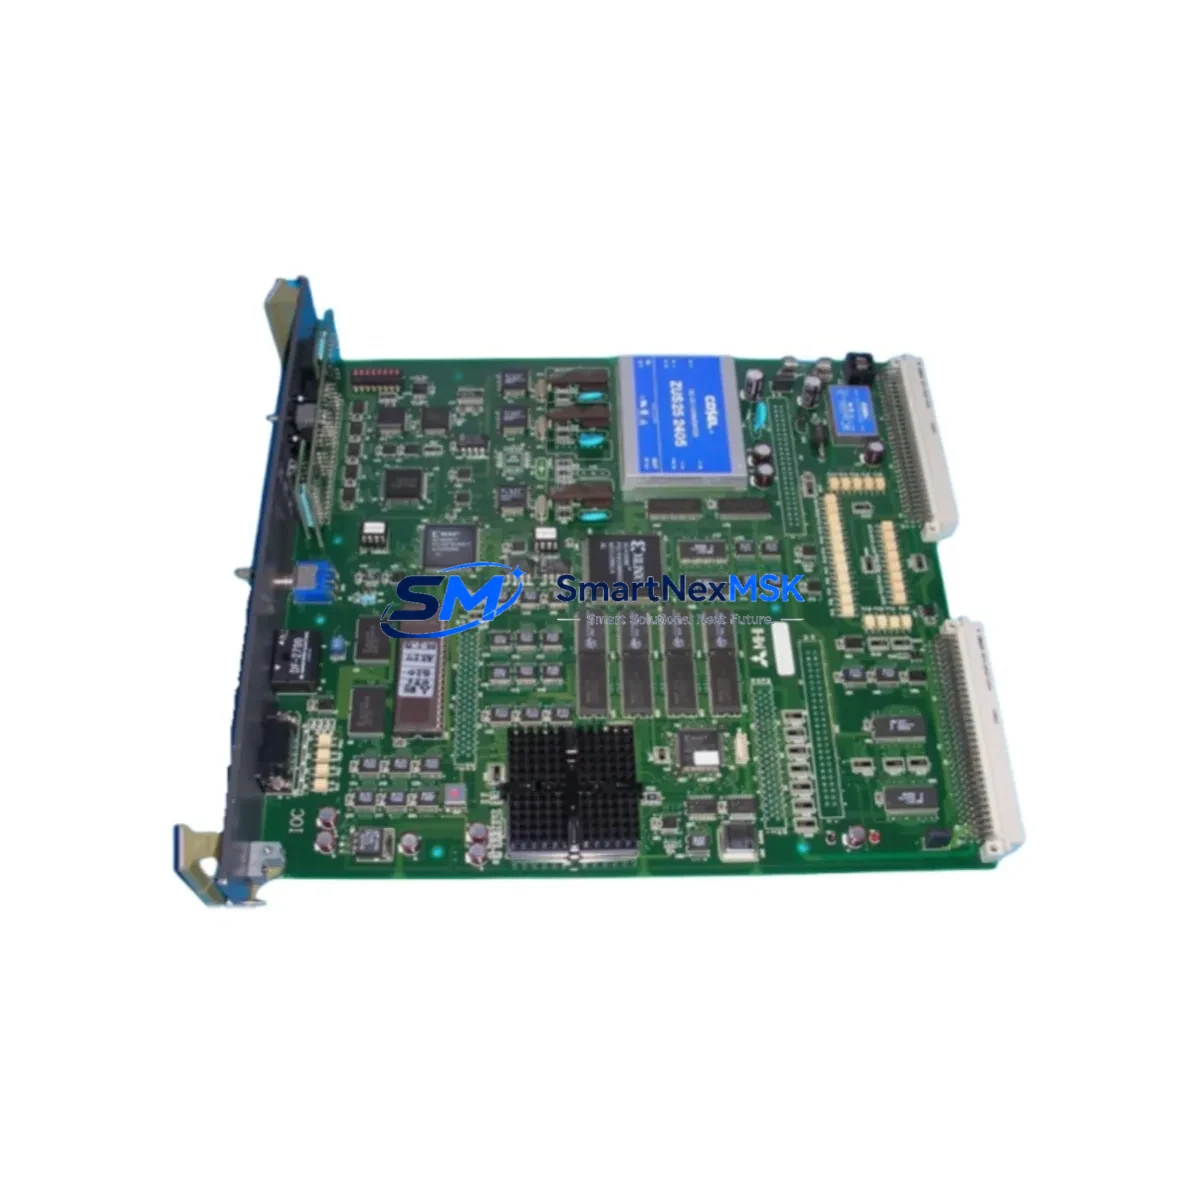
The MY41 provides 16-point relay output, making it suitable for driving solenoid valves, motor contactors, indicator lamps, and other field devices commonly found in discrete manufacturing environments. Its compact form factor fits standard MELSEC-A Series base units, including the A1S series main base and extension base configurations. When installed alongside the A1SCPU or A2SCPU controller modules, the MY41 integrates directly into the existing I/O assignment without requiring program restructuring, provided the slot address mapping is preserved during the swap.
Upgrade Compatibility Table
| Parameter | MY41 Specification | Retrofit Notes |
|---|---|---|
| Output Type | Relay contact output | Direct replacement for relay-type output slots in MELSEC-A racks |
| Output Points | 16 points | Matches standard 16-point slot assignment; no I/O map changes required |
| Backplane Interface | MELSEC-A Series bus connector | Compatible with A1S, A2S, and A3 base units; verify slot pitch before installation |
| Terminal Wiring | Screw terminal block (removable) | Existing field wiring can be transferred directly; confirm terminal numbering matches legacy module |
| Communication Protocol | MELSEC-A internal bus | No protocol migration required; CPU recognizes module at power-on |
| Power Consumption | 5 VDC internal bus | Verify A1S61PN or A1S62PN power supply capacity before adding modules to expanded racks |
| Installation Requirement | DIN rail or base unit slot mount | Power down system before insertion; re-assign I/O address in GX Developer if slot position changes |
| Commissioning | Online monitor via GX Developer | Use forced output test to verify each relay contact before resuming production |
| Warranty | 12-Month Warranty | Covered against manufacturing defects; pre-shipment functional test included |
Retrofit Planning for Existing Automation Systems
Successful integration of the MY41 into an existing MELSEC-A control system requires a structured approach that accounts for both hardware compatibility and software continuity. Before beginning the replacement, engineers should document the current I/O assignment table from the GX Developer project file, noting the slot number, module type, and start address of the output module being replaced. If the failed module is an older MY40 or Y40 type, the MY41 occupies the same physical slot and the relay output points map identically, allowing the existing ladder logic to remain unchanged.
Power supply capacity is the first hardware check. The A1S61PN power supply unit supports up to 6A on the 5V internal bus, while the A1S62PN provides extended capacity for larger rack configurations. When the control cabinet includes multiple I/O modules — such as the X40 DC input module, Y41 transistor output module, and the MY41 relay output module — the combined current draw must remain within the power supply rating. Adding an A1SX40 input module or an A1SY41P transistor output module to an already loaded rack without verifying power budget is a common cause of intermittent faults after retrofit.
Terminal block wiring is the next critical step. The MY41 uses a removable screw terminal block that can be unplugged from the module body, allowing field wiring to be transferred to the new module without disturbing individual wire terminations. Before removing the terminal block from the failed module, photograph the wiring layout and cross-reference it against the original panel drawing. This is especially important in cabinets where the A1SJ71UC24-R4 serial communication module or the A1SJ71E71-B5 Ethernet interface module shares the same rack, as disturbing adjacent wiring can introduce communication faults that are difficult to trace during commissioning.
Module address configuration in MELSEC-A systems is determined by slot position rather than DIP switch settings, which simplifies the replacement process. Once the MY41 is seated in the correct slot and the terminal block is reconnected, the A1SCPU or A2SCPU will automatically recognize the module during the next power cycle. If the system uses a GOT1000 series HMI panel connected via RS-422 to the CPU, verify that the HMI screen tag assignments reference the correct output device addresses before resuming automatic operation. Screen elements mapped to Y outputs in the range covered by the MY41 should be tested in manual mode first.
For systems that include an A1SJ71QBR11 MELSECNET/B remote I/O master module, confirm that the remote station I/O refresh cycle is not disrupted by the module swap. In distributed control architectures where the MY41 is installed in a remote sub-rack rather than the main cabinet, the network refresh parameters in the master station program may need to be temporarily suspended during the hot-swap window to prevent spurious output activations on other stations.
Downtime Control During System Migration
Minimizing production downtime during a MY41 replacement requires preparation that begins before the maintenance window opens. The most effective approach is to pre-configure a spare MY41 unit off-line, verify its relay contacts with a continuity tester, and stage it alongside the replacement tools before the line is stopped. Pre-shipment functional testing performed at our facility ensures that every MY41 unit shipped has been verified for contact resistance, coil operation, and bus communication before it leaves the warehouse, reducing the risk of receiving a defective replacement that extends the outage.
During the maintenance window, the recommended sequence is: save the current GX Developer project to a backup file, power down the control cabinet using the main circuit breaker, remove the terminal block from the failed module, extract the module from the backplane, insert the MY41, reconnect the terminal block, and restore power. The entire hardware swap typically takes under 15 minutes for a trained technician. The CPU will perform a self-diagnostic on power-up and flag any I/O configuration mismatch in the error register, which can be read using GX Developer’s diagnostic function before releasing the line to production.
For systems where a cold shutdown is not acceptable — such as continuous process lines with safety interlocks — the MY41 replacement can be planned as part of a scheduled partial shutdown where only the affected output circuit is de-energized. In this scenario, the field devices connected to the relay outputs being replaced must be manually held in a safe state using bypass switches or mechanical locks before the module is removed. Restoring the original program logic and verifying each output point through a forced-output test sequence before releasing the bypass is essential to maintaining control continuity and preventing unintended actuator movement during the transition.
Retrofit Support FAQ
Q: Is the MY41 a direct drop-in replacement for the MY40 in MELSEC-A racks?
A: Yes. The MY41 occupies the same slot footprint as the MY40 and uses the same backplane bus interface. The relay output point count and terminal block layout are compatible, allowing the existing field wiring and ladder program to be used without modification. Confirm the slot address assignment in GX Developer matches the original module position before powering up.
Q: What commissioning steps are required after installing the MY41?
A: After installation, power up the system and use GX Developer to read the CPU diagnostic buffer and confirm no I/O error codes are present. Use the forced output function to individually energize each of the 16 relay contacts and verify field device response. For systems with GOT series HMI panels, test each output-linked screen element in manual mode before switching to automatic control.
Q: Can the MY41 terminal block wiring be transferred directly from the old module?
A: Yes. The removable terminal block design allows the entire wiring harness to be unplugged from the failed module and plugged into the MY41 without disturbing individual wire terminations. Always photograph the existing wiring and verify terminal numbering against the panel drawing before transfer to avoid transposition errors.
Q: What does the 12-month warranty cover, and is pre-shipment testing included?
A: Every MY41 unit is functionally tested before shipment, covering relay contact operation, coil energization, and bus communication. The 12-month warranty covers manufacturing defects and component failures under normal operating conditions. Units showing damage from incorrect wiring, overvoltage, or mechanical impact are not covered. Contact our technical team for warranty claims or replacement support.
© 2026 SMARTNEXMSK. All rights reserved.
Original Source: https://smartnexmsk.com
Contact: sales@smartnexmsk.com | +86 18259474341