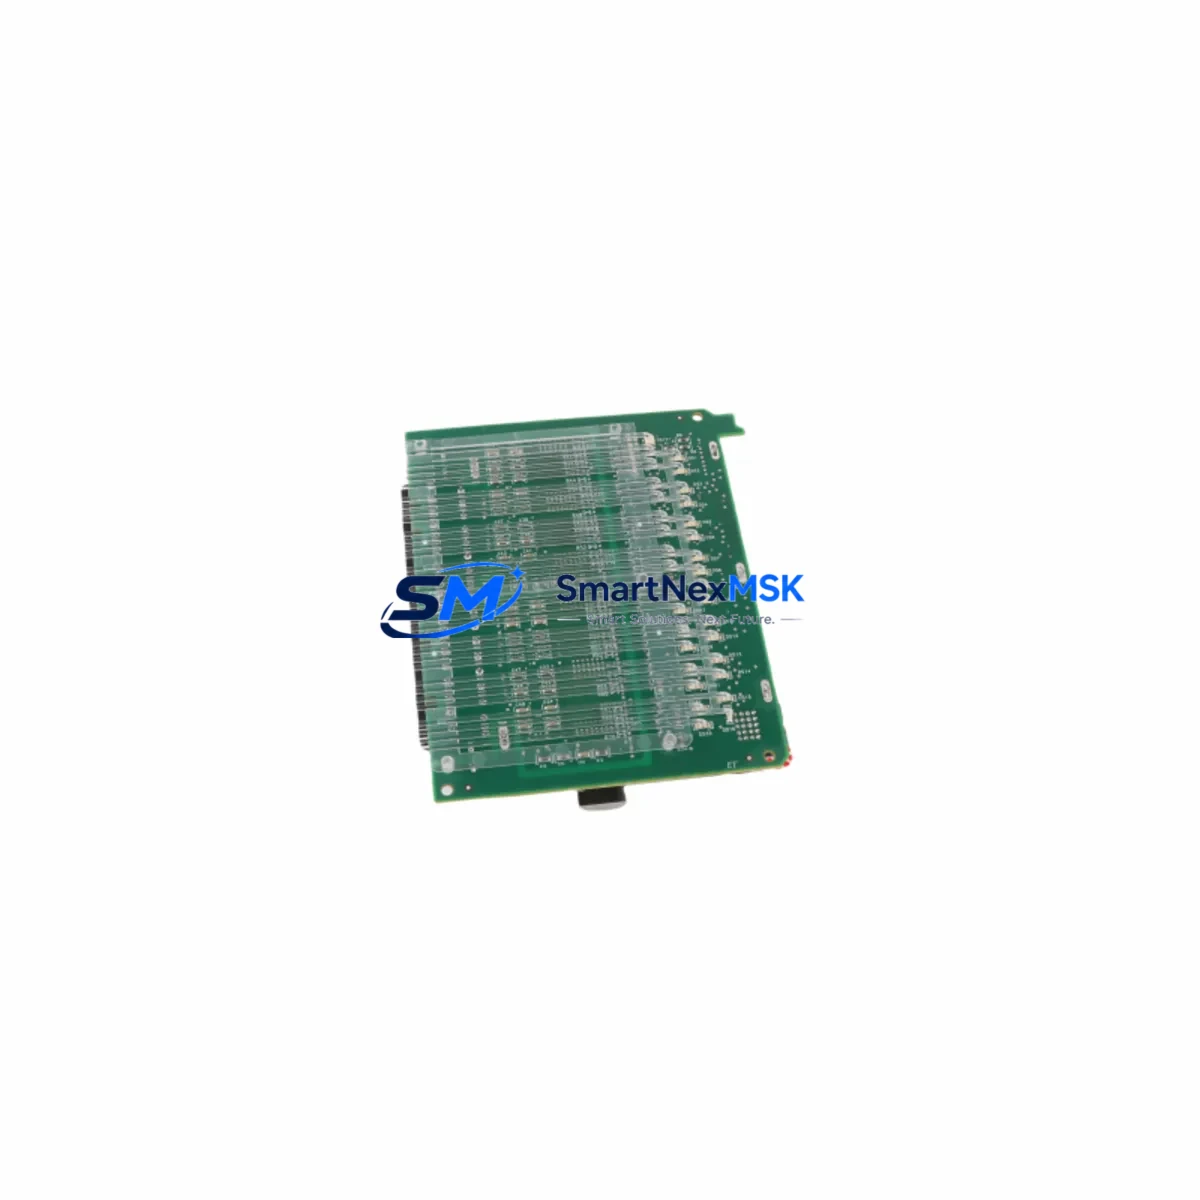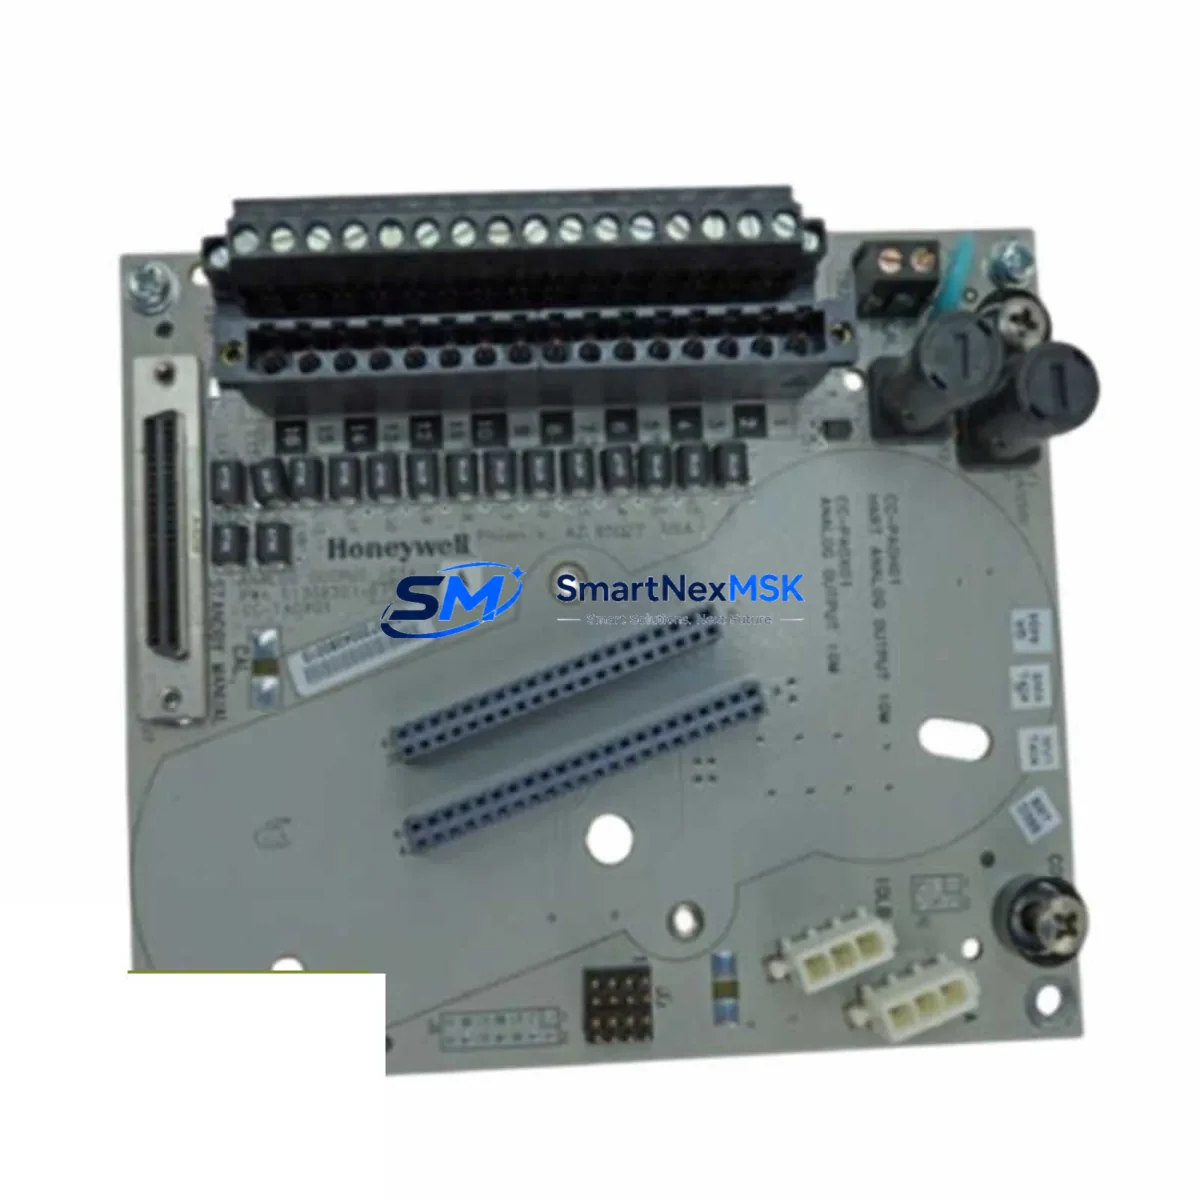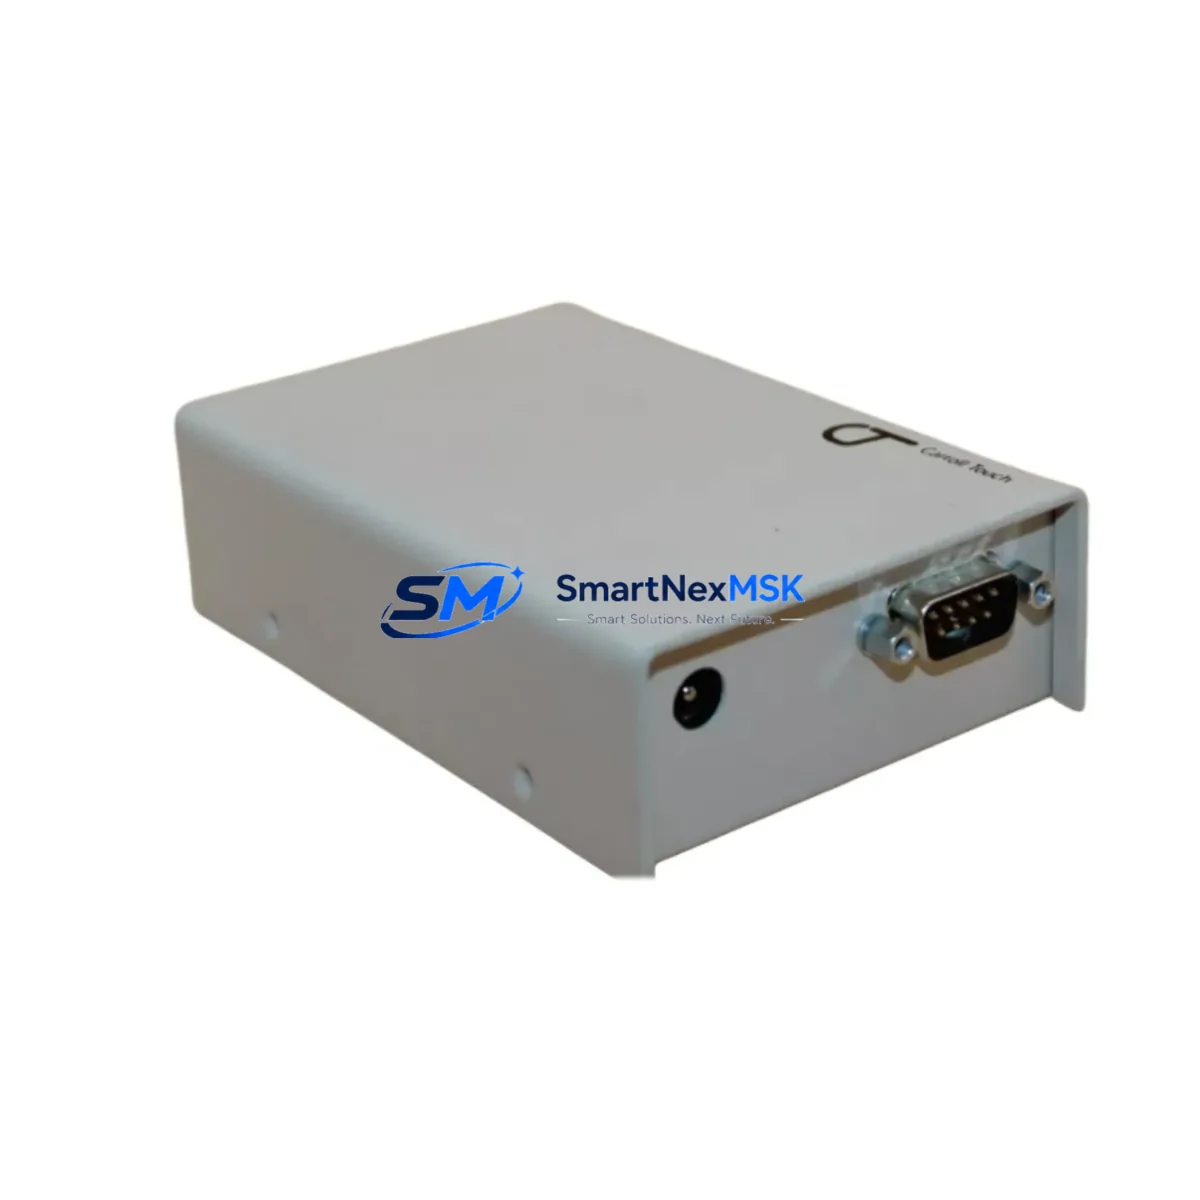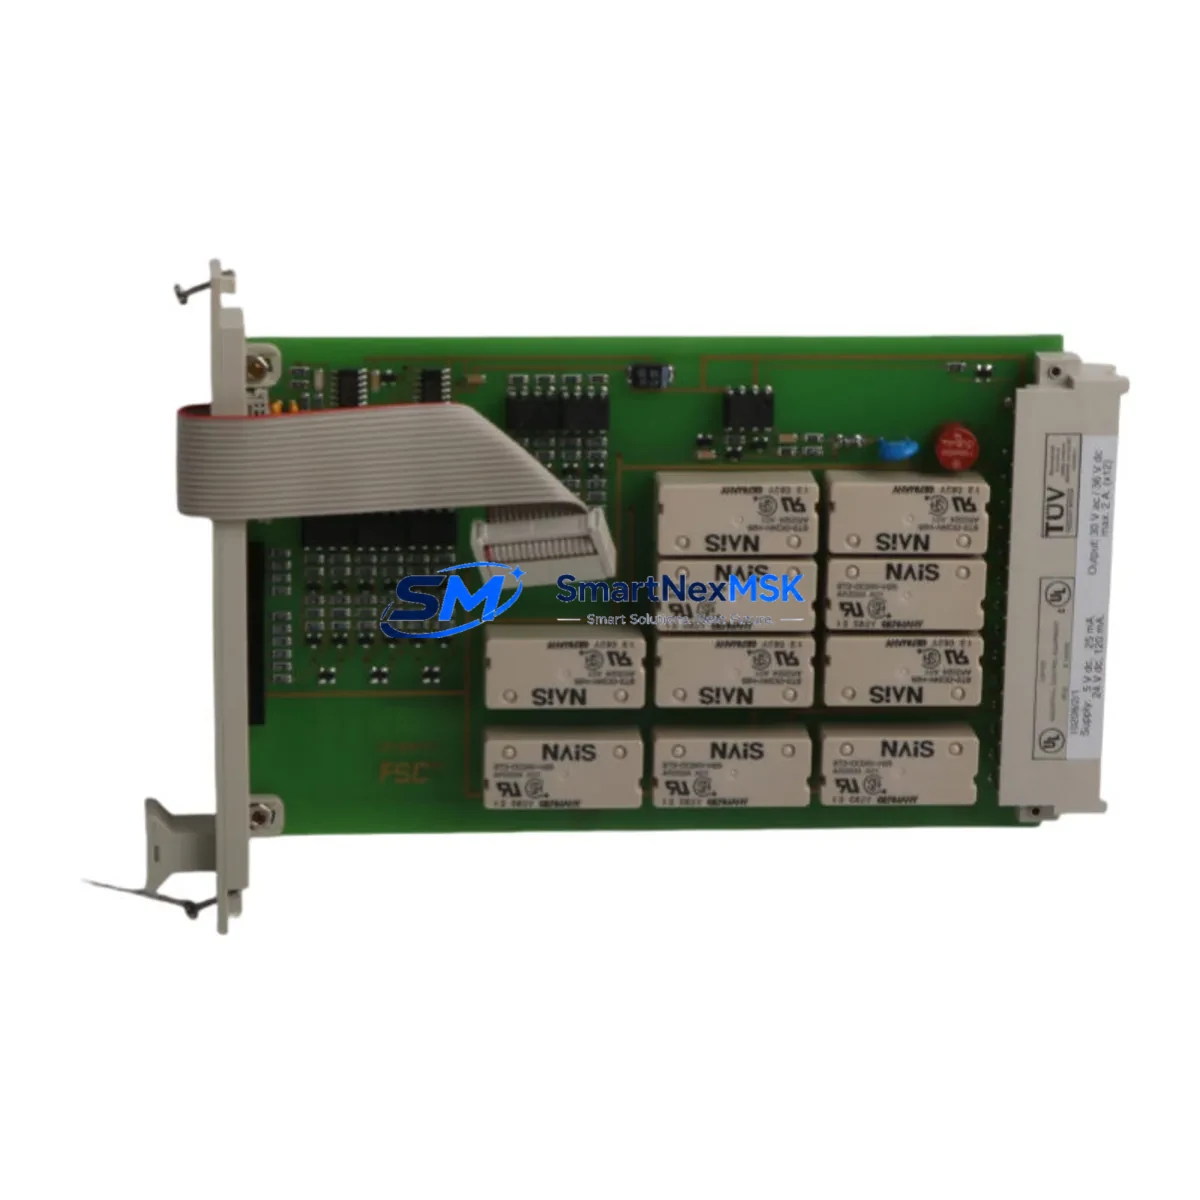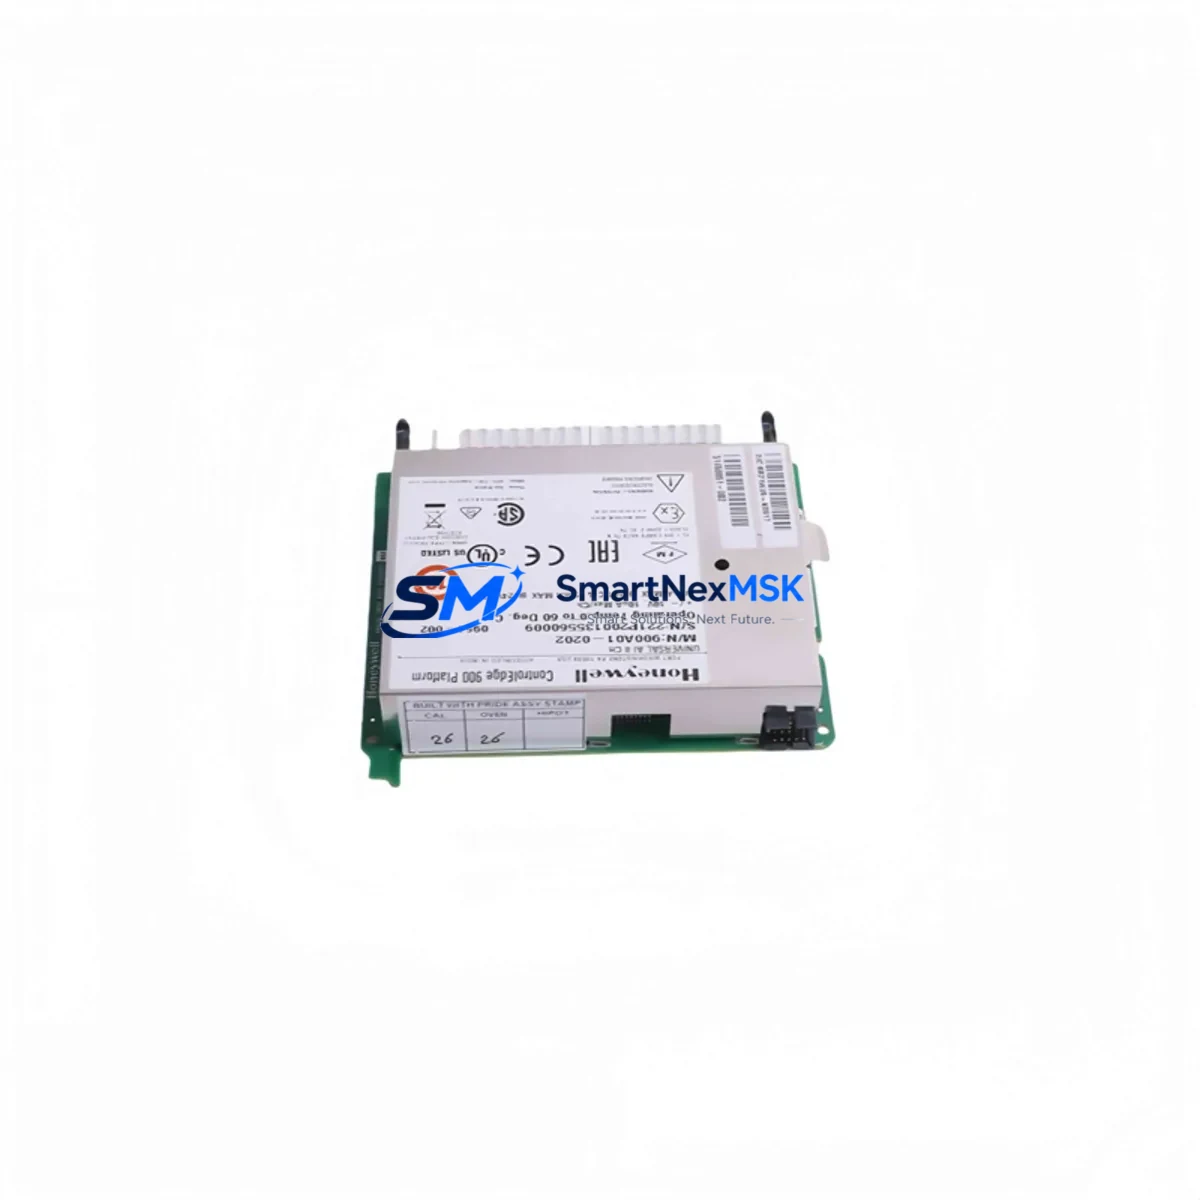
Honeywell 900G01-0001 Retrofit-Ready Digital Input Module for HC900 Control Systems
The Honeywell 900G01-0001 is a 24 VDC Digital Input Module designed for the HC900 Hybrid Controller platform. As legacy HC900 installations age and OEM support windows narrow, this module has become one of the most requested retrofit and replacement components in process automation and hybrid control applications. Whether you are restoring a failed I/O slot, expanding an existing rack, or executing a planned migration from an older distributed control architecture, the 900G01-0001 provides a verified drop-in solution that preserves your existing wiring, program logic, and HMI configuration with minimal engineering rework.
SMARTNEXMSK maintains ready stock of the 900G01-0001 sourced from authorized distribution channels. Every unit undergoes pre-shipment functional verification, and all orders are covered by a 12-month warranty against manufacturing defects and operational failure. Global shipping is available with typical lead times of 3–7 business days for in-stock units.
Upgrade Compatibility Table
| Parameter | Details |
|---|---|
| SKU / Part Number | 900G01-0001 |
| Brand / Manufacturer | Honeywell Process Solutions |
| Series / Platform | HC900 Hybrid Controller |
| Module Type | Digital Input (DI), 24 VDC |
| Channel Count | 16 channels (typical HC900 DI configuration) |
| Backplane Interface | HC900 standard I/O rack backplane connector |
| Installation Requirement | HC900 I/O rack (local or remote); no tools required for hot-swap capable slots |
| Communication Compatibility | Native HC900 backplane bus; compatible with C30, C50, C70, and C75 controllers |
| Wiring Compatibility | Standard HC900 terminal block; existing field wiring retained without modification |
| Replacement Suitability | Direct drop-in for failed or end-of-life 900G01-0001 units in existing racks |
| Commissioning Notes | Module address auto-assigned by rack slot position; verify in HC Designer configuration tool |
| Warranty | 12 months from shipment date — covers manufacturing defects and functional failure |
Retrofit Planning for Existing Automation Systems
Replacing or expanding digital input capacity in an HC900-based control system requires careful coordination across several hardware and software layers. The 900G01-0001 slots directly into any available I/O position in an HC900 local rack or remote I/O rack, but a successful retrofit goes beyond physical installation.
Before removing the failed module, document the existing terminal block wiring using the as-built drawings or a field survey. The HC900 uses a removable terminal block design, which means the wiring harness can be transferred to the replacement module without re-terminating individual conductors — a significant time saver during planned or emergency shutdowns. Confirm that the 900P01-0001 power supply module in the rack has sufficient capacity to support the additional or replacement I/O load, particularly if you are adding modules to a previously partial rack.
On the software side, open the existing project in HC Designer (Honeywell’s configuration and programming environment for the HC900 platform) and verify that the slot assignment for the 900G01-0001 matches the physical rack position. If the module is replacing a failed unit in the same slot, the configuration typically requires no changes — the controller will recognize the module at power-up or after a hot-swap sequence. If you are adding a new module to a previously empty slot, you will need to add the module to the HC Designer project, assign the input tags, and download the updated configuration to the HC900 C50 or C70 controller.
For systems that include a 900RIO-0001 remote I/O scanner linking satellite racks over a dedicated I/O bus, confirm that the remote rack’s communication link is healthy before and after the module swap. A degraded fiber or copper link between the local and remote rack can cause the new module to appear offline even when physically seated correctly. Use the HC900 diagnostic screens on the connected Honeywell HC900 HMI station or a SCADA interface to verify module status after installation.
In multi-rack configurations, pay attention to the 900G32-0001 analog input modules and 900G03-0001 digital output modules sharing the same rack. A rack power cycle during module replacement will momentarily interrupt all I/O in that rack, so coordinate with operations to place the affected control loops in manual mode before proceeding. For critical loops, consider pre-staging the replacement module in a spare rack slot and using HC Designer’s forced-value feature to hold outputs steady during the transition.
If your retrofit scope extends to communication protocol migration — for example, moving from a legacy serial Modbus RTU link to Ethernet Modbus TCP — the 900CS-0001 communication module in the HC900 rack will need to be reconfigured alongside the I/O changes. Ensure that IP addressing, subnet masks, and gateway settings are documented before any network changes are made, and verify end-to-end communication with the DCS historian or SCADA server after the migration is complete.
For sites running older Honeywell TDC 3000 or PlantScape systems alongside HC900 hybrid controllers, the 900G01-0001 retrofit is often part of a broader I/O consolidation project. In these cases, the programming cable 900MK-0001 and a laptop running HC Designer are essential tools for on-site configuration verification before the system is returned to automatic control.
Downtime Control During System Migration
Minimizing unplanned downtime is the primary concern for any maintenance team executing a digital input module replacement on a live HC900 system. The following practices are recommended to protect program logic integrity and maintain field control continuity throughout the migration.
Pre-work (offline): Back up the current HC Designer project file and export a tag list before touching any hardware. Confirm the backup restores correctly on a test machine. Photograph or scan the terminal block wiring before disconnection. Verify that the replacement 900G01-0001 unit has the correct firmware revision — check the label on the module against the firmware compatibility matrix in the HC900 Installation and User Guide.
During replacement: Place all control loops associated with the affected digital inputs in manual mode at the controller or DCS level. If the rack supports hot-swap for the target slot, follow the HC900 hot-swap procedure: loosen the module latch, slide the module out, insert the replacement, and re-latch — the controller will automatically re-initialize the slot without a full rack power cycle. If hot-swap is not supported for the slot type, coordinate a brief rack power cycle during a scheduled maintenance window.
Post-replacement verification: After the module is seated, monitor the HC900 controller’s module status LEDs and the diagnostic display. All channel status indicators should transition from fault to normal within 10–30 seconds of module initialization. Verify each digital input channel against a known field signal source before returning loops to automatic. Update the maintenance log with the replacement date, module serial number, and any configuration changes made during the retrofit.
By following a structured pre-work, execution, and verification sequence, most 900G01-0001 replacements can be completed within a 30–60 minute maintenance window, with zero impact on program logic or HMI display configuration.
Retrofit Support FAQ
Q1: Is the 900G01-0001 a direct replacement for the original Honeywell part, and will it work with my existing HC900 controller firmware?
Yes. The 900G01-0001 is the original Honeywell part number for this 24 VDC Digital Input Module. It is compatible with all HC900 controller variants (C30, C50, C70, C75) running standard firmware releases. If your controller is running a very early firmware version (pre-4.x), we recommend confirming the firmware revision with your Honeywell service representative before installation, as some early releases have known I/O initialization quirks.
Q2: Can I install the 900G01-0001 without modifying my existing HC Designer program or HMI screens?
In most replacement scenarios — where the module is being swapped into the same rack slot as the failed unit — no program or HMI changes are required. The module address is determined by rack slot position, and the controller will recognize the new module automatically. HMI tag bindings and SCADA point mappings remain intact. Changes are only needed if you are adding the module to a new slot or changing the I/O assignment.
Q3: What wiring checks should I perform before and after installing the replacement module?
Before installation, verify that all field wiring is correctly documented and that the terminal block is free of corrosion or loose terminations. After installation, use a multimeter or the HC900 diagnostic display to confirm that each channel reads the correct state (ON/OFF) for the connected field device. Pay particular attention to channels connected to safety interlocks or critical process inputs — verify these individually before returning the system to automatic control.
Q4: What does the 12-month warranty cover, and how does SMARTNEXMSK handle warranty claims?
The 12-month warranty covers manufacturing defects and functional failure under normal operating conditions. If a unit fails within the warranty period, contact [email protected] with the order number, module serial number, and a description of the failure. SMARTNEXMSK will arrange a replacement shipment or repair at no additional cost. Warranty does not cover damage caused by incorrect installation, overvoltage, or physical mishandling.
© 2026 SMARTNEXMSK. All rights reserved.
Original Source: https://smartnexmsk.com
Contact: [email protected] | +86 18259474341