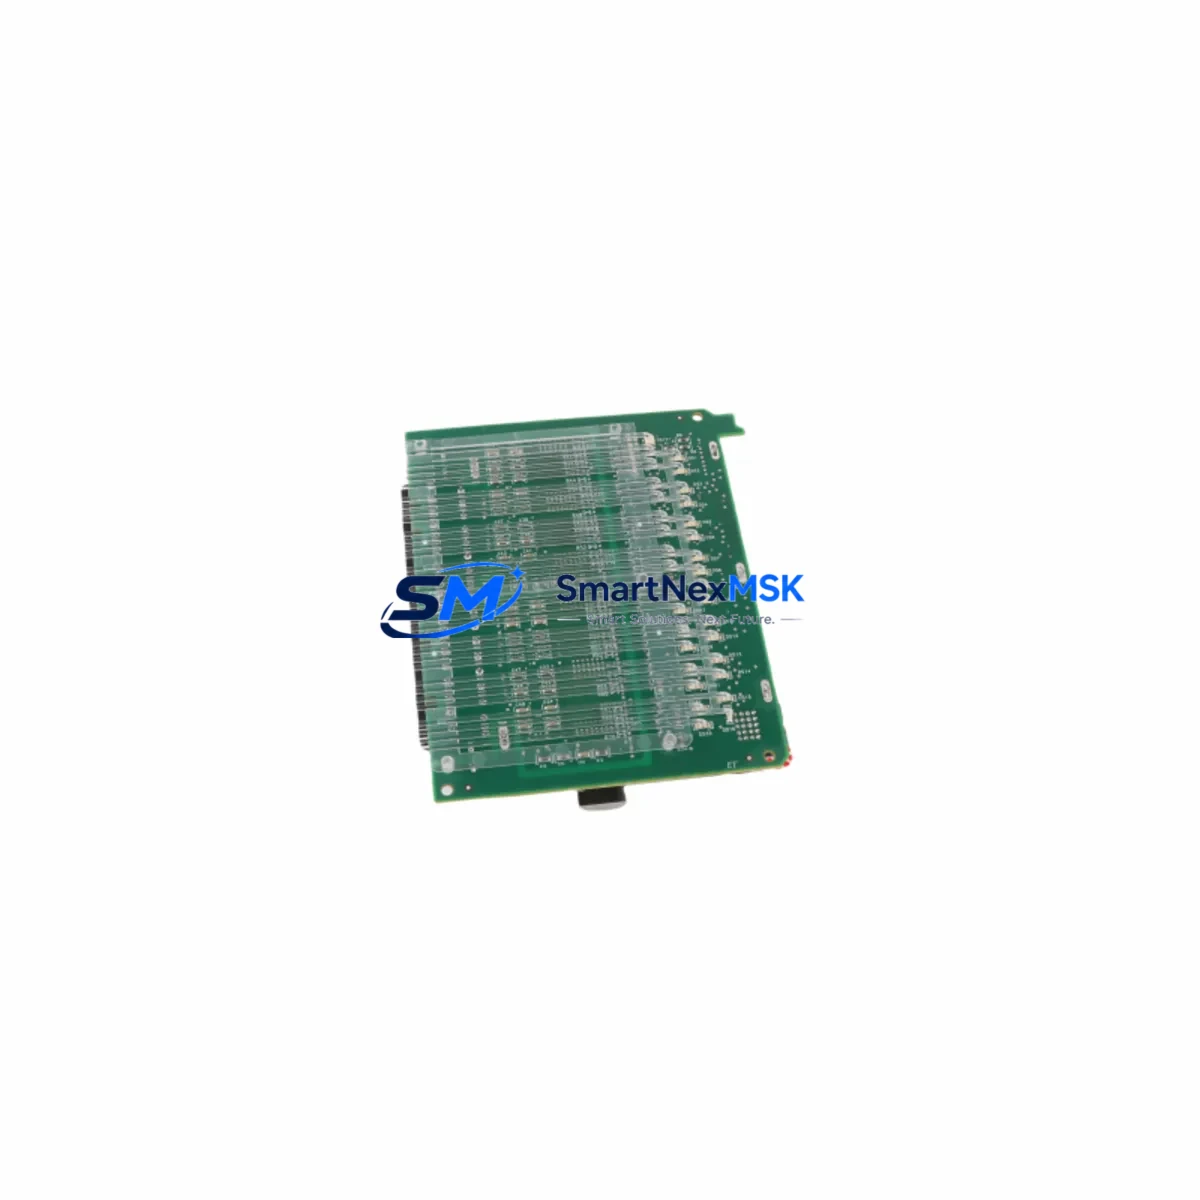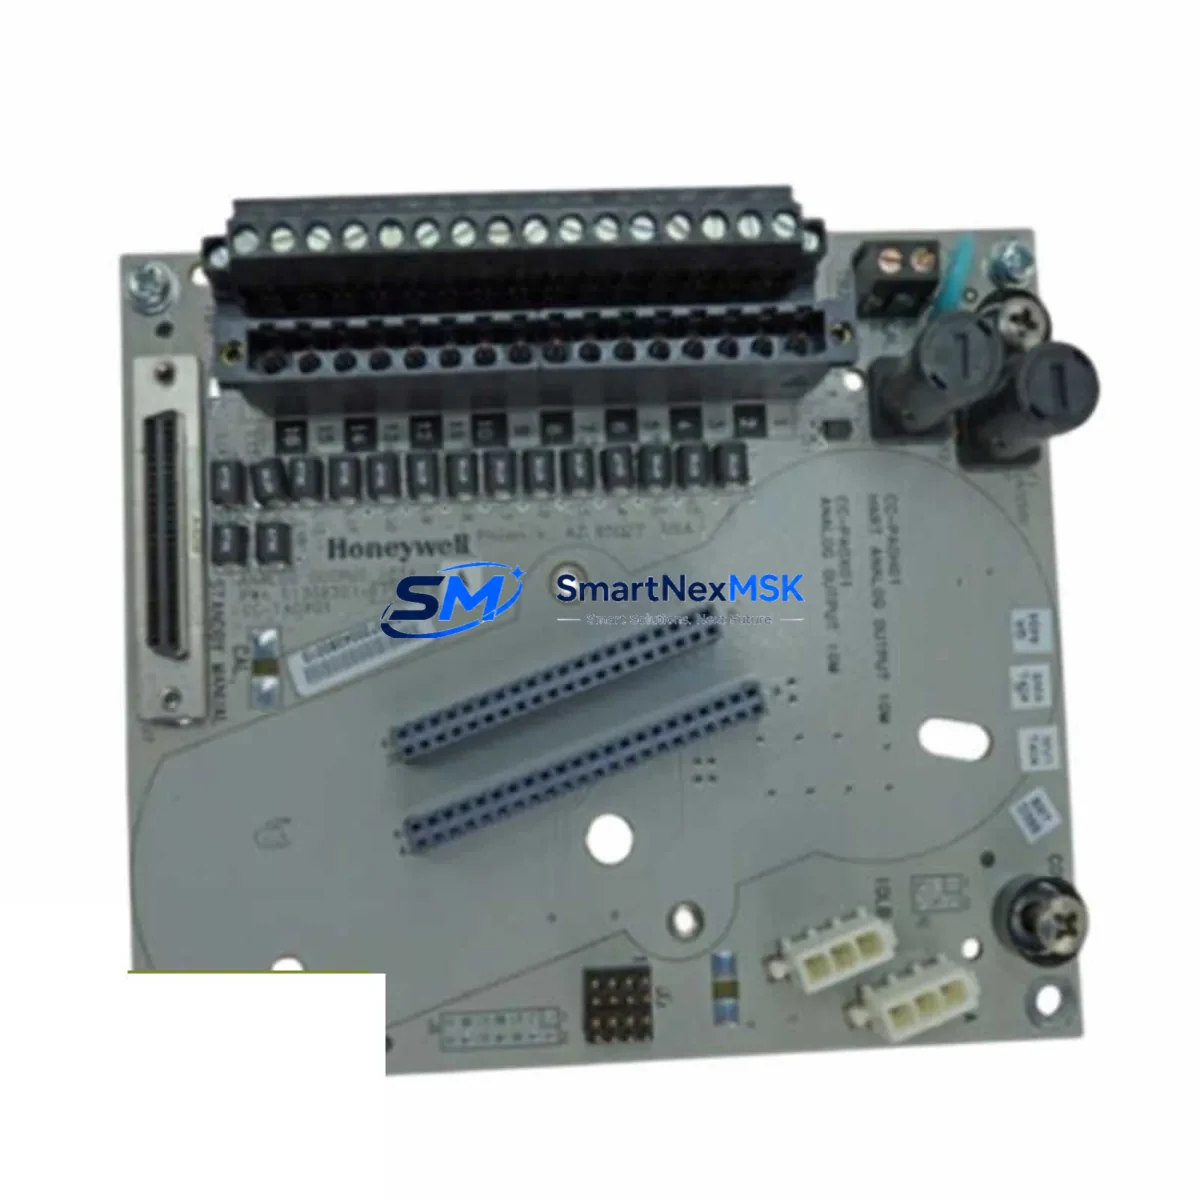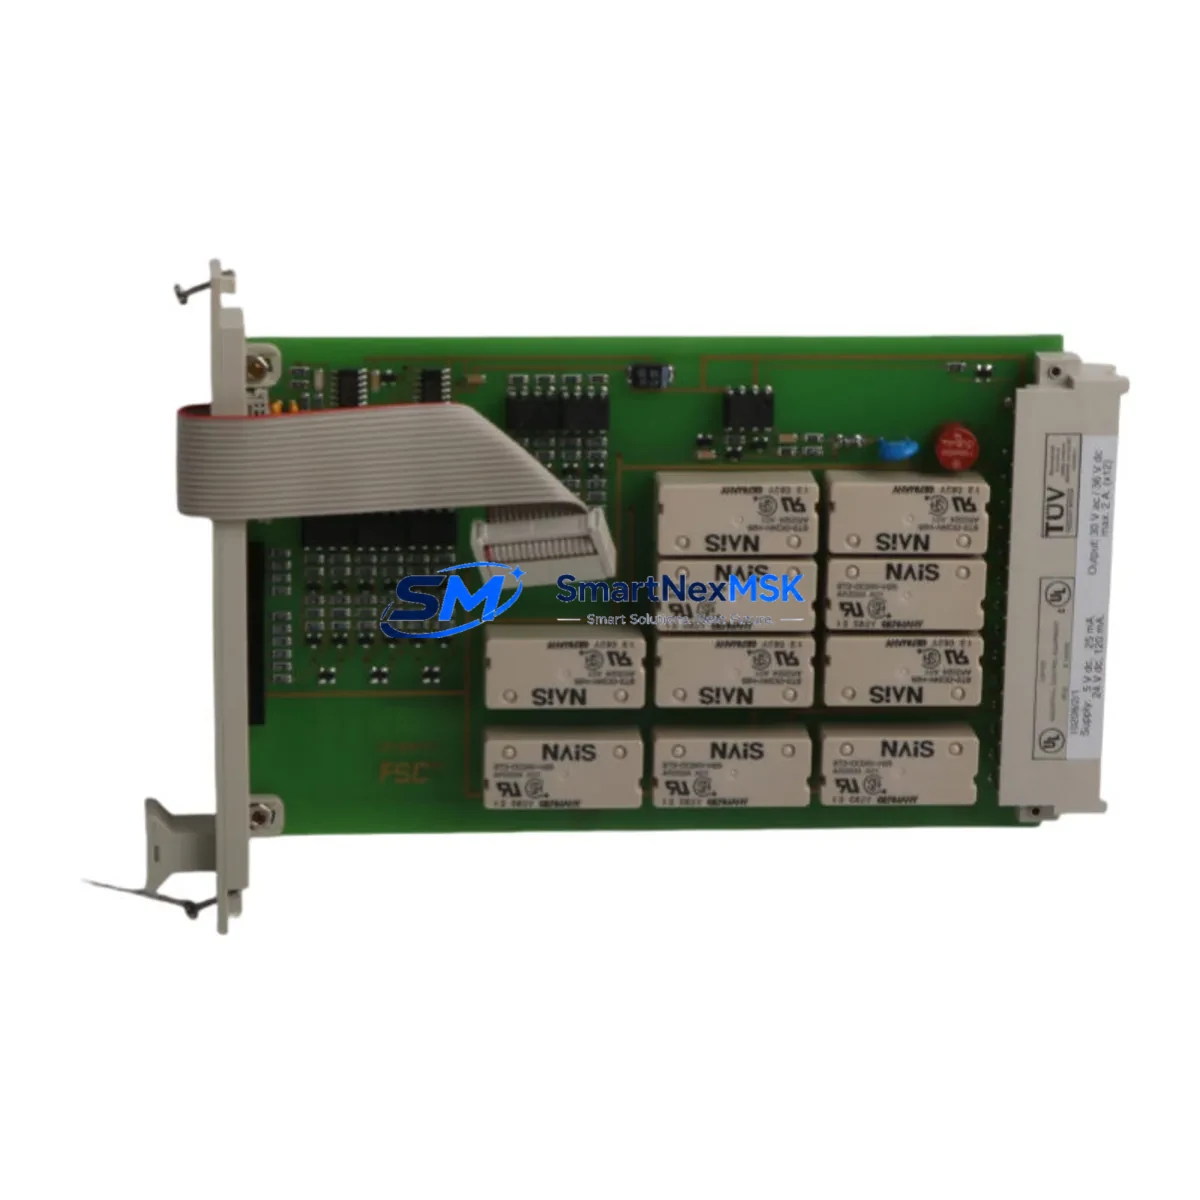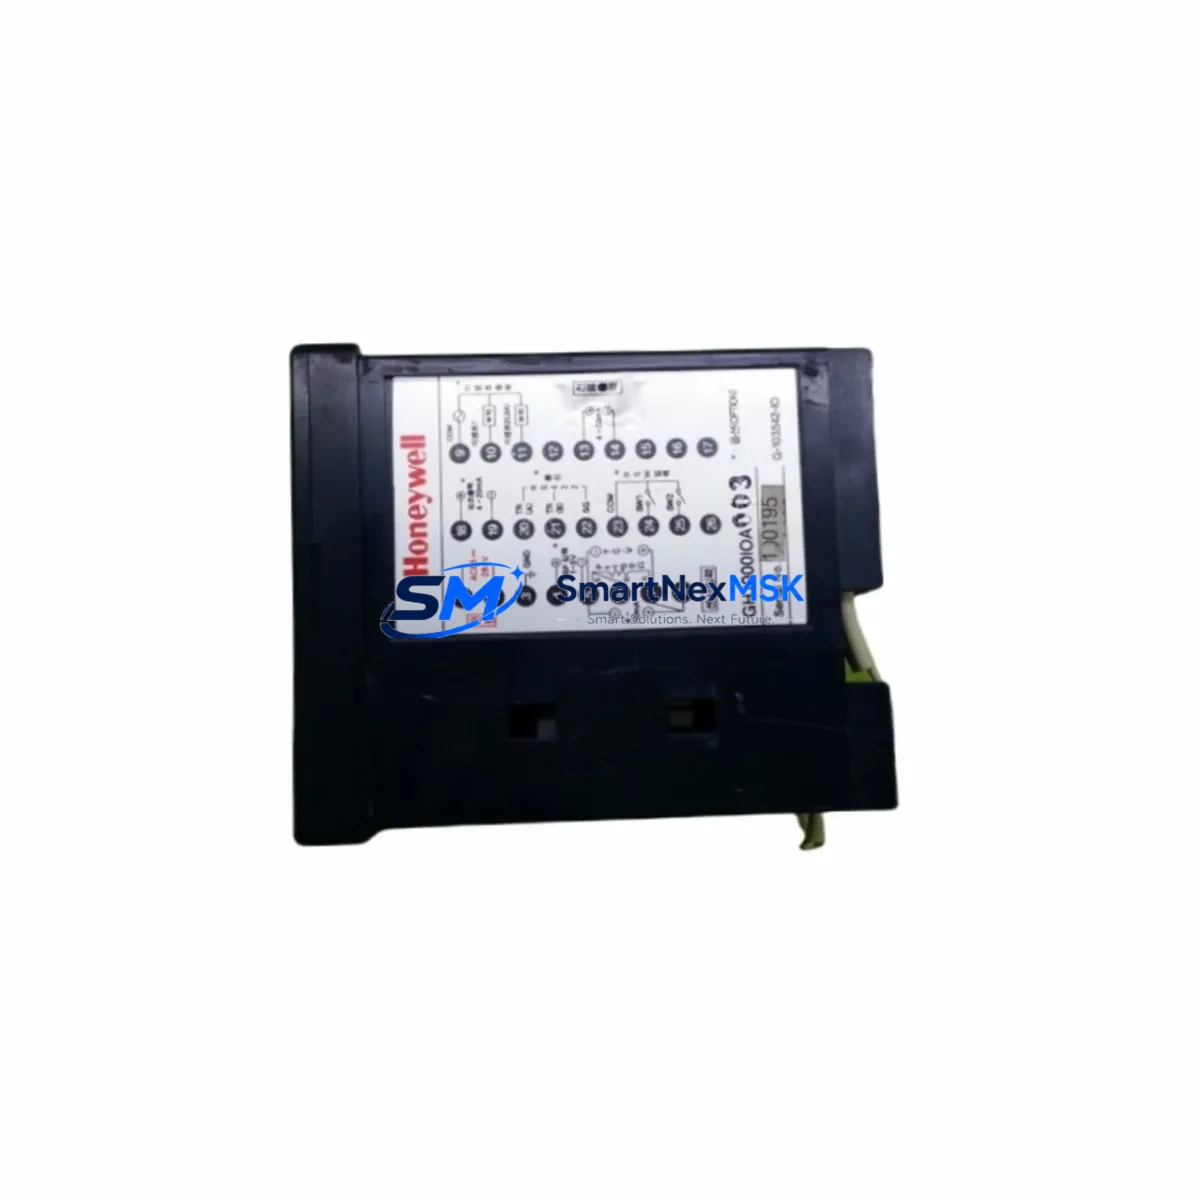
Honeywell GH1000IOA003-G Retrofit-Ready PID Controller for GH1000 Series Control Systems
The Honeywell GH1000IOA003-G is a retrofit-ready PID temperature controller engineered for seamless integration into existing GH1000 Series control architectures. Whether you are replacing an end-of-life unit, upgrading a legacy control cabinet, or restoring a discontinued automation line, this module delivers the compatibility, reliability, and verified performance that industrial engineers demand. With full backward compatibility across the GH1000 platform, the GH1000IOA003-G eliminates the need for costly panel redesigns or PLC reprogramming during system modernization projects.
Sourced directly from authorized supply channels and subject to pre-shipment functional testing, every GH1000IOA003-G unit shipped by SMARTNEXMSK is backed by a 12-month warranty covering manufacturing defects and operational failures under normal industrial conditions. Stock is maintained on-hand to support urgent retrofit timelines and unplanned equipment failures.
Upgrade Compatibility Table
| Parameter | Details |
|---|---|
| SKU / Part Number | GH1000IOA003-G |
| Brand | Honeywell |
| Series Compatibility | GH1000 Series |
| Module Function | PID Temperature Controller |
| Installation Type | DIN Rail / Panel Mount (rack-compatible) |
| Communication Interface | Compatible with GH1000 Series backplane and communication bus |
| Wiring Compatibility | Terminal block pinout matches original GH1000IOA003-G specification |
| Replacement Scope | Direct drop-in for discontinued or failed GH1000IOA003-G units |
| Commissioning Notes | Verify module address, I/O channel mapping, and PID parameter transfer from original configuration |
| Warranty | 12 Months — covers manufacturing defects and operational failure under rated conditions |
| Pre-Shipment Testing | Functional verification performed before dispatch |
| Country of Origin | China (CN) |
Retrofit Planning for Existing Automation Systems
Replacing the GH1000IOA003-G within an active production environment requires careful pre-migration planning to protect existing program logic and minimize disruption to field operations. Before removing the original module, engineers should document the full terminal wiring layout, confirm the backplane slot assignment, and export the current PID configuration parameters — including setpoint, proportional band, integral time, and derivative time — from the operator interface or engineering workstation.
In a typical GH1000 Series control cabinet, the GH1000IOA003-G operates alongside a range of supporting components. The system power supply module — often a dedicated 24 VDC rail unit — must be verified to provide sufficient current capacity for the replacement module, particularly if the retrofit is part of a broader I/O expansion. The GH1000 backplane or rack assembly provides the physical and electrical interface between the PID controller and adjacent modules; inspect the backplane connector for corrosion or mechanical wear before seating the new unit.
Communication continuity is a critical concern during migration. If the GH1000IOA003-G is integrated into a Modbus RTU or HART-based loop, the communication parameters — baud rate, parity, device address — must be reconfigured on the replacement module to match the existing network settings. Where the system includes a Honeywell HC900 hybrid controller or a connected DCS node, confirm that the tag database and loop assignments remain intact after module substitution. HMI screens referencing the original module’s I/O tags should be validated post-swap to ensure display accuracy and alarm functionality.
For systems incorporating analog input modules handling thermocouple or RTD signals, verify that the input type selection (e.g., Type K, Type J, Pt100) is correctly set on the replacement GH1000IOA003-G. Mismatched sensor type configuration is a common commissioning error that can produce offset readings or spurious alarms. If the control loop feeds a final control element such as a motorized valve positioner or a thyristor power controller, perform a manual output test before returning the loop to automatic mode.
Where the retrofit involves migrating from an older Honeywell UDC series controller or a legacy single-loop controller to the GH1000 platform, additional steps are required: map the original analog output signal range (4–20 mA or 0–10 V), confirm the control output wiring to the field device, and update the engineering unit scaling in the replacement module. A programming cable or USB configuration adapter compatible with the GH1000 Series should be on hand during commissioning to allow real-time parameter adjustment and diagnostic readout.
Downtime Control During System Migration
Minimizing unplanned downtime during a GH1000IOA003-G replacement is achievable with structured pre-work and a disciplined swap procedure. Begin by scheduling the replacement during a planned maintenance window and preparing a rollback plan — retain the original module until the replacement has been confirmed stable in closed-loop operation.
Before powering down the control cabinet, capture a full backup of the PID parameters and any associated recipe or setpoint tables stored in the controller memory. If the GH1000 Series system is connected to a supervisory SCADA or DCS platform, notify the control room to place the affected loop in manual mode and hold the last known output value. This prevents process upsets caused by a loss of automatic control during the module exchange.
Physical replacement should follow a defined sequence: isolate the module power, release the terminal block connectors using the original wiring labels as reference, extract the module from the backplane slot, seat the GH1000IOA003-G replacement, reconnect terminals in order, and restore power. After power-up, verify the module self-diagnostic status, reload the saved PID parameters, and perform a bumpless transfer back to automatic mode. Monitor the process variable for at least one full control cycle before declaring the migration complete.
For multi-loop systems where several GH1000IOA003-G units are being replaced simultaneously, stagger the swap sequence loop by loop rather than replacing all modules at once. This approach preserves partial system control during the migration and allows each loop to be individually validated before proceeding to the next. Document the as-found and as-left configuration for each module to support future maintenance records and compliance audits.
Retrofit Support FAQ
Q1: Is the GH1000IOA003-G a direct replacement for the original discontinued unit?
Yes. The GH1000IOA003-G supplied by SMARTNEXMSK is a direct form-fit-function replacement for the original Honeywell GH1000IOA003-G. Terminal pinout, backplane interface, and communication protocol compatibility are maintained. No panel modification or PLC reprogramming is required for a standard like-for-like swap within the GH1000 Series architecture.
Q2: What commissioning steps are required after installing the replacement module?
After physical installation, reload the saved PID parameters (setpoint, PB, Ti, Td), verify the input sensor type selection, confirm the module address on the communication bus, and perform a manual output test before returning the loop to automatic control. If the module is connected to an HMI or SCADA system, validate all associated display tags and alarm setpoints.
Q3: Can the GH1000IOA003-G be used in systems with mixed Honeywell controller generations?
The GH1000IOA003-G is designed for the GH1000 Series platform. Integration with other Honeywell controller families — such as the HC900 or legacy UDC series — may require signal conditioning, protocol conversion, or additional configuration. Contact SMARTNEXMSK technical support to discuss your specific system topology before ordering.
Q4: What does the 12-month warranty cover, and how is it claimed?
The 12-month warranty covers manufacturing defects and operational failures occurring under rated operating conditions. It does not cover damage resulting from incorrect installation, overvoltage, or unauthorized modification. To initiate a warranty claim, contact SMARTNEXMSK with the order reference, a description of the fault, and photographic evidence of the installation. Replacement or repair will be arranged within the warranty period at no additional cost.
© 2026 SMARTNEXMSK. All rights reserved.
Original Source: https://smartnexmsk.com
Contact: [email protected] | +86 18259474341