Pro-Face GP2600-TC11 Maintenance-Ready Spare for GP2000 Automation
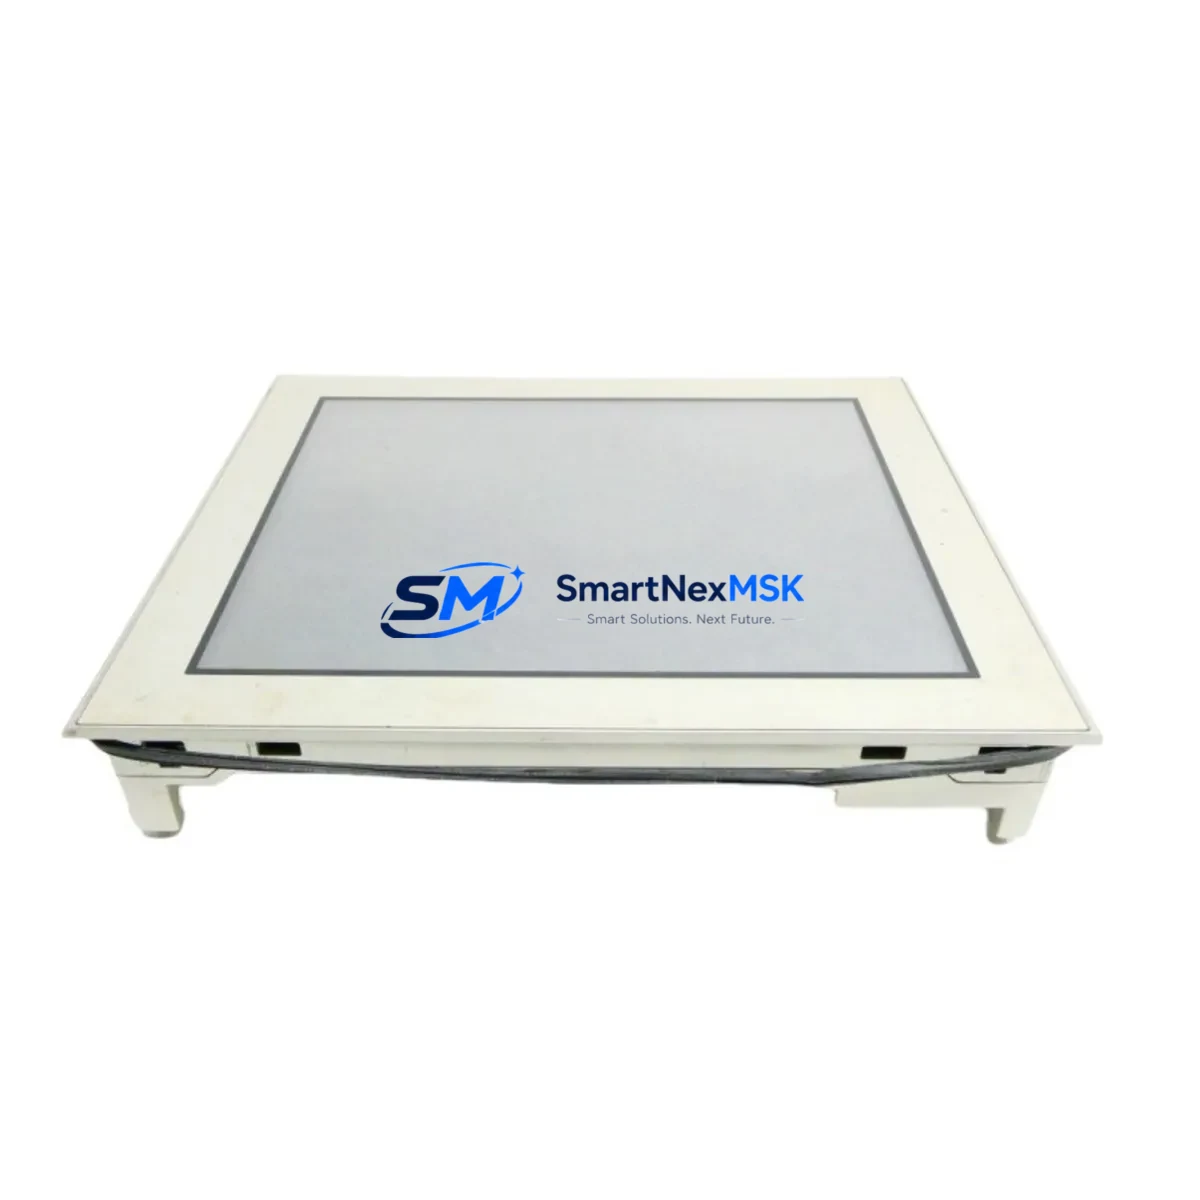
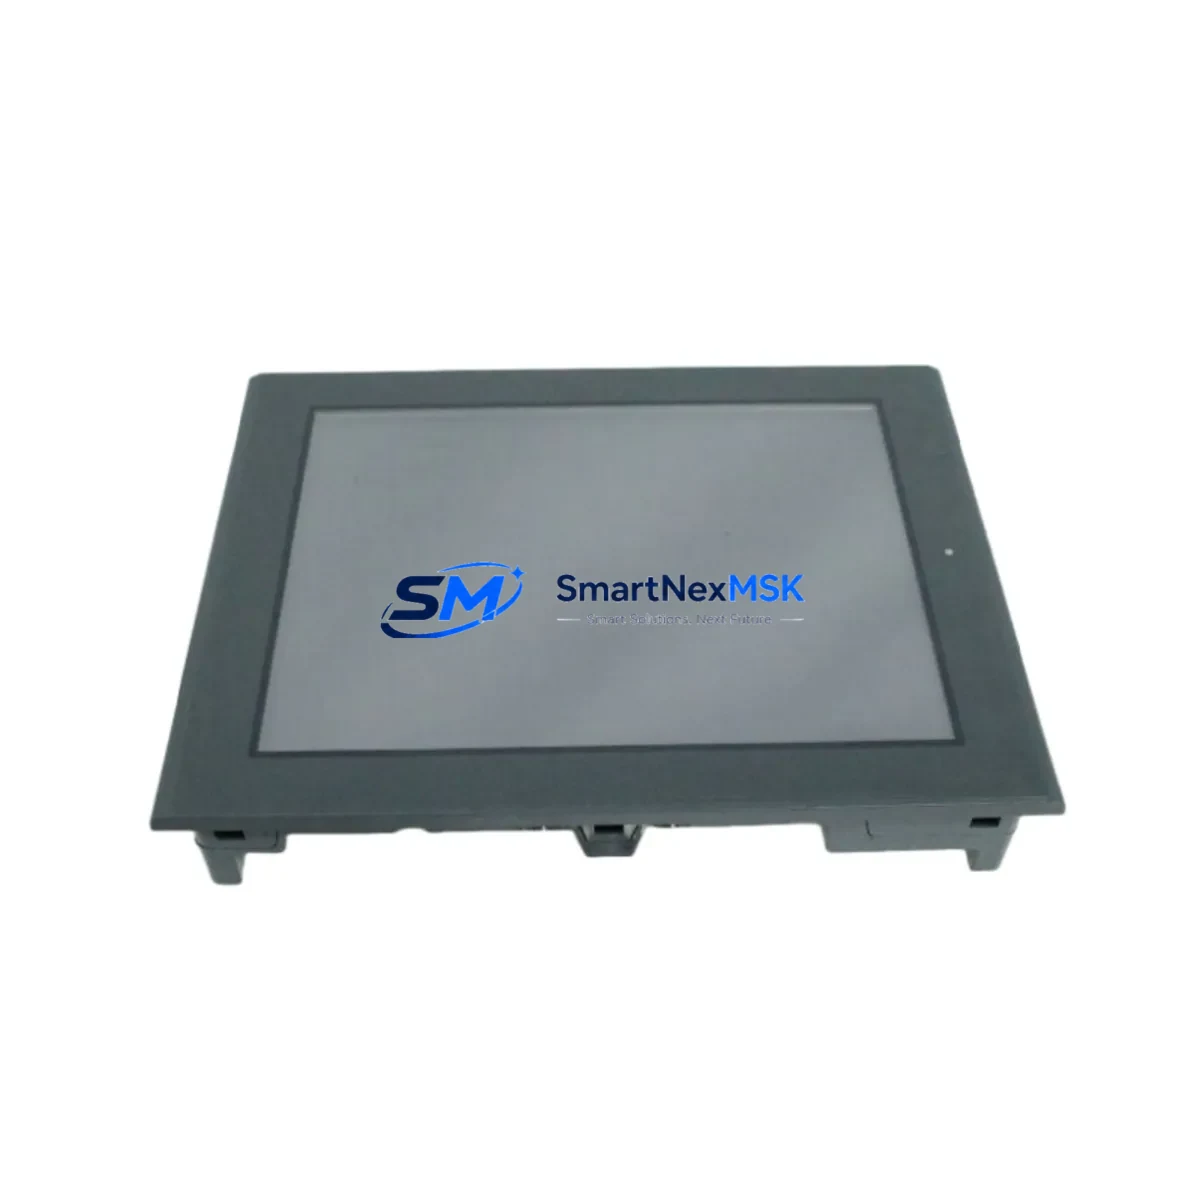
The Pro-Face GP2600-TC11 is a 5.7-inch STN color touchscreen HMI designed for continuous industrial operation within the GP2000 Series platform. For maintenance engineers managing aging control systems, this unit represents a critical spare — one whose failure can halt production lines, disable operator visibility, and trigger unplanned downtime events that cascade across shift schedules and SLA commitments. Sourced as an original replacement component, the GP2600-TC11 is tested prior to dispatch and backed by a 12-month warranty, ensuring that your spare parts inventory carries verified, field-ready stock rather than untested shelf units.
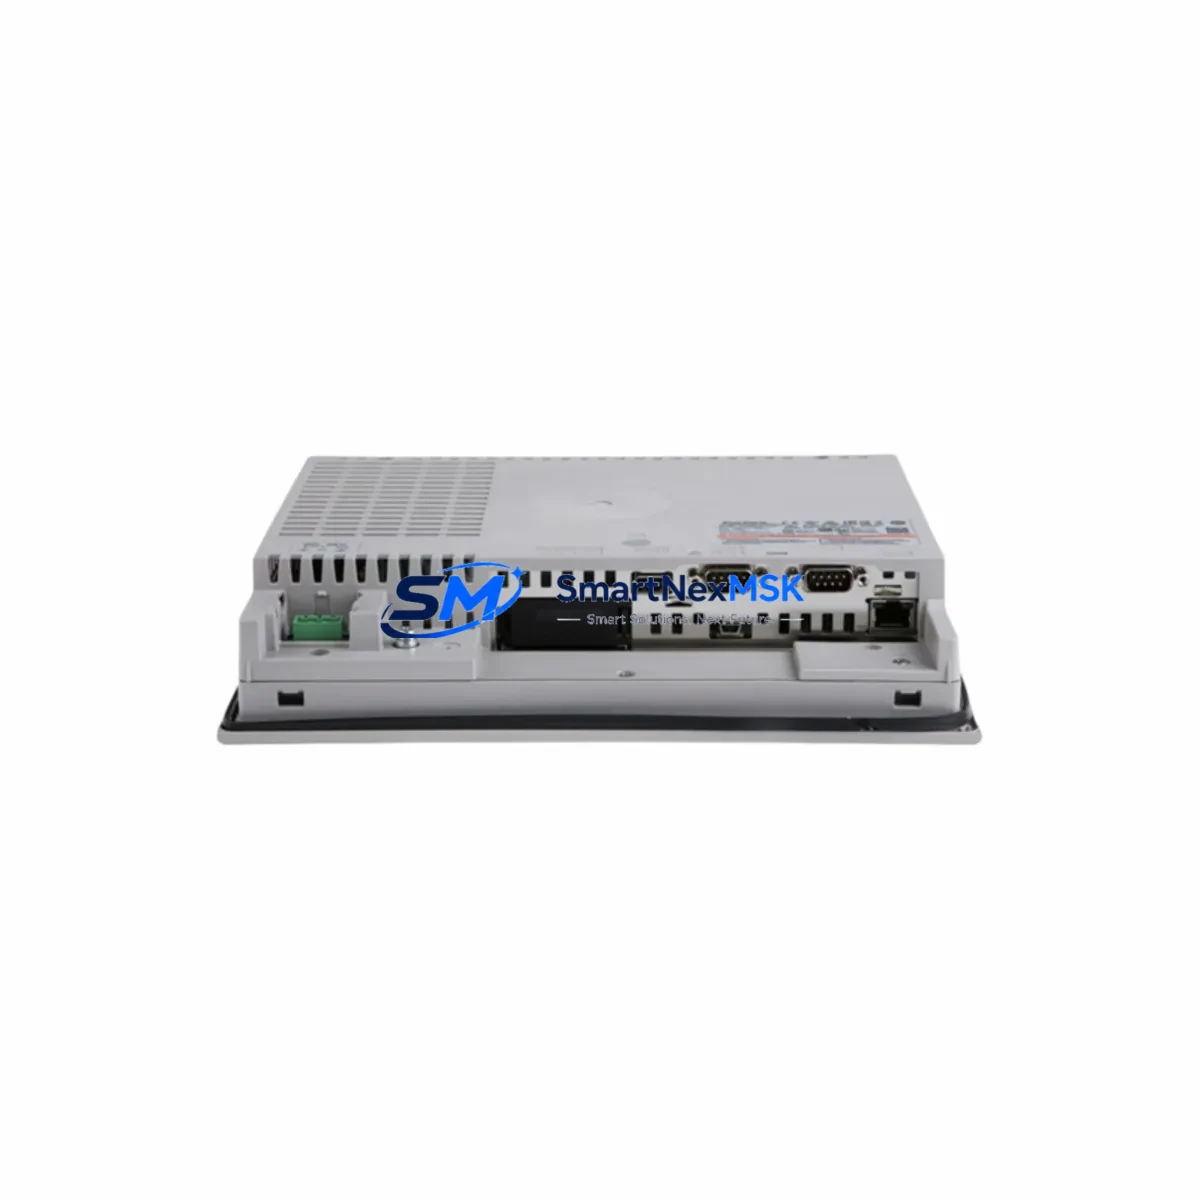
Whether you are executing a planned shutdown replacement, responding to an emergency HMI failure, or building a resilience-focused spare parts kit for a GP2000-based control cabinet, the GP2600-TC11 delivers direct compatibility without firmware reconfiguration or panel cutout modification. Its IP65-rated front bezel protects against dust ingress and water splash in harsh plant environments, while the 24VDC power input aligns with standard industrial panel power rails — eliminating the need for auxiliary power conversion during swap-out.
Procurement engineers sourcing this unit for multi-site MRO programs will find long-term supply continuity a key advantage. We maintain dedicated stock of GP2000 Series HMI components to support lifecycle extension programs for systems that remain operationally sound but face OEM end-of-life pressures. Each unit ships with pre-dispatch electrical and display verification, reducing the risk of receiving a non-functional spare during a critical maintenance window.
Spare Maintenance Table
| Parameter | Specification |
|---|---|
| Model / SKU | GP2600-TC11 |
| Brand / Manufacturer | Pro-Face (Schneider Electric / Digital Electronics) |
| Series | GP2000 Series |
| Display Type | 5.7-inch STN Color TFT Touchscreen |
| Resolution | 320 × 240 (QVGA) |
| Power Supply | 24VDC ±10% |
| Protection Rating | IP65 (Front Panel) |
| Communication Ports | RS-232C / RS-422 / RS-485 (Serial); Ethernet (model-dependent) |
| Operating Temperature | 0°C to 50°C |
| Storage Temperature | -20°C to 60°C |
| Compatibility | GP2000 Series; GP-PRO/PBIII and GP-Pro EX software |
| Mounting | Panel cut-out mount; direct drop-in for GP2600 footprint |
| Origin | Japan |
| Condition | Original / New Old Stock |
| Pre-Dispatch Testing | Power-on, display, and touch verification |
| Warranty | 12 Months from date of dispatch |
| Application Environment | Industrial automation, process control, machine HMI, SCADA operator station |
| Maintenance Recommendation | Inspect backlight condition every 12 months; verify touch calibration after panel vibration events; check 24VDC supply stability before replacement |
Maintenance Planning for Continuous Operation
When a GP2600-TC11 HMI is flagged for replacement during a scheduled inspection or emergency callout, experienced maintenance engineers know that the HMI itself is rarely the only component requiring attention. A systematic cabinet inspection at the time of HMI swap significantly reduces the probability of a repeat callout within the same maintenance cycle.
Begin by verifying the 24VDC panel power supply — a degraded or undersized power supply is a common root cause of HMI display instability, random resets, and communication dropouts that are often misdiagnosed as HMI hardware failure. If the power supply is original to the installation and has been in service for more than five years, consider scheduling it for replacement alongside the GP2600-TC11. Next, inspect the RS-232C or RS-422 communication cable connecting the HMI to the host PLC or controller. Aged cables with cracked insulation or corroded connectors introduce intermittent communication faults that will persist even after a new HMI is installed.
For GP2000 Series cabinets connected to Mitsubishi MELSEC, Omron SYSMAC, or Siemens S7 PLCs via serial link, confirm that the communication protocol adapter or converter module is functioning correctly — these components are frequently overlooked during HMI-focused maintenance. If the control cabinet includes a Pro-Face GP2000 Series expansion unit or backplane, inspect the backplane connector and ribbon cable for oxidation or mechanical stress before reinstalling the new HMI.
Relay output modules and digital I/O terminal blocks adjacent to the HMI wiring harness should be checked for loose terminations, particularly in high-vibration environments. A loose 24VDC common terminal can cause erratic HMI behavior that mimics display hardware failure. Additionally, if the cabinet houses a signal isolator or surge protection module on the HMI communication line, verify its status — these protective components absorb transient energy over time and may require replacement after a lightning event or power surge that triggered the original HMI failure.
For facilities running extended maintenance intervals, consider stocking companion spares alongside the GP2600-TC11: a replacement GP2000 Series communication cable set, a spare 24VDC DIN-rail power supply rated at appropriate amperage, and a Pro-Face GP-PRO/PBIII or GP-Pro EX licensed backup of the current screen project. Having the screen project backed up and accessible on a maintenance laptop eliminates the risk of losing operator interface programming during an emergency HMI swap — a scenario that can extend a two-hour hardware replacement into a multi-day recovery event.
Site Replacement Workflow
Step 1 — Pre-replacement verification: Before removing the installed HMI, document the current screen project version, communication settings (baud rate, station number, protocol), and 24VDC supply voltage at the HMI power terminals. Photograph the wiring harness and connector orientation.
Step 2 — Power isolation: Isolate 24VDC supply to the HMI circuit using the dedicated MCB or fuse in the control cabinet. Confirm isolation with a calibrated multimeter before disconnecting any connectors.
Step 3 — Physical removal: Release the panel mounting clamps from the rear of the GP2600-TC11 and carefully withdraw the unit from the panel cutout. Disconnect the power connector and communication cable(s) in sequence, labeling each if not already marked.
Step 4 — New unit preparation: Confirm the replacement GP2600-TC11 matches the installed unit’s firmware generation if the screen project was developed on GP-PRO/PBIII. For GP-Pro EX projects, verify runtime version compatibility. If required, update the screen project to match the new unit’s runtime before installation.
Step 5 — Installation and commissioning: Connect the power and communication cables to the new unit, insert into the panel cutout, and secure the mounting clamps. Restore 24VDC supply and verify the HMI powers on, displays the correct startup screen, and establishes communication with the host PLC within the expected timeout period.
Step 6 — Functional verification: Navigate through all operator screens, confirm data display accuracy against PLC register values, and test all touch-activated control functions in accordance with the site’s commissioning checklist. Log the replacement in the equipment maintenance record.
This workflow supports a target replacement time of under two hours for a prepared maintenance team, minimizing production downtime and ensuring system compatibility is maintained without requiring PLC program modifications or control system reconfiguration.
Spare Parts Support FAQ
Q1: Is the GP2600-TC11 a direct drop-in replacement for other GP2000 Series HMI models?
The GP2600-TC11 is a direct mechanical and electrical replacement for units sharing the GP2600 panel cutout footprint within the GP2000 Series. Compatibility with adjacent models such as the GP2500 or GP2400 depends on panel cutout dimensions and communication port configuration. We recommend confirming the installed unit’s model number and panel cutout size before ordering to ensure a fit-and-forget replacement.
Q2: How is each unit tested before dispatch?
Every GP2600-TC11 unit undergoes a pre-dispatch verification routine covering power-on startup, display uniformity, backlight function, and touchscreen response. Units that do not pass all verification checks are quarantined and not dispatched. A dispatch test record is available upon request for quality-critical procurement programs.
Q3: What does the 12-month warranty cover?
The 12-month warranty covers hardware defects in the unit as dispatched, including display failure, power circuit failure, and communication port malfunction under normal operating conditions. It does not cover damage resulting from incorrect installation voltage, physical impact, or exposure to environments beyond the unit’s rated IP65 and temperature specifications. Warranty claims are processed with priority turnaround to minimize site downtime.
Q4: Can you support long-term or blanket purchase orders for GP2000 Series spares?
Yes. We support scheduled release orders and blanket PO arrangements for maintenance programs requiring guaranteed stock availability across multiple quarters. For facilities managing multiple GP2000-based control systems, consolidated spare parts agreements covering the GP2600-TC11 alongside related power, communication, and I/O components can be arranged through our industrial supply team.
© 2026 SMARTNEXMSK. All rights reserved.
Original Source: https://smartnexmsk.com
Contact: sales@smartnexmsk.com | +86 18259474341