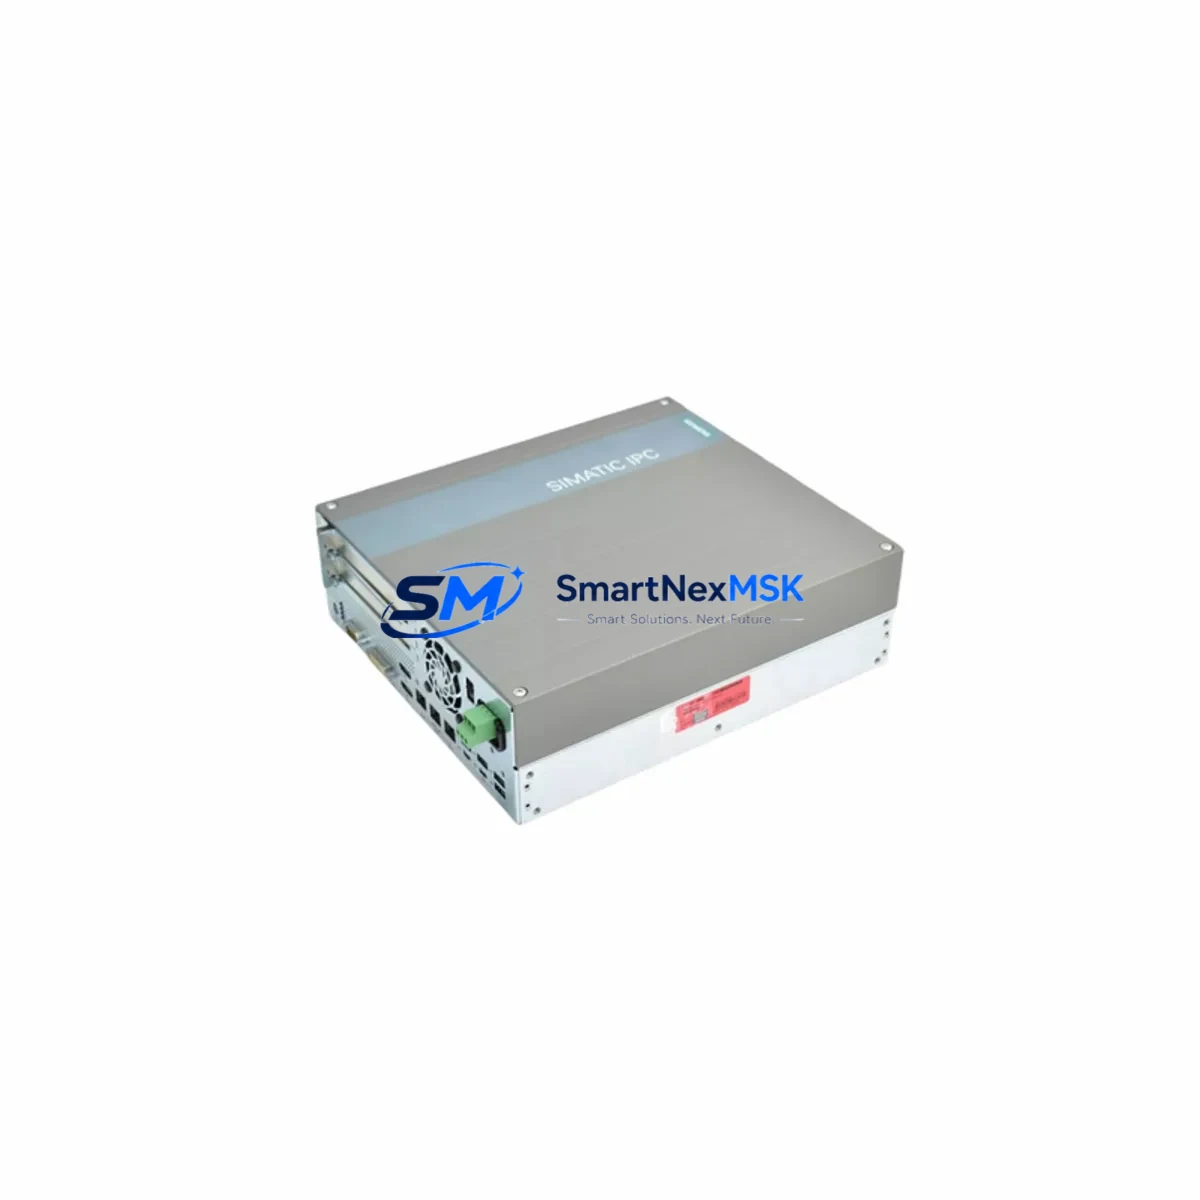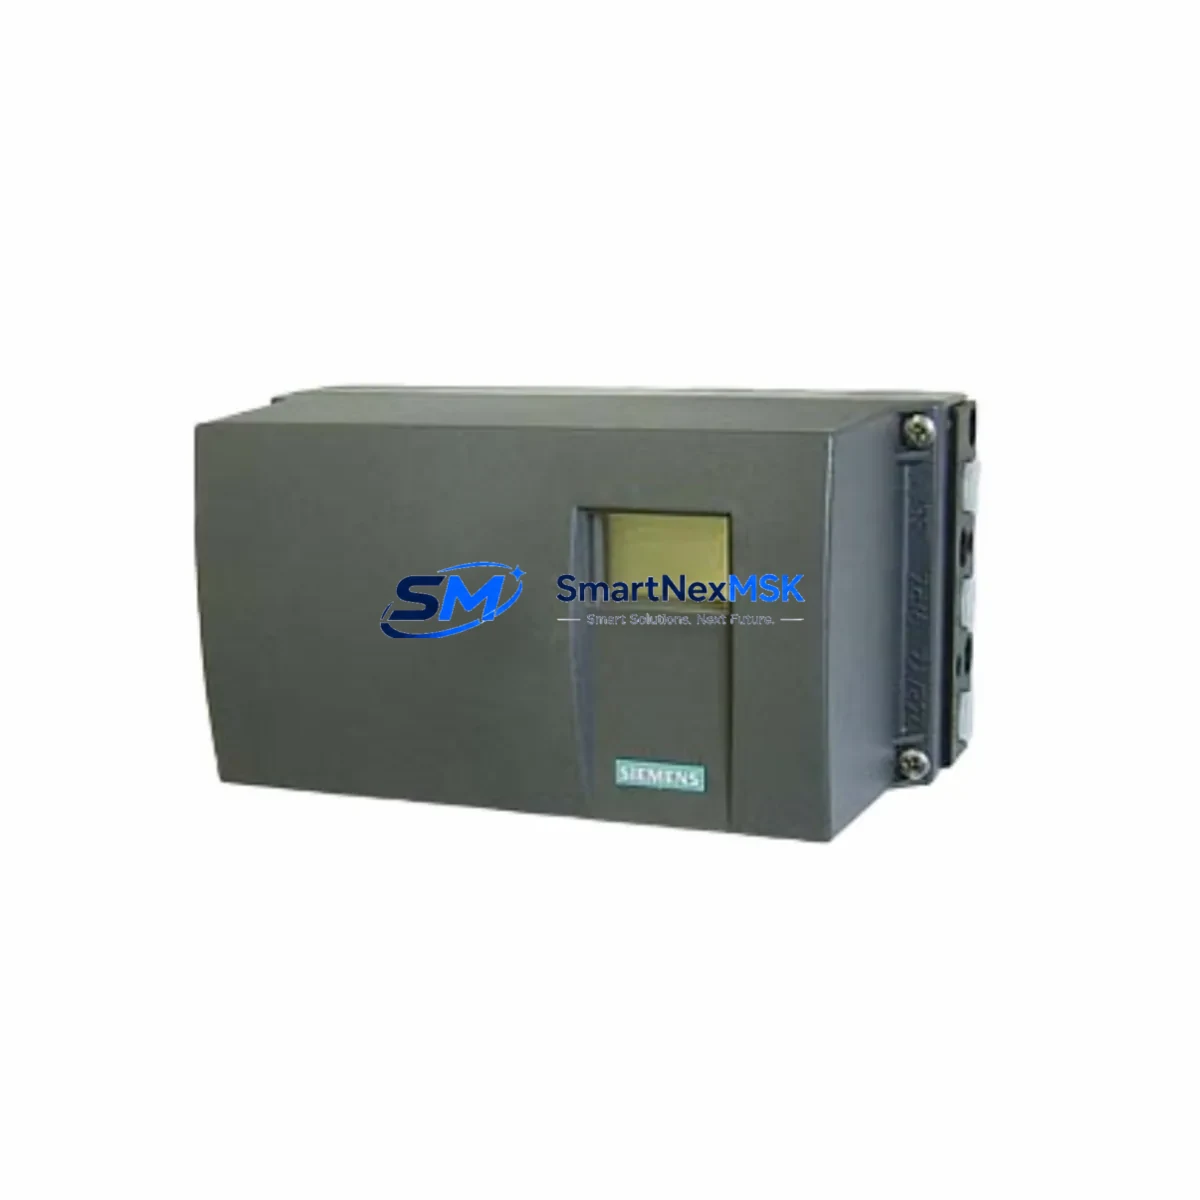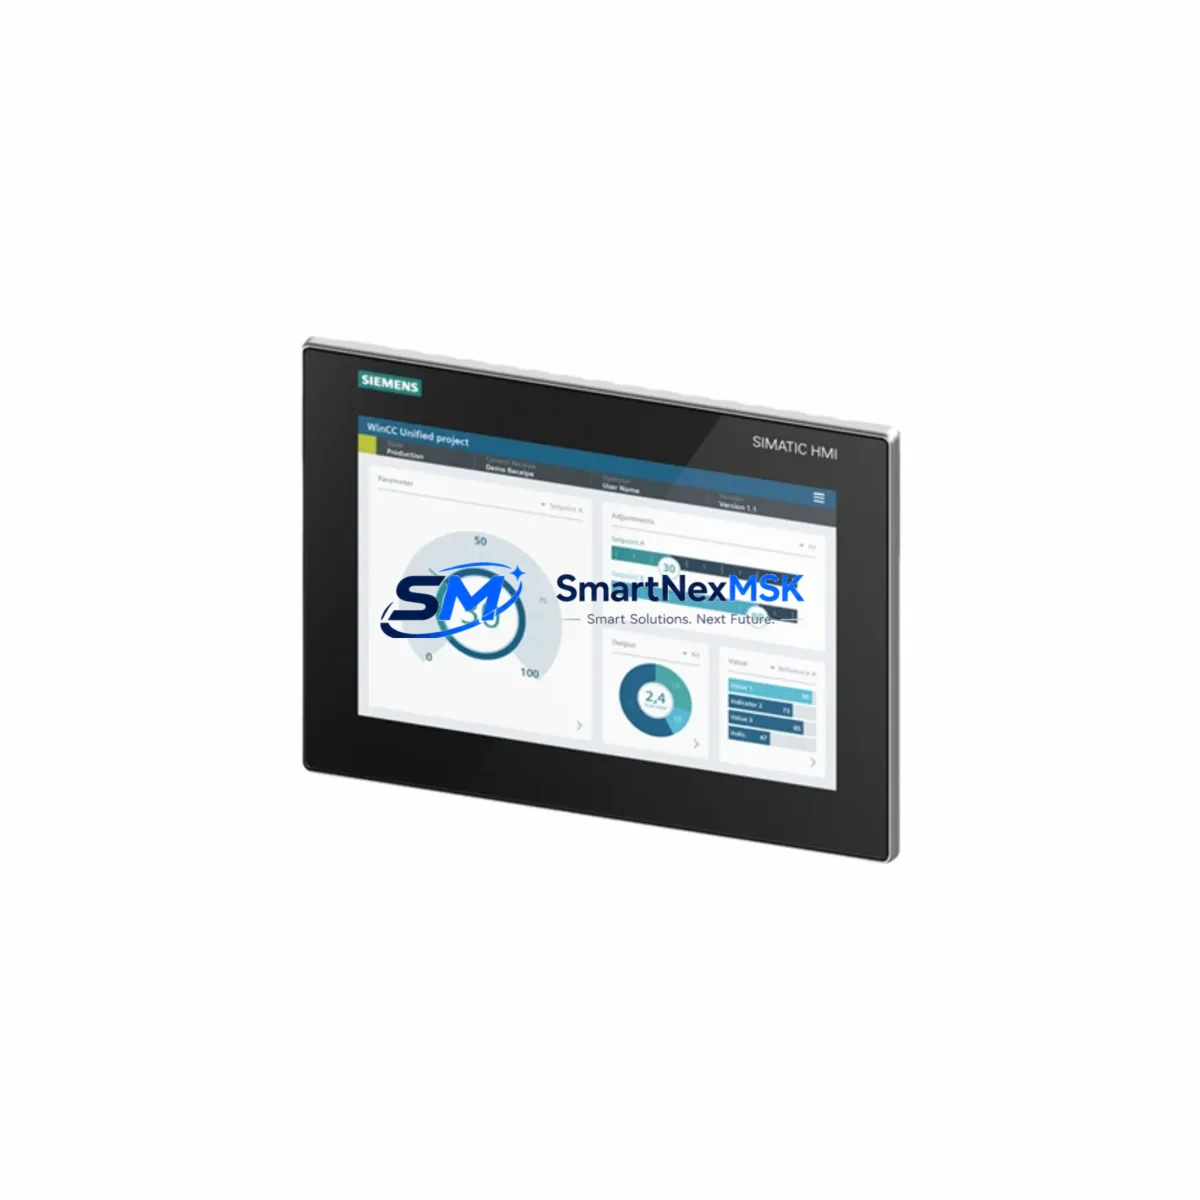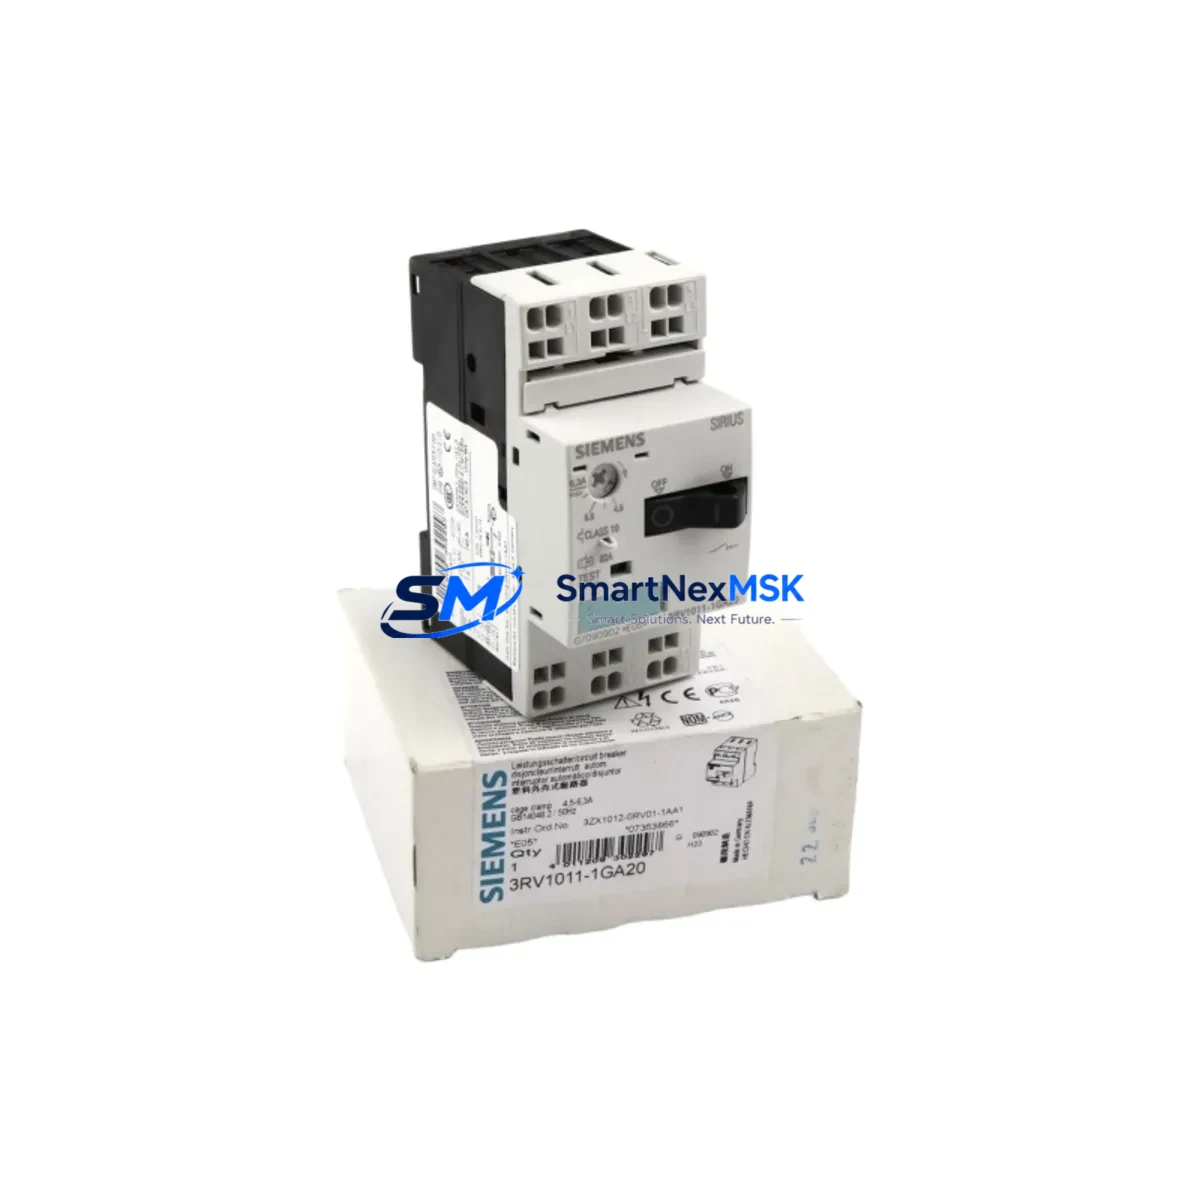
Siemens 3RV1011-1GA20 Retrofit-Ready Motor Protector: Compatible Upgrade for SIRIUS 3RV1 Control Systems
The Siemens 3RV1011-1GA20 is a SIRIUS 3RV1 series motor starter protector engineered for S00 frame installations with a rated current range of 4.5–6.3 A. Designed for seamless integration into existing motor branch circuits, this unit is a proven retrofit solution for aging SIRIUS 3RV10 and 3RV20 installations where the original protective device has reached end-of-life or is no longer available through standard supply channels. Whether you are upgrading a legacy motor control center (MCC), replacing a discontinued protective relay, or modernizing a control cabinet to meet current IEC 60947-2 standards, the 3RV1011-1GA20 delivers the electrical and mechanical compatibility required for a low-risk, minimal-downtime changeover.
This unit ships from verified stock, has passed pre-shipment functional testing, and is backed by a 12-month warranty covering manufacturing defects and operational failures under rated conditions. Fast dispatch is available for urgent retrofit and emergency replacement orders.
Upgrade Compatibility Table
| Parameter | 3RV1011-1GA20 (This Unit) | Retrofit Notes |
|---|---|---|
| Frame Size | S00 | Direct fit for S00 mounting rails and busbar systems |
| Rated Current | 4.5–6.3 A | Verify motor FLA; adjust trip dial to match nameplate |
| Poles | 3-pole | Compatible with standard 3-phase motor branch circuits |
| Breaking Capacity | 100 kA at 400 V | Confirm upstream short-circuit current does not exceed rating |
| Mounting | DIN rail / screw | Fits standard 35 mm DIN rail; no adapter required for S00 enclosures |
| Auxiliary Contact Compatibility | 3RV1901-1A / 3RV1901-1D | Existing auxiliary contact blocks can be reused if undamaged |
| Contactor Coupling | 3RT10 1x series | Direct coupling with 3RT1015, 3RT1016, 3RT1017 contactors |
| Communication Compatibility | Stand-alone; no fieldbus module required | For PROFIBUS/PROFINET monitoring, add 3RV2901-2E communication module |
| Replacement Path | Replaces 3RV1011-1GA10, 3RV2011-1GA10 | Verify terminal torque specs; re-label terminal strip if required |
| Commissioning Focus | Trip class, overload setting, phase-loss sensitivity | Test trip function before energizing motor load |
| Warranty | 12 Months | Covers manufacturing defects under rated operating conditions |
Retrofit Planning for Existing Automation Systems
Successful integration of the 3RV1011-1GA20 into a legacy control system begins with a thorough audit of the existing motor branch circuit. In most SIRIUS-based MCC retrofits, the motor starter protector sits upstream of a 3RT10 series contactor — commonly the 3RT1015-1AP01 or 3RT1016-1AP01 — and downstream of the main supply busbar. Before removing the old device, document the existing terminal wiring, including the incoming L1/L2/L3 supply terminals and the outgoing T1/T2/T3 motor leads. Photograph the terminal strip and record torque values from the original installation record if available.
In control cabinets where the 3RV1011-1GA20 is paired with a 3RV1901-1A auxiliary contact block, the auxiliary wiring to the PLC digital input card — often a Siemens ET 200SP or S7-300 SM 321 digital input module — must be verified for continuity and correct terminal mapping before re-energizing. If the cabinet uses a 3RA1 combination starter assembly, confirm that the new protector’s trip class setting matches the original motor protection relay configuration stored in the STEP 7 or TIA Portal project.
For systems where the original motor protection was handled by a standalone overload relay such as the 3RU2116 or 3RU2126, migrating to the 3RV1011-1GA20 consolidates short-circuit and overload protection into a single device, reducing the component count in the control cabinet and simplifying the wiring harness. This is particularly valuable in retrofit projects where cabinet space is constrained and the original layout used separate circuit breakers and thermal overload relays mounted on adjacent DIN rail sections.
Where the existing system includes a 3RV2901-2E communication module for PROFIBUS DP motor management, the module can be retained and remounted on the new 3RV1011-1GA20 without reconfiguring the GSD file, provided the module firmware version is compatible. Confirm the PROFIBUS node address has not changed and that the PLC program’s hardware configuration reflects the correct module order in the rack. In TIA Portal V16 and later, the device configuration can be validated offline before downloading to the CPU.
Power supply capacity is a critical checkpoint in any retrofit. The 24 VDC control supply — typically sourced from a SITOP PSU100S or equivalent switched-mode power supply — must have sufficient headroom to support the auxiliary contact block and any additional signal relays in the circuit. Calculate the total current draw of all 24 VDC loads in the cabinet before finalizing the retrofit bill of materials. If the existing power supply is operating near its rated output, consider upgrading to a higher-capacity unit as part of the modernization scope.
Downtime Control During System Migration
Minimizing production downtime during a motor starter protector replacement requires a structured changeover procedure. Begin by preparing the replacement 3RV1011-1GA20 on a bench, pre-setting the overload trip dial to match the motor’s full-load ampere (FLA) rating before installation. This eliminates the need for in-cabinet adjustments under time pressure and reduces the risk of incorrect settings being applied to a live motor circuit.
Before isolating the circuit, export the current PLC program from the S7-300, S7-1200, or S7-1500 CPU to a backup file using STEP 7 or TIA Portal. Verify that the backup includes the hardware configuration, symbol table, and all function blocks associated with the motor control logic. If the system uses a Siemens OP 277 or TP 700 Comfort HMI panel, export the HMI project as well, since motor status screens and alarm messages may reference the auxiliary contact input addresses that will be re-wired during the changeover.
During the physical swap, work systematically from the supply terminals downward. Remove the incoming supply wires first, then the outgoing motor leads, and finally the auxiliary contact wiring. Label each wire with a numbered tag before removal to ensure accurate re-termination on the new device. Re-torque all terminals to the manufacturer’s specified values — typically 2.5–3 Nm for the main terminals and 0.8–1.2 Nm for the auxiliary terminals on S00 frame devices.
After re-wiring, perform a cold commissioning check: apply control voltage only (without main power) and verify that the auxiliary contact signals reach the PLC input card correctly. Confirm that the motor run command, fault reset, and trip status signals all respond as expected in the PLC program. Only after this verification should main power be restored and the motor energized under load. This staged approach protects the original program logic, preserves HMI screen continuity, and ensures that the communication link between the motor starter and the control system remains intact throughout the migration.
Retrofit Support FAQ
Q1: Is the 3RV1011-1GA20 a direct drop-in replacement for the 3RV1011-1GA10?
Yes. The 3RV1011-1GA20 shares the same S00 frame, terminal layout, and DIN rail mounting footprint as the 3RV1011-1GA10. The primary difference is the current setting range; verify that the 4.5–6.3 A range covers your motor’s FLA before ordering. No mechanical adapter or wiring modification is required for a standard replacement.
Q2: Can I reuse the existing auxiliary contact block and communication module?
In most cases, yes. The 3RV1901-1A and 3RV1901-1D auxiliary contact blocks are mechanically and electrically compatible with the 3RV1011-1GA20. If a 3RV2901-2E PROFIBUS communication module is installed, it can be remounted on the new device. Inspect the contact block for wear or damage before reuse and replace if the contacts show signs of pitting or reduced spring tension.
Q3: What pre-shipment testing is performed on this unit?
Each 3RV1011-1GA20 unit undergoes functional verification prior to dispatch, including continuity testing of main and auxiliary circuits, trip mechanism actuation, and visual inspection for physical damage. Units are packed in anti-static protective packaging and shipped with a test record. The 12-month warranty covers all manufacturing defects identified during installation and normal operation within rated parameters.
Q4: How do I verify compatibility with my existing contactor and control wiring?
Confirm that your contactor is from the 3RT10 1x series (e.g., 3RT1015, 3RT1016, or 3RT1017) for direct mechanical coupling. Check the control circuit voltage against the contactor coil rating and verify that the PLC input card voltage matches the auxiliary contact output. If your system uses a 3RA1 combination starter, consult the 3RA1 system manual to confirm that the 3RV1011-1GA20 is listed as a compatible protective device for your specific assembly configuration.
© 2026 SMARTNEXMSK. All rights reserved.
Original Source: https://smartnexmsk.com
Contact: [email protected] | +86 18259474341