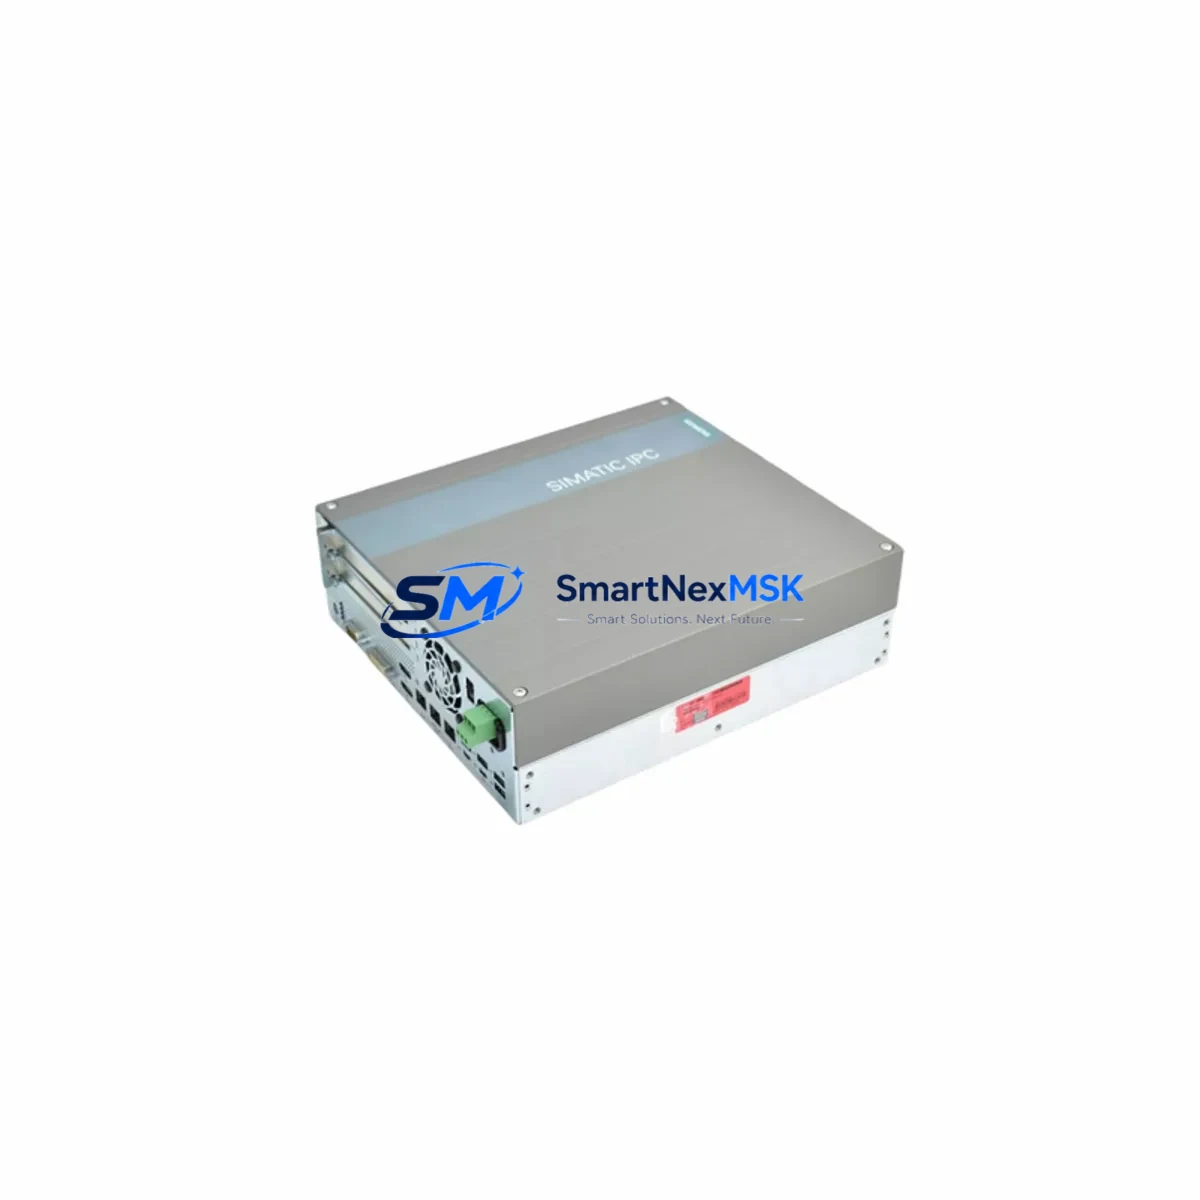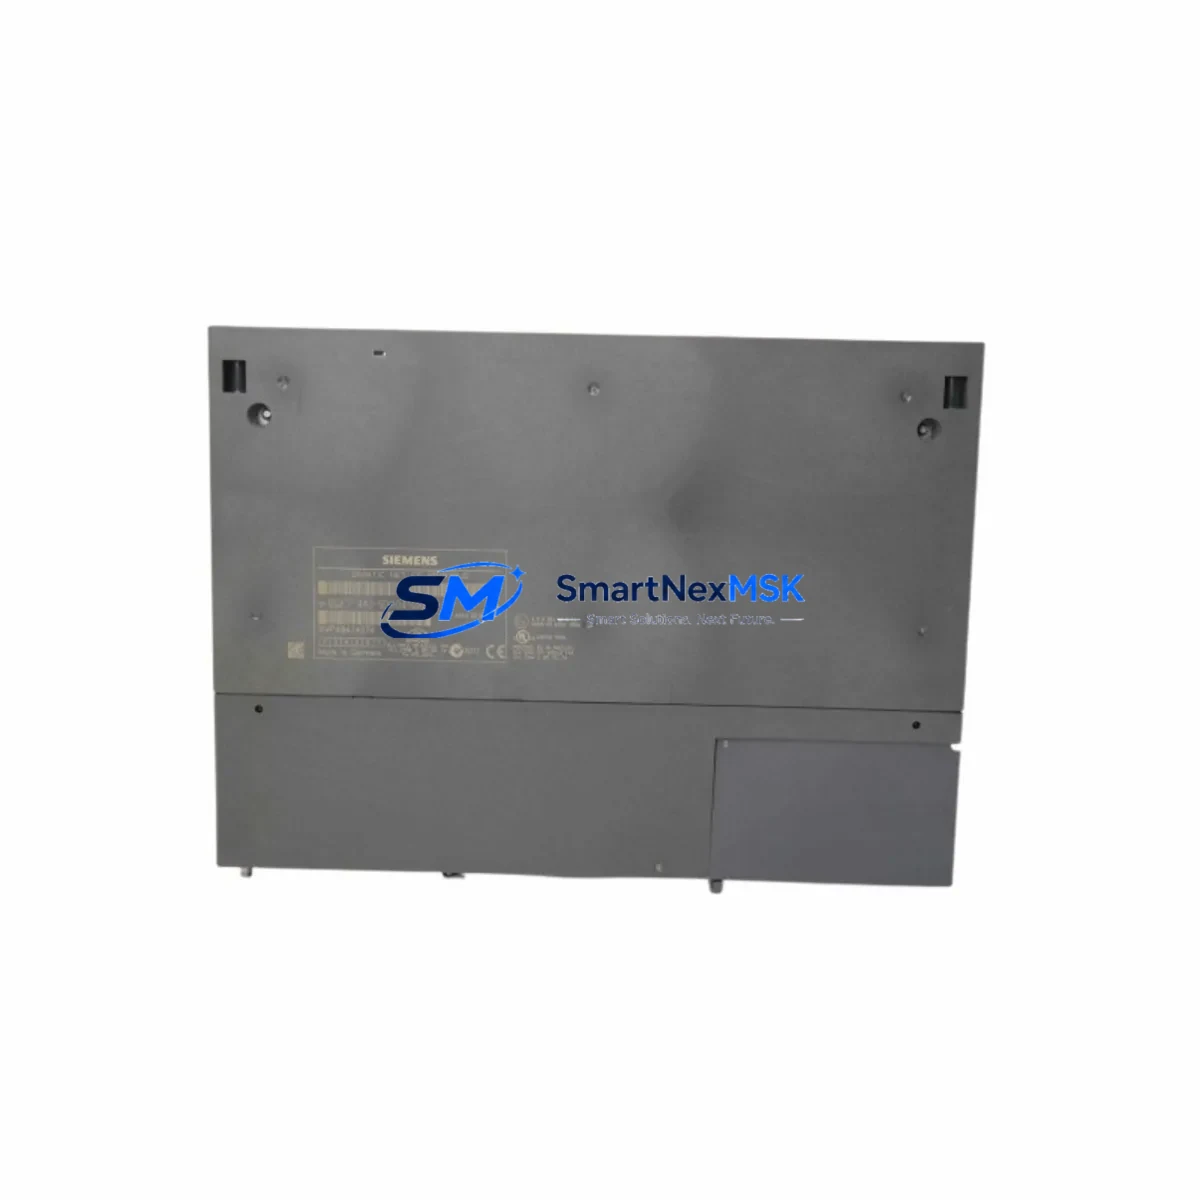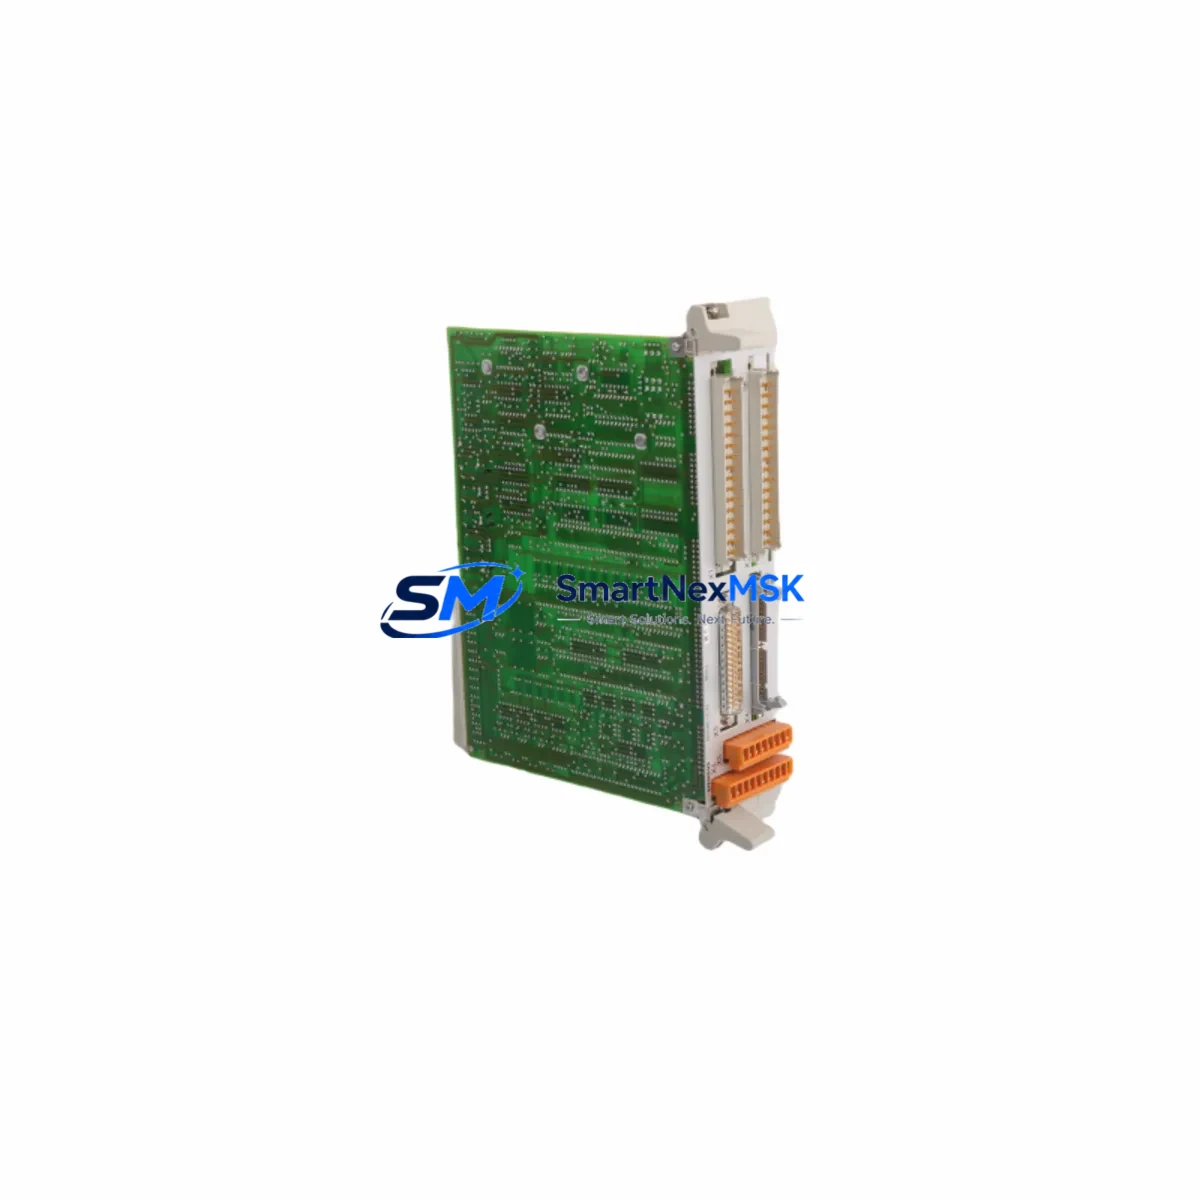
Siemens 6DD1681-0CA2 Retrofit-Ready Interface Module for SIMADYN D Control Systems
The Siemens 6DD1681-0CA2 is a high-performance interface module engineered for the SIMADYN D distributed control platform — one of Siemens’ most widely deployed process automation architectures in power generation, steel, paper, and heavy industrial applications. As original SIMADYN D hardware reaches end-of-life and spare parts become increasingly scarce, the 6DD1681-0CA2 serves as a critical retrofit and replacement component for engineers tasked with extending the operational life of existing control systems without full platform migration.
This module provides the communication bridge between the SIMADYN D rack backplane and peripheral I/O or supervisory systems. Its compatibility with the SIMADYN D bus structure, combined with its robust signal conditioning and interface logic, makes it a preferred choice for maintenance engineers managing aging control cabinets where downtime must be minimized and program logic preserved.
Upgrade Compatibility Table
| Parameter | Details |
|---|---|
| SKU / Part Number | 6DD1681-0CA2 |
| Brand / Manufacturer | Siemens |
| Series | SIMADYN D |
| Module Type | Interface Module |
| Backplane Interface | SIMADYN D rack bus (compatible with CS7 / PM5 / PM6 rack systems) |
| Communication Compatibility | PROFIBUS-DP, serial point-to-point, SIMADYN D internal bus |
| Replaces / Supersedes | 6DD1681-0CA0, 6DD1681-0CA1 (earlier revisions) |
| Installation Requirement | Slot-compatible with standard SIMADYN D rack; verify slot address assignment |
| Power Supply Requirement | 24 VDC via backplane; confirm rack PSU capacity before installation |
| Commissioning Focus | Module address configuration, I/O mapping verification, HMI tag re-binding |
| Warranty | 12 Months — covers manufacturing defects and functional failure under normal operating conditions |
| Condition | New / Refurbished (tested and certified) |
| Origin | Germany |
Retrofit Planning for Existing Automation Systems
Replacing the 6DD1681-0CA2 within an operational SIMADYN D system requires careful pre-installation planning. Engineers should begin by auditing the existing rack configuration — typically a CS7 or equivalent SIMADYN D rack — to confirm available slot positions, backplane bus integrity, and the current power budget of the installed PM5 or PM6 power supply module. Overloading the rack PSU during a module swap is a common cause of post-retrofit instability.
Terminal wiring on the interface module must be documented before removal. The 6DD1681-0CA2 uses a defined terminal block layout for analog and digital signal connections; any deviation during re-termination will result in incorrect I/O mapping and potential process faults. Cross-reference the existing wiring diagram against the module’s terminal assignment table before disconnecting any field cables.
For systems communicating over PROFIBUS-DP, the module address (station address) must be set to match the original configuration. This is typically done via DIP switches or software parameterization through the SIMATIC S5 programmer or STEP 5 toolset. If the control system also includes a CP 5431 FMS/DP communications processor or a similar PROFIBUS master, ensure the GSD file and bus parameters remain unchanged after the swap.
In systems where the SIMADYN D platform interfaces with a WinCC or SIMATIC PCS 7 HMI layer, tag addresses and process variable bindings must be verified after module replacement. HMI screens referencing I/O channels mapped through the 6DD1681-0CA2 may require re-validation, particularly if the replacement module carries a different firmware revision. Coordinate with the HMI engineering team to schedule a controlled tag audit during the commissioning window.
Where the control cabinet also houses a UR2 or UR1 universal rack with mixed SIMATIC S7-400 and SIMADYN D modules, pay close attention to the backplane segmentation. The 6DD1681-0CA2 must be installed in the SIMADYN D segment of the rack; cross-segment installation will result in bus conflicts. Verify rack segmentation jumpers and bus termination resistors before powering up.
For I/O expansion scenarios, the 6DD1681-0CA2 is commonly deployed alongside ET 200M distributed I/O stations connected via PROFIBUS-DP. Confirm that the IM 153-2 interface module on each ET 200M station is correctly addressed and that the PROFIBUS segment length and termination are within specification. Adding the replacement module to an existing PROFIBUS segment should not require changes to the network topology if the original address is preserved.
Programming cable access is required for final commissioning. A PC adapter USB or MPI/PROFIBUS adapter connected to the SIMATIC S5 or S7 CPU allows engineers to perform online diagnostics, force I/O states for loop testing, and verify that the replacement 6DD1681-0CA2 is recognized correctly by the CPU. All replacement modules supplied by SMARTNEXMSK are pre-tested against functional benchmarks before shipment, reducing on-site commissioning time.
Downtime Control During System Migration
Minimizing unplanned downtime during a SIMADYN D interface module replacement is achievable with structured preparation. The recommended approach is a hot-standby swap procedure where the replacement 6DD1681-0CA2 is pre-configured offline — address set, firmware verified, and terminal wiring pre-labeled — before the production line is taken offline.
Schedule the physical swap during a planned maintenance window. Before powering down the rack, capture a full online backup of the CPU program using STEP 5 or the applicable SIMATIC programming tool. This backup preserves the current data block states, timer values, and flag memory, ensuring that the system can be restored to its exact pre-maintenance state if any issue arises during commissioning.
Once the replacement module is installed and the rack is powered up, perform a structured startup sequence: confirm rack PSU output voltage, check module status LEDs on the 6DD1681-0CA2 and adjacent modules such as the PM5 power module and any installed CS7 processor cards, and verify PROFIBUS bus activity using a PROFIBUS tester or the diagnostic functions within STEP 5. Only after all modules report healthy status should field I/O be re-enabled and the process returned to automatic control.
For critical continuous processes, consider deploying a temporary bypass logic in the CPU program to hold output states at safe values during the swap window. This technique, combined with pre-tested replacement hardware, typically reduces total controlled downtime to under two hours for a single module replacement in a SIMADYN D rack.
Retrofit Support FAQ
Q: Is the 6DD1681-0CA2 a direct drop-in replacement for earlier SIMADYN D interface module revisions?
A: In most cases, yes. The 6DD1681-0CA2 is backward-compatible with earlier revisions such as 6DD1681-0CA0 and 6DD1681-0CA1 in terms of physical form factor and backplane interface. However, firmware differences between revisions may require a parameter re-download via STEP 5 after installation. Always verify the module revision against your system documentation before installation.
Q: What wiring checks are required before installing the replacement module?
A: Document all terminal connections on the outgoing module before removal. Verify field cable labeling against the wiring diagram. After installing the 6DD1681-0CA2, perform a point-to-point continuity check on all signal terminals before powering up. Pay particular attention to analog input shielding and grounding, as improper shield termination is a common source of signal noise in retrofit installations.
Q: How is the module address configured on the 6DD1681-0CA2?
A: The module address is set via DIP switches located on the module face. The address must match the slot assignment defined in the STEP 5 hardware configuration. If the original module’s address is unknown, retrieve it from the STEP 5 project file or from the rack’s hardware configuration printout. Incorrect address assignment will prevent the CPU from recognizing the module and will generate a rack fault.
Q: What does the 12-month warranty cover, and how is it claimed?
A: The 12-month warranty covers manufacturing defects and functional failure under normal operating and environmental conditions as specified in the Siemens SIMADYN D technical documentation. It does not cover damage resulting from incorrect installation, overvoltage, or environmental exposure beyond rated limits. To initiate a warranty claim, contact SMARTNEXMSK at [email protected] with the order reference, installation date, and a description of the fault. Replacement or repair will be arranged within the warranty period.
© 2026 SMARTNEXMSK. All rights reserved.
Original Source: https://smartnexmsk.com
Contact: [email protected] | +86 18259474341