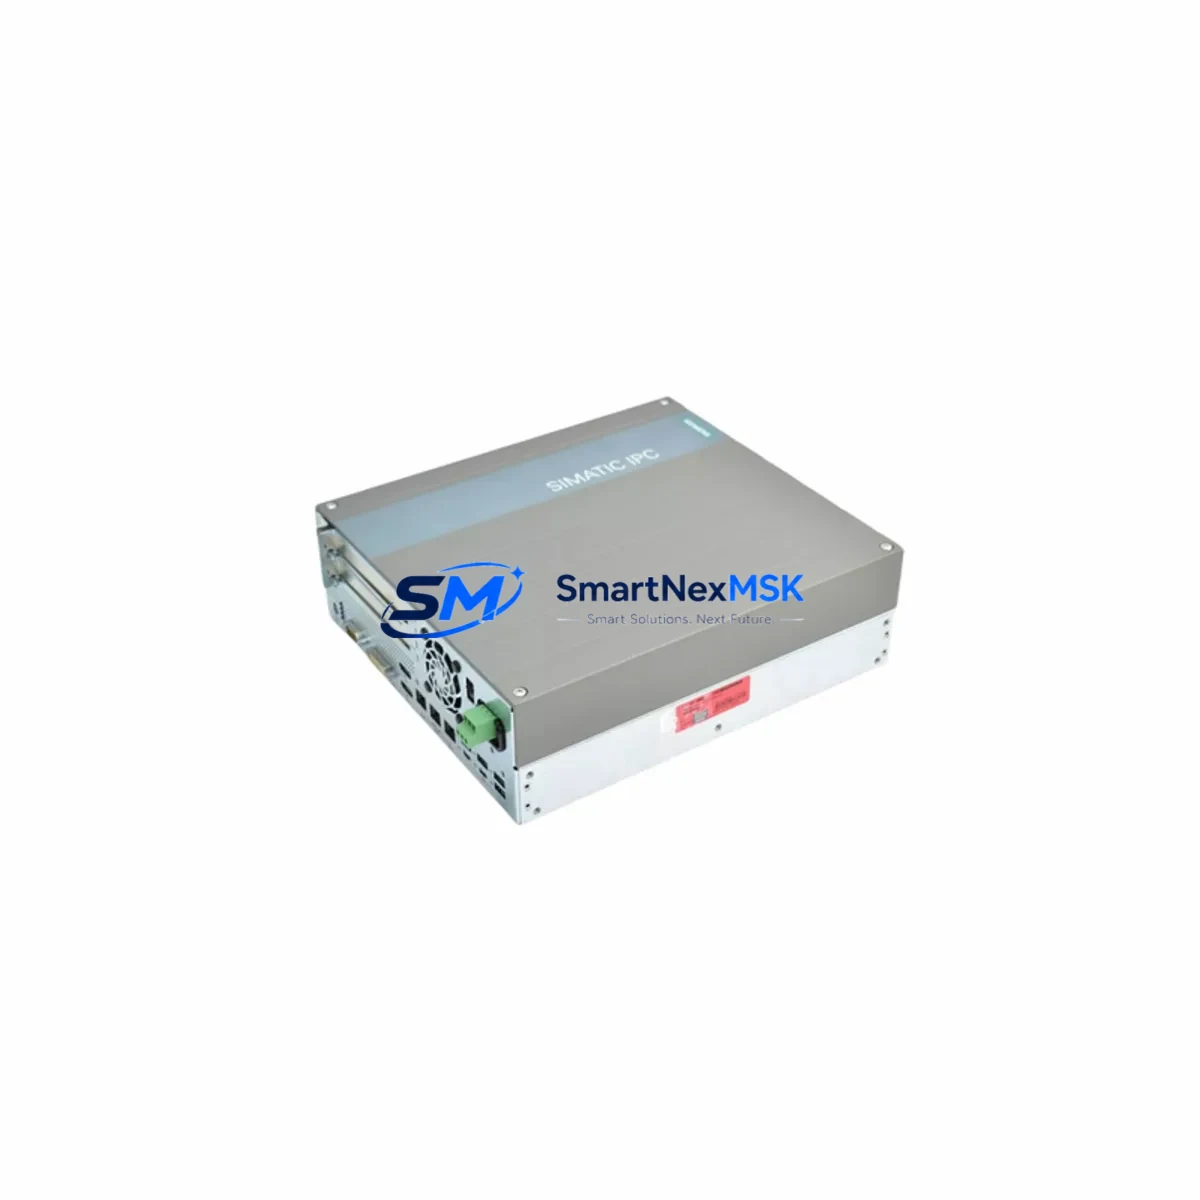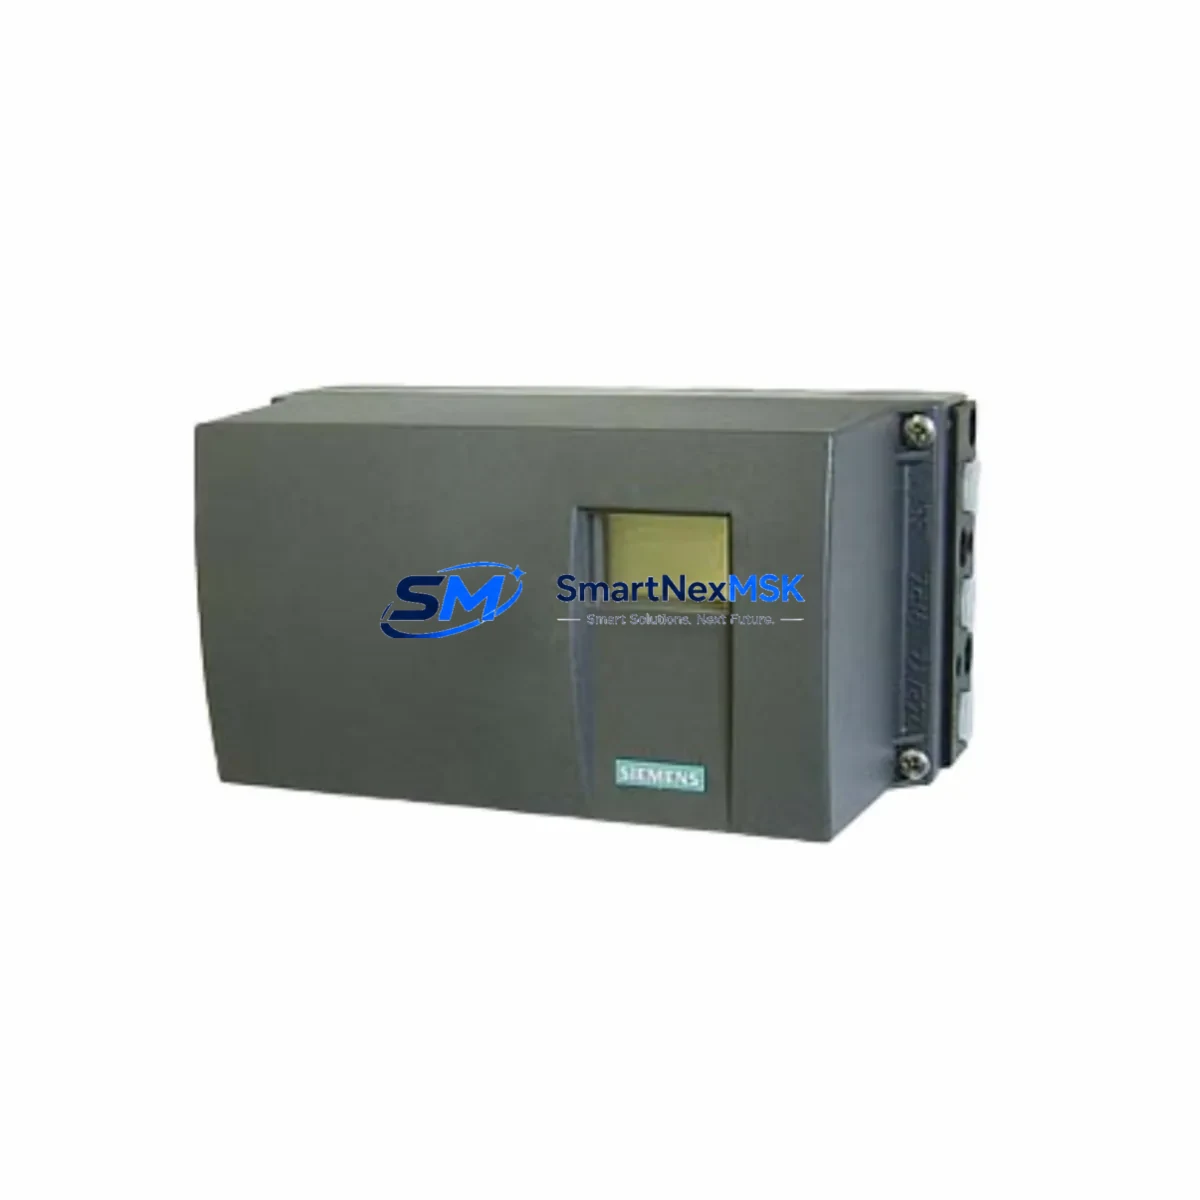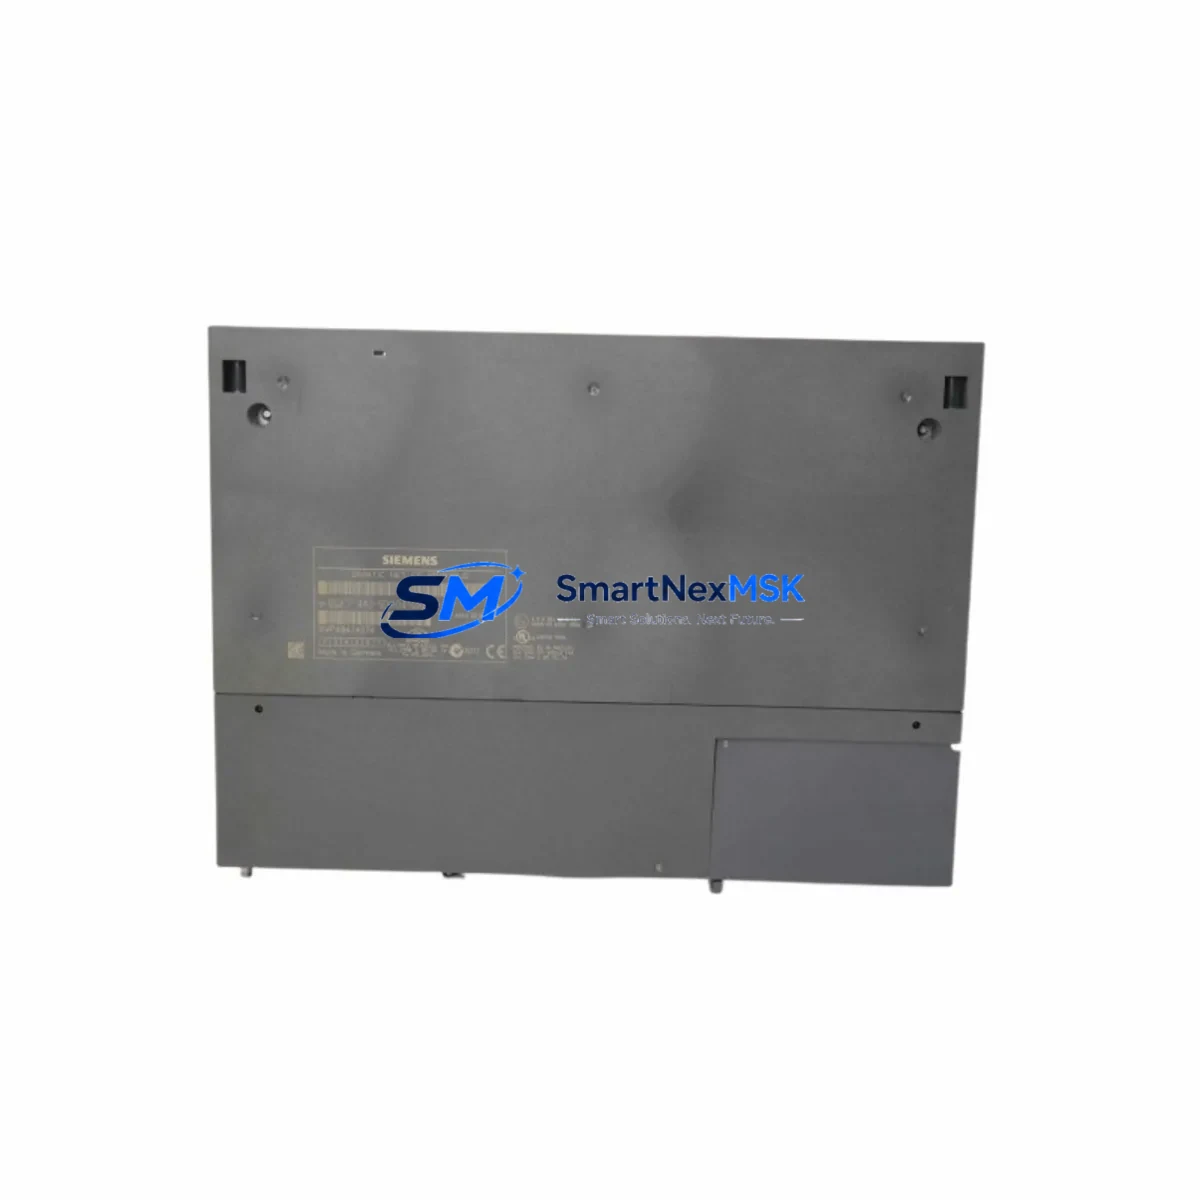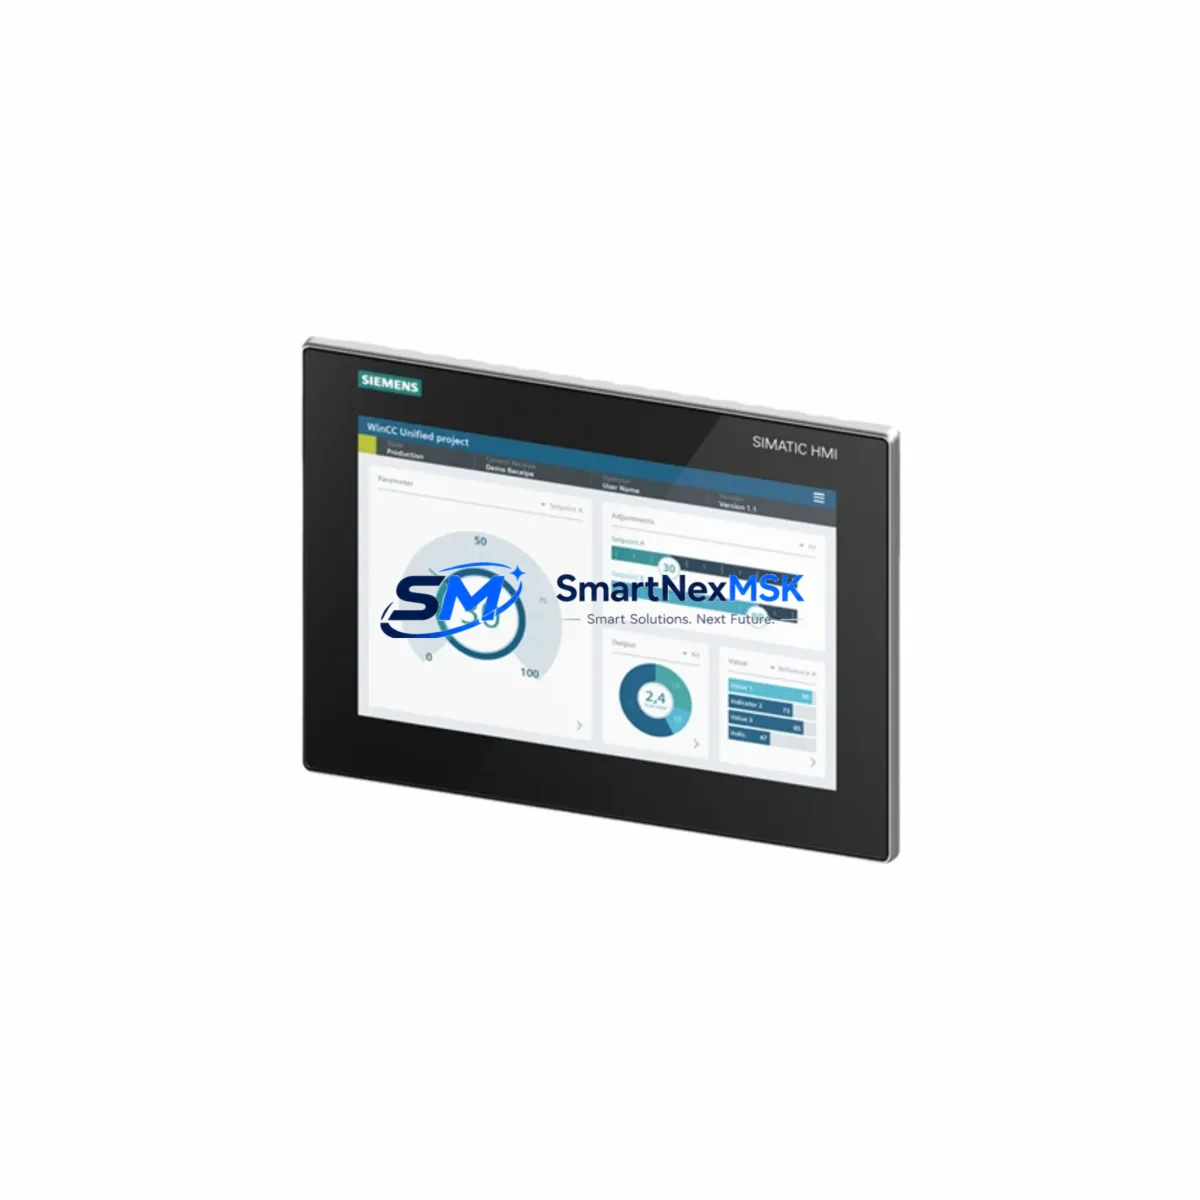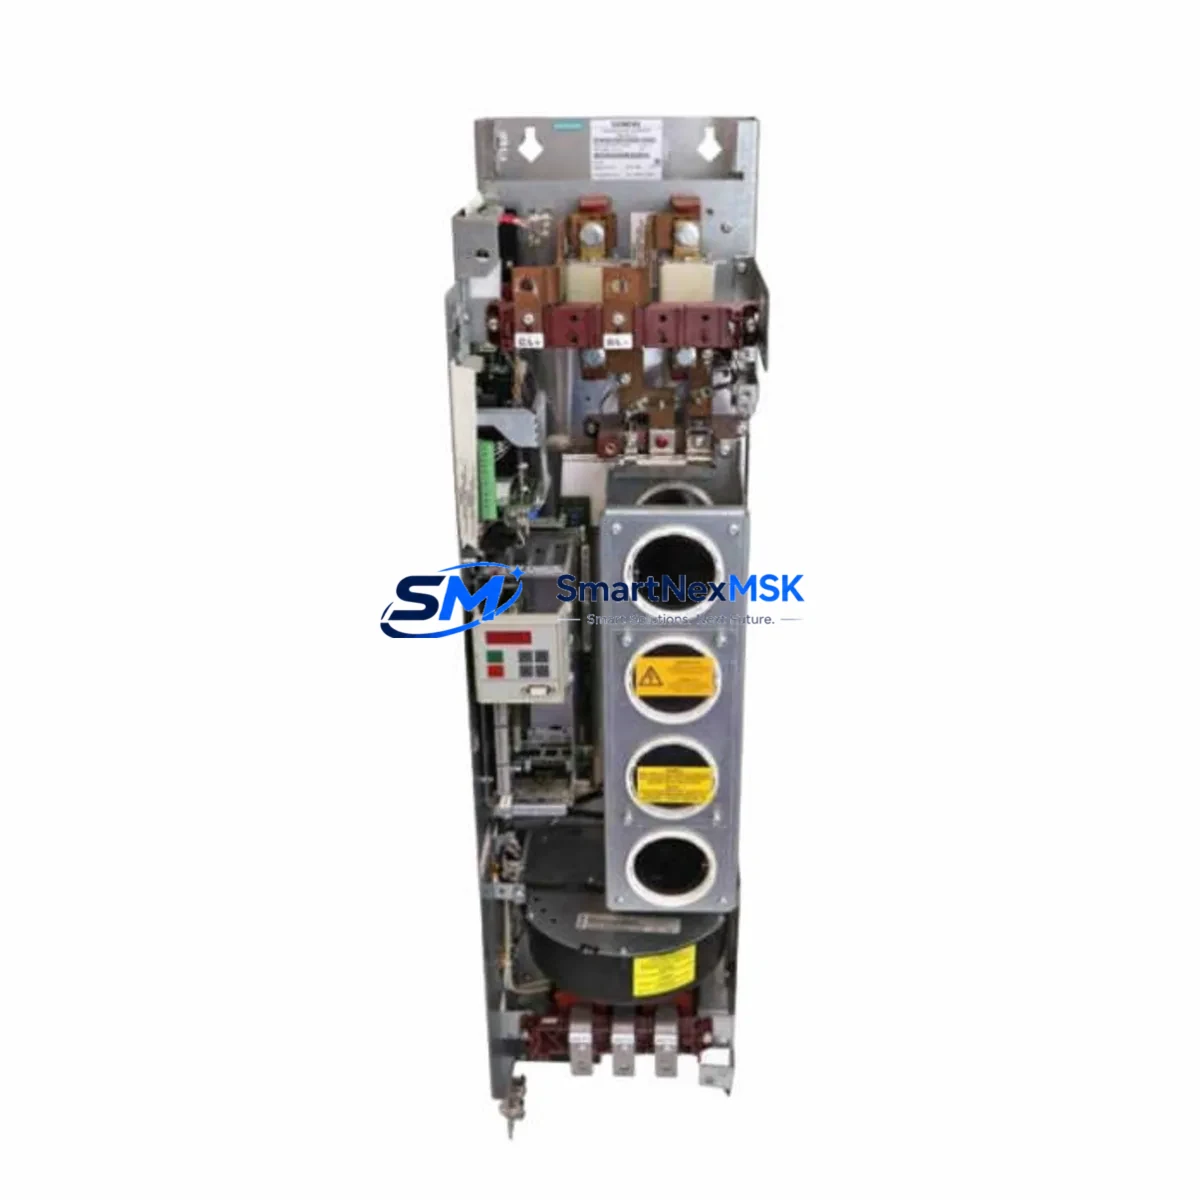
Siemens 6SE7031-0TE60-Z Maintenance-Ready Spare MASTERDRIVES MC
Unplanned downtime in variable-speed drive systems is one of the most costly disruptions in industrial automation. The Siemens 6SE7031-0TE60-Z is a vector control unit from the MASTERDRIVES MC series — a platform widely deployed in heavy-duty motion control, conveyor systems, pump stations, compressor drives, and multi-axis coordinated machinery. When this unit fails or reaches end-of-service life, having a verified original spare on hand is the fastest path to restoring full production capacity.
This listing provides a maintenance-ready, original spare for the Siemens 6SE7031-0TE60-Z, sourced from authorized supply channels, individually tested before shipment, and backed by a 12-month warranty. It is intended for maintenance engineers, reliability teams, and procurement specialists who require a drop-in replacement with full compatibility assurance for existing MASTERDRIVES MC installations.
Spare Maintenance Table
| Parameter | Specification |
|---|---|
| Part Number / SKU | 6SE7031-0TE60-Z |
| Brand | Siemens |
| Series | SIMOVERT MASTERDRIVES MC (Motion Control) |
| Product Type | Vector Control Unit (VFD Control Board) |
| Drive Output Class | Approx. 110 kW (frame size dependent; verify against drive nameplate) |
| Control Mode | Vector control (field-oriented), V/f characteristic |
| Communication Interface | PROFIBUS DP (via CBP2 option board), USS protocol |
| Compatibility | SIMOVERT MASTERDRIVES MC chassis units; compatible with T-type power sections in the 6SE703x series |
| Origin | Germany (DE) |
| Installation | Slide-in control module; DIN rail or chassis mount per drive frame |
| Operating Temperature | 0 °C to +40 °C (derate above 40 °C per Siemens derating curves) |
| Storage Temperature | -25 °C to +70 °C |
| Humidity | ≤ 95% RH, non-condensing |
| Pollution Degree | PD2 (standard industrial environment) |
| Firmware | Factory-loaded; parameter backup recommended before replacement |
| Pre-shipment Testing | Functional power-on test, parameter initialization check |
| Warranty | 12 Months from date of shipment |
| Condition | Original spare (new or refurbished-to-spec, clearly stated on order confirmation) |
Maintenance Planning for Continuous Operation
Replacing the 6SE7031-0TE60-Z control unit is rarely an isolated task. A thorough maintenance plan for a MASTERDRIVES MC drive system requires inspecting and, where necessary, replacing several interdependent components to prevent repeat failures and ensure long-term system stability.
Begin with the power section: verify that the IGBT power module (6SE7031 series power board) shows no signs of thermal stress, carbon tracking, or capacitor bulging. A failed control unit is sometimes a symptom of upstream power anomalies rather than the root cause. Simultaneously, inspect the DC bus capacitor bank — capacitors in drives of this age and duty cycle are a common wear item and should be evaluated for ESR and capacitance drift.
Check the 24 VDC auxiliary power supply feeding the control electronics. Voltage ripple or dropout events are a leading cause of control board resets and parameter corruption. If the drive cabinet includes a Siemens SITOP PSU or equivalent regulated supply, verify output stability under load. Alongside this, inspect all terminal blocks and wiring harnesses connecting the control unit to the power section, I/O terminals, and encoder feedback — loose or corroded connections account for a significant proportion of intermittent drive faults.
For systems using encoder-based vector control, the encoder feedback module (SBP or SBM option board) and the encoder cable itself should be tested for signal integrity. A degraded encoder signal can cause the replacement control unit to exhibit the same fault codes as the failed original, leading to misdiagnosis. Similarly, if the drive communicates over PROFIBUS DP, inspect the CBP2 communication board and bus termination resistors — a faulty termination can disrupt the entire PROFIBUS segment.
At the cabinet level, check the main contactor and pre-charge circuit for contact wear, and verify that the motor protection relay or overload relay is correctly set for the connected motor’s FLA. Inspect input line reactors or output dV/dt filters if installed — these protect both the drive and the motor winding insulation and are often overlooked during corrective maintenance. For older installations, consider replacing the cooling fan assembly within the drive chassis, as fan bearing failure is a primary cause of thermal shutdown in MASTERDRIVES MC units.
If the system includes an HMI panel (e.g., OP7, OP17, or a SIMATIC TP series touch panel) connected to the drive via USS or PROFIBUS, verify that the HMI firmware and parameter sets are backed up before the control unit swap. Parameter sets stored on a PMU (Parameterization Unit) or external memory card should be validated against the replacement unit’s firmware version to avoid compatibility issues during commissioning.
Finally, review the signal isolators and surge protection devices on analog I/O channels (4–20 mA speed reference, torque feedback). These components protect the control unit from field-side transients and are inexpensive insurance against repeat failures. A complete spare parts kit for a MASTERDRIVES MC installation should include the control unit, a set of DC bus fuses, a spare cooling fan, and a backup CBP2 board — ensuring that any single-point failure can be resolved within one maintenance shift.
Site Replacement Workflow
Step 1 — Parameter Backup: Before powering down, use the PMU or DriveMonitor software to export the full parameter set (P0 to P999 range) to a PC or memory card. This backup is essential for rapid recommissioning of the replacement unit.
Step 2 — Safe Isolation: Isolate the drive from the AC supply and engage the DC bus discharge procedure. Verify with a calibrated multimeter that DC bus voltage is below 50 VDC before opening the cabinet. Follow Siemens MASTERDRIVES MC safety guidelines for lockout/tagout.
Step 3 — Control Unit Removal: Disconnect the ribbon cable and all plug-in connectors from the 6SE7031-0TE60-Z. Note the position of any option boards (CBP2, SBP, etc.) — these are typically retained and transferred to the replacement unit. Remove the control unit by releasing the retaining screws or slide-lock mechanism per the frame-specific service manual.
Step 4 — Option Board Transfer: Carefully remove option boards from the failed unit and install them on the replacement 6SE7031-0TE60-Z. Verify that board firmware versions are compatible with the replacement control unit’s base firmware.
Step 5 — Installation and Parameter Restore: Install the replacement unit, reconnect all cables, and restore the parameter backup. Perform a motor identification run if the motor data has changed or if the backup is unavailable. Verify all fault and alarm codes are clear before returning the drive to service.
Step 6 — Functional Test: Run the drive at low speed under no-load conditions first, then progressively load to full operating point. Monitor current, speed feedback, and temperature for the first 30 minutes of operation. Document the replacement in the equipment maintenance log.
This workflow minimizes downtime to a single maintenance shift for a prepared team, compared to multi-day delays when spare parts are sourced reactively after a failure event.
Spare Parts Support FAQ
Q1: Is the 6SE7031-0TE60-Z still available as a new original spare, or only as refurbished?
Availability depends on current stock. Both new-original and refurbished-to-specification units may be offered. The condition is clearly stated on the order confirmation and packing documentation. All units — regardless of condition — undergo functional testing before shipment and are covered by the 12-month warranty.
Q2: How do I verify compatibility with my existing MASTERDRIVES MC power section before ordering?
Provide your drive’s full nameplate data (complete 6SE703x order number including Z-options, firmware version shown on the PMU, and frame size). Our technical team will cross-reference this against the replacement unit’s specification to confirm compatibility before the order is processed. Mismatched firmware or hardware revisions are identified at this stage, not after delivery.
Q3: What is included in the pre-shipment testing process?
Each unit is powered on, initialized to factory defaults, and verified for correct parameter access, display function, and communication port response. For units with option boards installed, PROFIBUS or encoder interface functionality is also verified. A test report is available on request.
Q4: What is the warranty coverage and what does it include?
The 12-month warranty covers manufacturing defects and functional failures under normal operating conditions from the date of shipment. It does not cover damage resulting from incorrect installation, overvoltage events, or operation outside the rated environmental parameters. In the event of a warranty claim, a replacement unit or repair is arranged with priority handling to minimize your system downtime.
© 2026 SMARTNEXMSK. All rights reserved.
Original Source: https://smartnexmsk.com
Contact: [email protected] | +86 18259474341