Siemens MP277 6AV6643-0CD01-1AX1 Retrofit-Ready HMI Panel: Compatible Modernization & Smooth Legacy System Upgrade
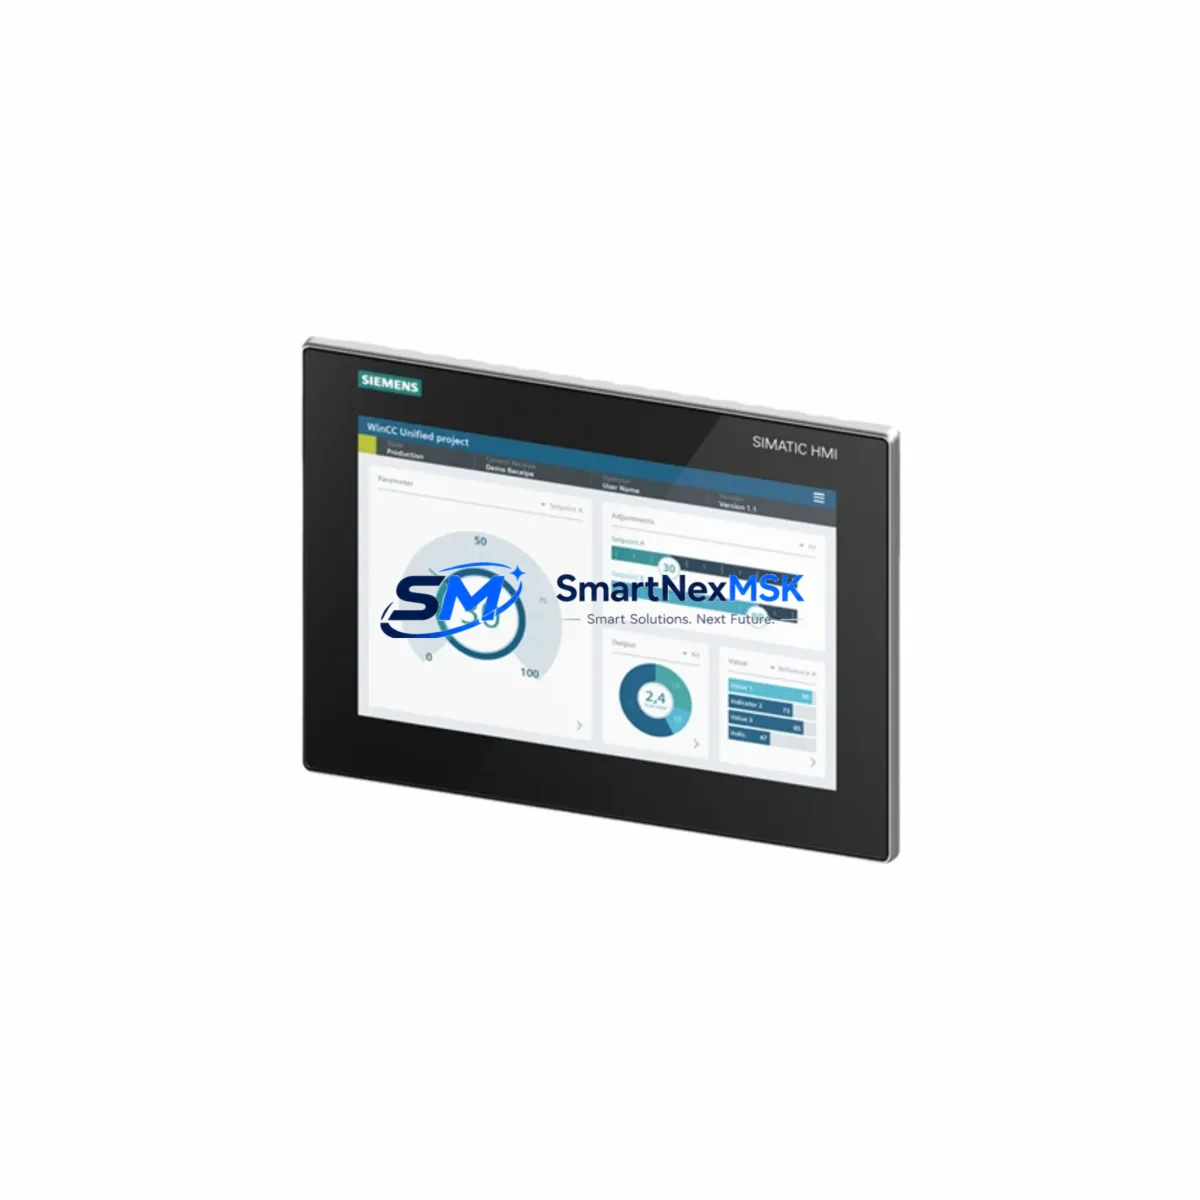
The Siemens MP277 6AV6643-0CD01-1AX1 is a 10-inch SIMATIC HMI operator panel widely deployed across discrete manufacturing, process control, and machine automation environments. As the MP277 series approaches end-of-life and spare parts become increasingly scarce, plant engineers and system integrators are actively seeking verified retrofit-ready replacements that preserve existing wiring, communication links, and HMI project logic without requiring a full control cabinet redesign.
This unit — carrying the full part number 6AV6643-0CD01-1AX1 and hardware revision 810-495659-304 — is sourced, inspected, and dispatched with a 12-month warranty covering hardware defects under normal operating conditions. Whether you are replacing a failed panel on an active production line or pre-positioning inventory for a planned system upgrade, this module ships ready for immediate installation and commissioning.
Upgrade Compatibility Table
| Parameter | Details |
|---|---|
| Full Part Number | 6AV6643-0CD01-1AX1 |
| Series | SIMATIC MP277 (Multi Panel) |
| Display Size | 10.4″ TFT Color, 640×480 (VGA) |
| Communication Interfaces | PROFIBUS DP, MPI, RS-422/485, Ethernet (RJ45) |
| Replaces / Compatible With | MP277 8″ (6AV6643-0BA01-1AX0), TP277 (6AV6643-0AA01-1AX0), earlier MP270B series |
| Installation Cutout | Standard MP277 10″ panel cutout — no cabinet modification required |
| Power Supply | 24 V DC (20.4–28.8 V), verify existing PSU capacity before swap |
| Programming Software | WinCC flexible 2008 SP3 or higher; project migration from older WinCC flexible versions supported |
| Commissioning Tool | ProSave, WinCC flexible Runtime |
| Retrofit Recommendation | Direct drop-in for MP277 10″ installations; verify MPI/PROFIBUS address settings before power-on |
| Warranty | 12 Months — hardware defects under normal operating conditions |
Retrofit Planning for Existing Automation Systems
Successful replacement of the MP277 6AV6643-0CD01-1AX1 in a live automation environment requires systematic pre-commissioning verification across several interdependent subsystems. Before removing the existing panel, engineers should document the current MPI or PROFIBUS DP node address assigned to the HMI — this is typically configured in WinCC flexible under Device Settings > Interface and must be replicated exactly on the replacement unit to avoid communication conflicts with the S7-300 or S7-400 PLC controller on the same network segment.
Power supply capacity is a critical checkpoint. The MP277 10″ draws up to 18 W at 24 V DC. If the control cabinet houses a SITOP PSU100S or equivalent 24 V regulated power supply, verify that the remaining load budget — accounting for connected I/O modules, relay outputs, and any ET 200S distributed I/O nodes — leaves adequate headroom. Undersized power supplies are a common root cause of intermittent HMI resets after panel replacement.
Terminal wiring on the MP277 uses a standard 2-row connector block. Before disconnecting, photograph or sketch the existing wiring layout, paying particular attention to the 24 V DC supply terminals, the PROFIBUS DB9 connector pinout, and any serial RS-422/485 links used for third-party device integration such as barcode readers or weighing controllers. The replacement panel ships with the same connector footprint, so no rewiring is required if the existing cable harness is in good condition.
For sites running SIMATIC S7-300 controllers with CP 343-1 or CP 343-1 Advanced communication processors, the Ethernet-based HMI connection path should be verified in NetPro or TIA Portal’s network view. If the legacy project was built in WinCC flexible 2005 or 2007, a project migration step in WinCC flexible 2008 is required before downloading to the replacement panel. During migration, review all tag connections, alarm classes, and recipe data structures — particularly if the system also integrates a SIMATIC S7-400 controller or a redundant CPU 414-4H configuration.
Sites that use SIMATIC Panels alongside SIMATIC NET CP 5611 or CP 5613 PROFIBUS cards for PC-based SCADA supervision should verify that the HMI node address does not conflict with the SCADA station address. In multi-panel installations where several MP277 or TP277 units share the same PROFIBUS segment, each panel must carry a unique node address in the range 1–126.
If the retrofit scope extends beyond the HMI panel to include I/O expansion — for example, adding SM 321 digital input modules or SM 331 analog input modules to an existing S7-300 rack — the backplane slot configuration must be updated in STEP 7 or TIA Portal before the new hardware is powered on. Failure to update the hardware configuration will cause the CPU to enter STOP mode on the first scan cycle after power-up. Similarly, if the upgrade path involves migrating from a CPU 315-2 DP to a CPU 317-2 PN/DP, the PROFIBUS DP master configuration and GSD files for all connected field devices — including SINAMICS G120 drives and SIRIUS 3RK3 motor management relays — must be re-imported and compiled.
Downtime Control During System Migration
Minimizing unplanned downtime during HMI panel replacement is achievable with structured preparation. The recommended approach is a cold-swap procedure executed during a scheduled maintenance window: back up the existing HMI project using ProSave’s Backup function to a USB flash drive before powering down the panel. This backup captures the runtime project, recipe data, and user administration settings in a single archive file that can be restored to the replacement unit in under ten minutes.
For production lines where even brief interruptions carry significant cost, consider pre-configuring the replacement MP277 6AV6643-0CD01-1AX1 offline using WinCC flexible in simulation mode. Load the backed-up project, verify all screen navigation paths, alarm acknowledgment sequences, and recipe selection logic in the simulator before the maintenance window begins. This approach reduces on-site commissioning time to the physical swap, address verification, and a single communication test — typically 30 to 60 minutes for an experienced technician.
If the PLC program contains HMI-driven setpoint writes — for example, recipe parameters written from the MP277 to data blocks in the S7-300 CPU — confirm that the PLC remains in RUN mode throughout the panel swap. The S7-300 CPU will continue executing its scan cycle independently of the HMI connection state, preserving all output states and interlocks. Only the operator interface is unavailable during the swap interval; the underlying control logic and field I/O remain fully operational.
After restoring power to the replacement panel, perform a structured commissioning check: confirm the PROFIBUS or MPI link status LED on the panel, verify that all configured tags are updating correctly on the first process screen, test at least one alarm trigger and acknowledgment cycle, and confirm that recipe download to the PLC completes without errors. Document the commissioning result and retain the ProSave backup archive as the baseline for future maintenance events.
Retrofit Support FAQ
Q1: Is the 6AV6643-0CD01-1AX1 a direct replacement for the MP277 8″ (6AV6643-0BA01-1AX0)?
The 6AV6643-0CD01-1AX1 is the 10″ variant of the MP277 series and shares the same WinCC flexible runtime environment and communication interfaces as the 8″ model. However, the panel cutout dimensions differ — the 10″ unit requires a larger cabinet opening. If the existing cutout was sized for the 8″ panel, a cabinet modification or adapter frame is required. The HMI project itself is fully compatible and can be transferred without modification.
Q2: What commissioning steps are required after installing the replacement panel?
After physical installation, set the MPI or PROFIBUS DP node address to match the original panel configuration. Restore the WinCC flexible project using ProSave or download directly from the engineering PC via Ethernet or MPI. Verify communication with the PLC by checking tag update status on the first process screen. Confirm alarm history continuity and test at least one recipe transfer cycle before returning the line to production.
Q3: Can the existing PROFIBUS cable and DB9 connector be reused?
Yes. The MP277 6AV6643-0CD01-1AX1 uses the same PROFIBUS DB9 interface as all MP277 and TP277 series panels. The existing cable, termination resistor setting, and bus connector can be reused without modification, provided the cable is in good condition and the termination is correctly set at the physical end nodes of the PROFIBUS segment.
Q4: What does the 12-month warranty cover, and how is it claimed?
The 12-month warranty covers hardware defects arising under normal operating conditions — including display failures, communication interface faults, and power input circuit defects. It does not cover damage resulting from incorrect wiring, overvoltage, physical impact, or unauthorized modification. To initiate a warranty claim, contact [email protected] with the order reference, a description of the fault, and photographic evidence. Replacement or repair will be arranged within the agreed lead time.
© 2026 SMARTNEXMSK. All rights reserved.
Original Source: https://smartnexmsk.com
Contact: [email protected] | +86 18259474341