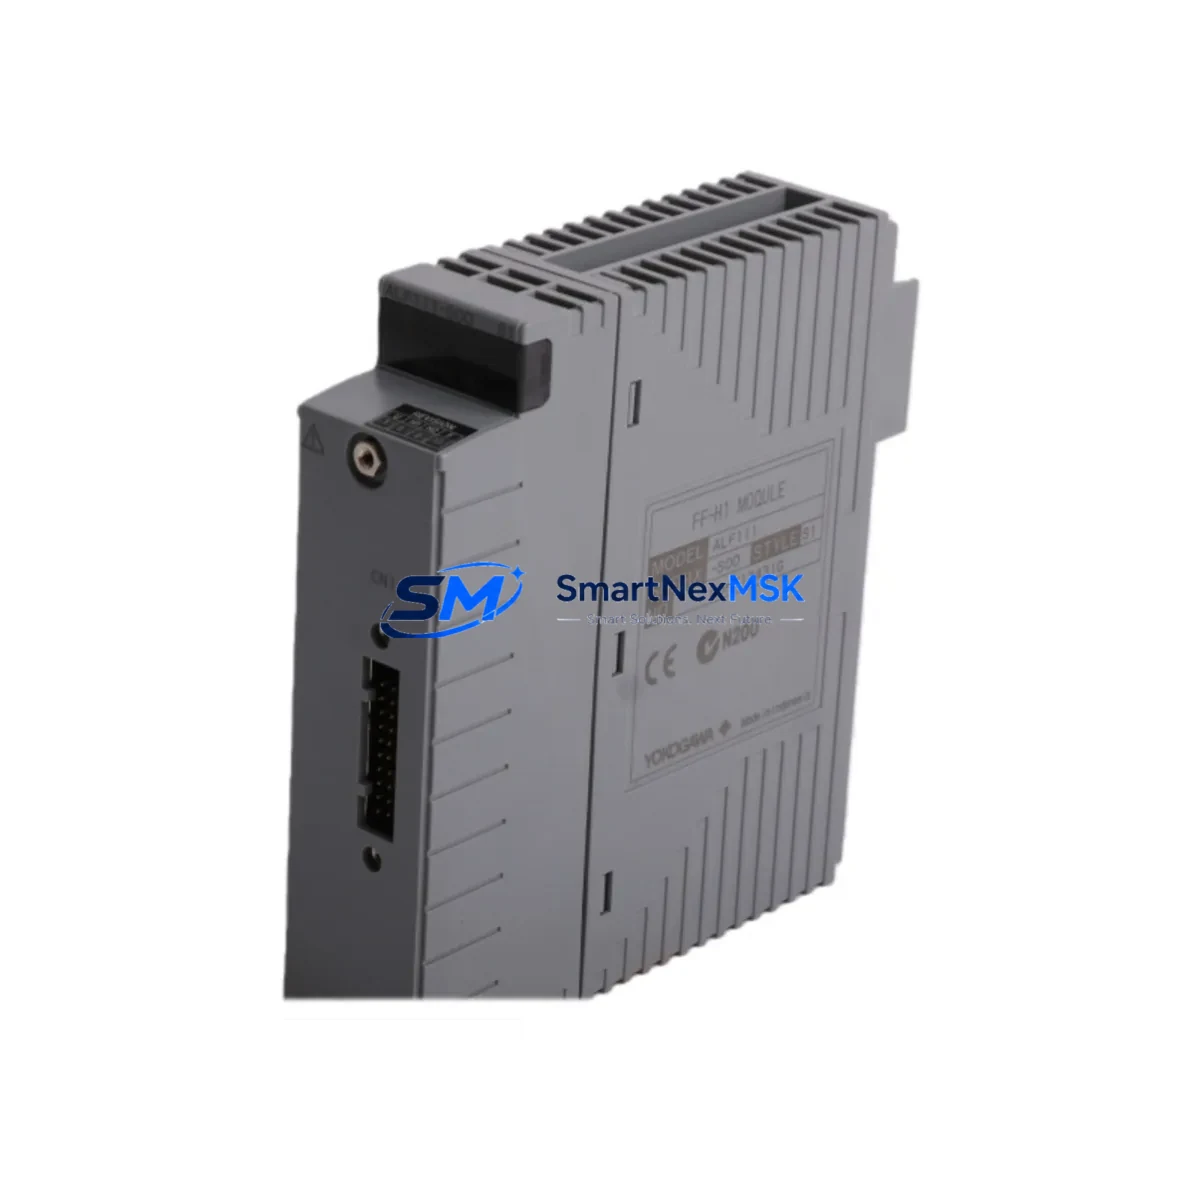
YOKOGAWA ADM12 S1 Retrofit-Ready Servo Add-On Module for ADM Series Control Systems
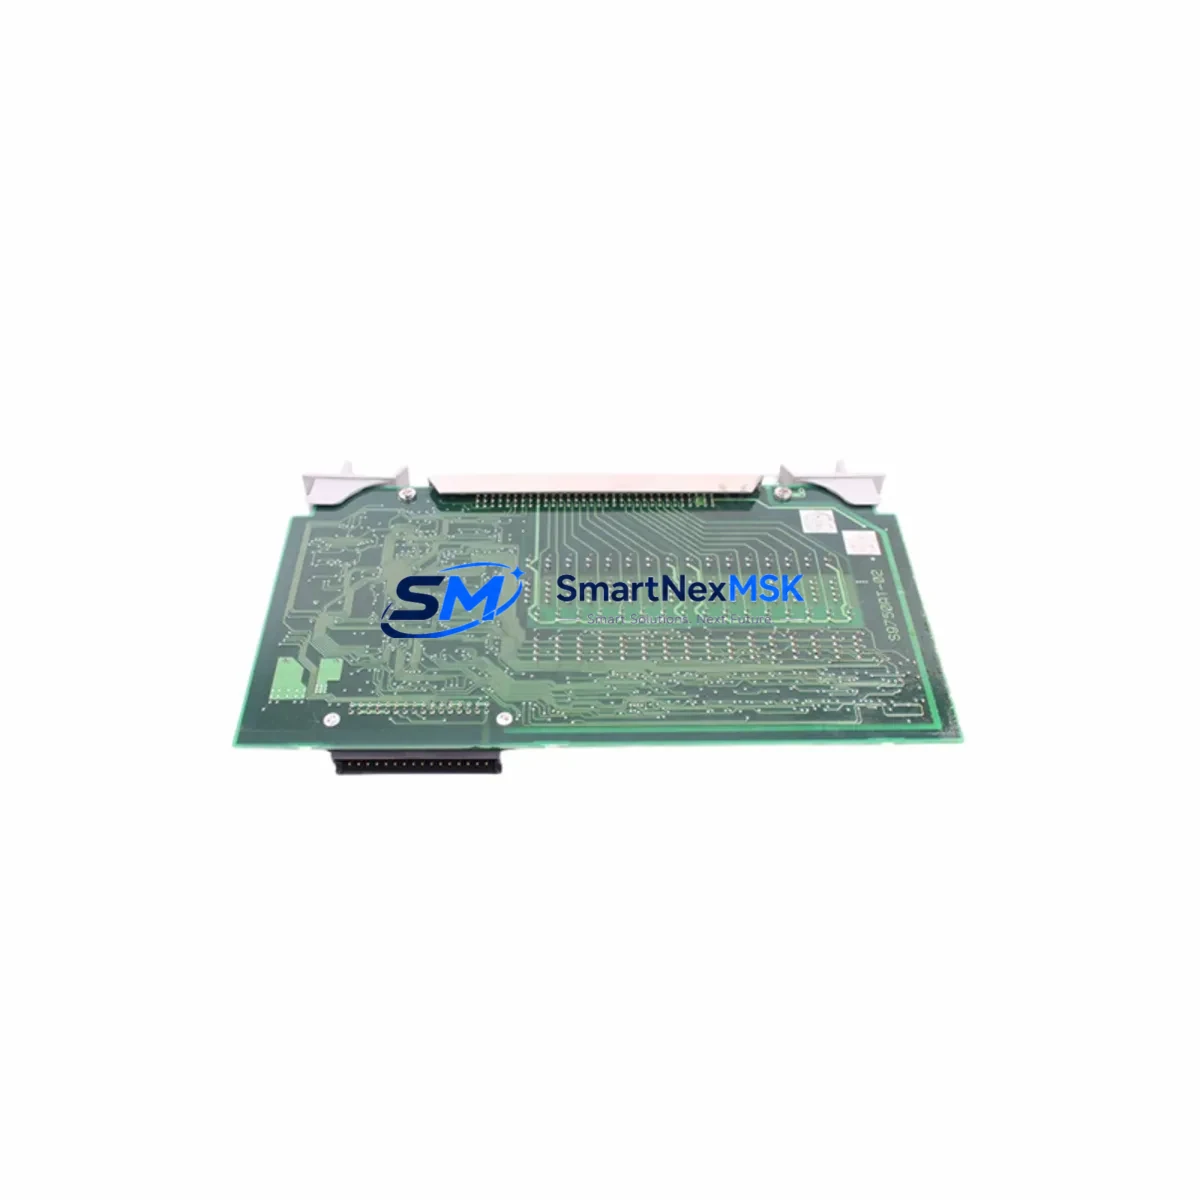
The YOKOGAWA ADM12 S1 is a Servo Add-On Module engineered for seamless integration into ADM Series distributed control and motion systems. As legacy automation infrastructure ages and OEM support for discontinued servo modules becomes increasingly scarce, the ADM12 S1 stands as a proven retrofit solution for engineers managing aging control cabinets, upgrading motion axes, or restoring production continuity after unexpected hardware failures. Whether you are replacing a failed unit on an active production line or executing a planned modernization of a multi-axis servo system, the ADM12 S1 delivers the electrical compatibility, backplane interface alignment, and firmware handshake required for a low-risk, minimal-downtime swap.
SMARTNEXMSK maintains verified stock of the ADM12 S1 with pre-shipment functional testing, ensuring every unit leaves our facility in confirmed working condition. Each module is covered by a 12-month warranty and ships with full traceability documentation to support your incoming inspection and commissioning records.
Upgrade Compatibility Table
| Parameter | Details |
|---|---|
| SKU | ADM12 S1 |
| Brand | YOKOGAWA |
| Series | ADM Series |
| Module Type | Servo Add-On Module |
| Backplane Interface | ADM Series rack-compatible backplane connector |
| Installation Requirement | Direct slot insertion into ADM Series rack; no mechanical modification required |
| Communication Compatibility | Compatible with YOKOGAWA MECHATROLINK and proprietary ADM motion bus protocols |
| Replacement Scope | Drop-in replacement for discontinued ADM12 S1 units; verify firmware revision before swap |
| Commissioning Notes | Confirm axis address assignment, servo parameter download, and HMI tag mapping post-installation |
| Origin | Japan |
| Warranty | 12 Months — covers functional defects under normal operating conditions |
| Pre-Shipment Test | Yes — functional verification performed before dispatch |
Retrofit Planning for Existing Automation Systems
Successful integration of the ADM12 S1 into an existing control architecture requires a structured pre-retrofit assessment. Engineers should begin by auditing the current rack configuration: confirm that the target slot in the ADM Series rack is mechanically and electrically compatible, and verify that the backplane power rail can support the module’s rated current draw without exceeding the rack’s total power budget. In systems where the ADM12 S1 operates alongside a YOKOGAWA CP345 or CP451 controller module, the CPU firmware version must be checked to ensure it supports the ADM12 S1’s servo parameter set.
Terminal wiring is a critical checkpoint. The ADM12 S1 interfaces with servo drives via dedicated encoder feedback and command signal terminals. Before disconnecting the legacy module, photograph and document all field wiring, including shield grounding points and cable routing. In retrofit projects involving YOKOGAWA RM-series racks or multi-slot expansion chassis, confirm that the module address DIP switch or software address assignment matches the original configuration to prevent axis numbering conflicts in the motion program.
For systems running YOKOGAWA’s FAST/TOOLS or Exaopc SCADA platform, verify that the ADM12 S1’s I/O tags are correctly mapped in the engineering database before going live. If the control system also includes YOKOGAWA AAI141 analog input modules or ADV151 digital output modules sharing the same rack, their scan cycle timing should be reviewed to ensure no interference with the servo module’s high-speed update rate.
In multi-axis configurations, the ADM12 S1 often operates in tandem with YOKOGAWA SGD7S servo drives or equivalent MECHATROLINK-III compatible drives. Confirm that the servo drive firmware and the ADM12 S1 module firmware are at compatible revision levels. If the project involves migrating from an older MECHATROLINK-II topology to MECHATROLINK-III, additional network configuration steps will be required, including updating the motion controller’s communication parameters and re-commissioning each axis individually.
Power supply integrity is non-negotiable. Measure the 24 VDC control power rail voltage under load before and after module installation. In cabinets where a YOKOGAWA PW481 or equivalent rack power supply is installed, verify that the total module load remains within the supply’s rated output. If the retrofit involves adding the ADM12 S1 to a previously fully loaded rack, a supplemental power supply or load redistribution across multiple racks may be necessary.
Finally, ensure that the programming cable and engineering workstation running YOKOGAWA’s ToolBox or equivalent configuration software are available on-site during commissioning. Servo parameter files from the original module should be backed up and ready for download to the replacement ADM12 S1 to minimize axis tuning time and restore motion performance to pre-failure specifications.
Downtime Control During System Migration
Minimizing production downtime during an ADM12 S1 swap requires preparation that begins well before the maintenance window opens. The most effective approach is to pre-configure the replacement module off-line: load the servo parameters, verify the axis address, and confirm communication link status using a bench test rack or a spare slot in a non-production system if available. This eliminates the largest variable in on-site commissioning time.
Before powering down the control cabinet, execute a full backup of the CPU program, motion profiles, and HMI screen configurations. For systems using YOKOGAWA’s Exaopc or CENTUM VP historian, confirm that data logging is suspended gracefully rather than interrupted, to protect process data integrity. Label all field wiring connections on the outgoing module before removal, and use a wiring diagram cross-referenced against the as-built documentation to guide reconnection on the new unit.
During the swap, keep the rack powered where safety permits and hot-swap procedures are supported by the system architecture. In systems where a full rack power-down is required, coordinate with the operations team to sequence the shutdown to avoid impacting upstream or downstream process equipment. After installing the ADM12 S1, restore power in a controlled sequence: rack power first, then CPU initialization, followed by servo drive enable and axis homing. Verify each axis’s position feedback and torque response before releasing the system to production.
Maintaining a spare ADM12 S1 in local inventory is the single most effective strategy for long-term downtime control. Given the discontinued status of many ADM Series components, lead times for sourcing replacement modules on the open market can extend to weeks. SMARTNEXMSK maintains ready stock with same-day dispatch capability for verified orders, supporting your critical spare parts program with reliable supply and 12-month warranty coverage on every unit.
Retrofit Support FAQ
Q1: Is the ADM12 S1 a direct drop-in replacement for the original YOKOGAWA ADM12 S1 installed in my ADM Series rack?
Yes. The ADM12 S1 is designed to fit the same rack slot, use the same backplane connector, and communicate over the same motion bus as the original module. However, we recommend verifying the firmware revision of your CPU module before installation to confirm full parameter compatibility. Our technical team can assist with revision cross-referencing prior to shipment.
Q2: What wiring checks should I perform before replacing the module?
Document all terminal connections on the outgoing module, including encoder feedback cables, servo command signal wiring, and any shield grounding connections. Verify terminal torque specifications match the ADM12 S1’s rated values. In systems with shared terminal blocks or junction boxes, confirm that no wiring changes were made since the original installation that could affect signal integrity on the replacement module.
Q3: How do I confirm communication link compatibility after installation?
After installing the ADM12 S1 and restoring power, use YOKOGAWA’s ToolBox engineering software to scan the motion bus and confirm that the module is recognized at the correct axis address. Check the communication status LED on the module front panel and verify that the servo drive reports a healthy link. If using MECHATROLINK protocol, confirm that the network cycle time and station count parameters in the CPU match the pre-retrofit configuration.
Q4: What does the 12-month warranty cover, and what is the process for a warranty claim?
The 12-month warranty covers functional defects arising under normal operating conditions, including communication failures, backplane interface faults, and servo parameter processing errors not caused by external wiring faults or overvoltage events. To initiate a warranty claim, contact SMARTNEXMSK with your order reference, a description of the fault symptom, and any available diagnostic data from the engineering software. We will arrange return logistics and dispatch a replacement unit to minimize your downtime.
© 2026 SMARTNEXMSK. All rights reserved.
Original Source: https://smartnexmsk.com
Contact: sales@smartnexmsk.com | +86 18259474341