
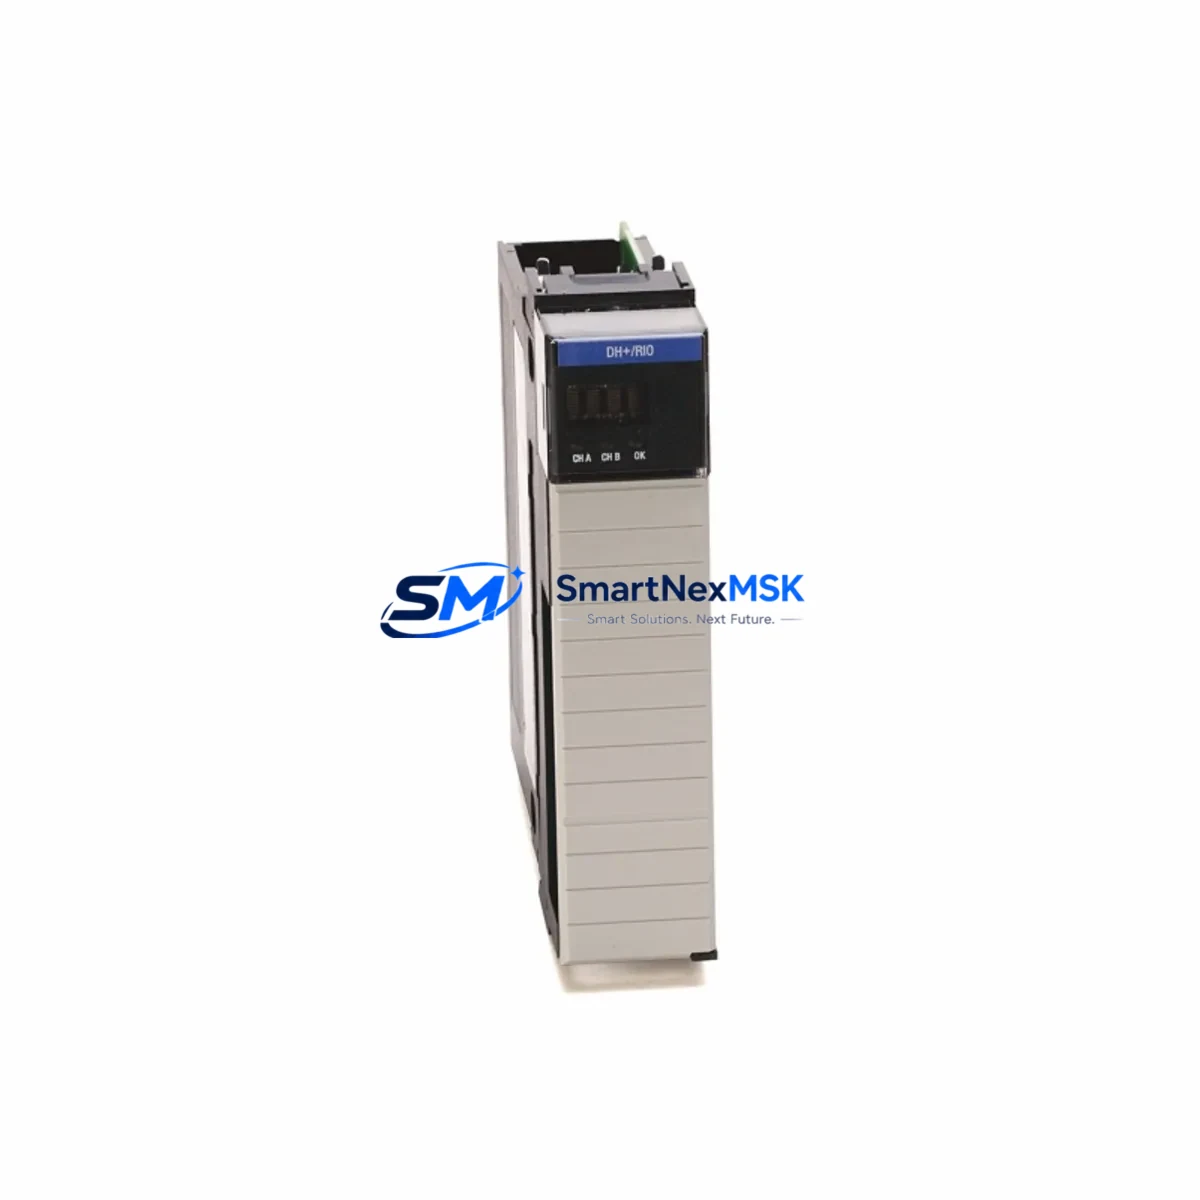
Allen-Bradley 1756-DHRIO/E Retrofit-Ready DH+/RIO Bridge for ControlLogix Systems
The Allen-Bradley 1756-DHRIO/E is a ControlLogix-platform communication bridge module that provides simultaneous Data Highway Plus (DH+) and Remote I/O (RIO) network connectivity within a 1756 chassis. Designed for industrial environments where legacy PLC-5 and SLC 500 networks must coexist with modern ControlLogix controllers, this module is the definitive retrofit solution for plants undergoing phased control system modernization. Whether you are replacing a failed 1756-DHRIO/B or /D revision, migrating an aging PLC-5/40 system to a 1756-L85E controller, or extending the service life of a DH+ network that feeds legacy HMI panels, the 1756-DHRIO/E delivers the backward compatibility and communication reliability your operation demands.
Each unit supplied by SMARTNEXMSK undergoes pre-shipment functional verification, including backplane communication checks, DH+ token-passing validation, and RIO scanner/adapter mode confirmation. All modules carry a 12-month warranty covering hardware defects and communication failures under normal operating conditions.
Upgrade Compatibility Table
| Parameter | Detail |
|---|---|
| Module SKU | 1756-DHRIO/E |
| Platform | Allen-Bradley ControlLogix (1756 Series) |
| Replaces / Upgrades From | 1756-DHRIO/A, /B, /C, /D; PLC-5 DH+ adapters; SLC 500 DH+ links |
| Backplane Interface | 1756 ControlLogix backplane (any 1756 chassis slot) |
| DH+ Network Speed | 57.6 Kbps / 115.2 Kbps / 230.4 Kbps (selectable) |
| RIO Scanner / Adapter | Both modes supported; up to 32 RIO racks |
| Communication Compatibility | DH+ (DF1 full-duplex), RIO (1771 I/O racks, 1794 FLEX I/O adapters) |
| Firmware Revision | /E (latest production revision) |
| Installation Requirement | 1756 chassis + 1756-PA72 or 1756-PB72 power supply; no additional wiring adapter needed |
| Retrofit Recommendation | Direct slot replacement for earlier /A–/D revisions; verify RSLogix 5000 / Studio 5000 module definition matches /E firmware |
| Commissioning Notes | Update module definition in controller project; verify DH+ node address (0–77 octal); confirm RIO rack/group/slot addressing in I/O tree |
| Warranty | 12 Months — hardware defects and communication failures covered |
Retrofit Planning for Existing Automation Systems
Integrating the 1756-DHRIO/E into an existing control architecture requires a structured approach that accounts for every layer of the legacy system. Begin by auditing the current 1756 chassis configuration. In a typical ControlLogix migration project, the chassis may already house a 1756-L74 or 1756-L85E controller alongside analog and digital I/O modules such as the 1756-IF16 and 1756-OB16E. The 1756-DHRIO/E occupies a single chassis slot and draws power from the chassis backplane — confirm that the installed 1756-PA72 or 1756-PB72 power supply has sufficient current budget (the module draws approximately 250 mA at 5 VDC from the backplane) before finalizing the slot assignment.
On the DH+ side, the existing network may connect legacy PLC-5/30 or PLC-5/40 controllers, SLC 5/04 processors, and operator interface terminals running on PanelView 550 or PanelView 900 HMI hardware. The 1756-DHRIO/E bridges these devices to the ControlLogix controller without requiring changes to the DH+ wiring or node addressing — a critical advantage when minimizing downtime during a phased cutover. Verify that the DH+ baud rate configured on the 1756-DHRIO/E matches the network-wide setting; mismatched baud rates are the most common commissioning error in DH+ retrofit projects.
For RIO-connected field devices, the module operates as a scanner, managing communication to legacy 1771 I/O racks and 1794-ADNX FLEX I/O adapter nodes. Each RIO rack must retain its original rack number, starting quarter, and I/O group assignments as defined in the original PLC-5 program. When migrating the control program from RSLogix 5 to Studio 5000, use the Migration Assistant to map RIO data table addresses to ControlLogix controller tags — this preserves the logic structure and reduces the risk of I/O mapping errors that could cause unintended actuator outputs during startup.
Communication cabling between the 1756-DHRIO/E and the DH+ network uses the standard 1770-CD Belden 9463 shielded twisted-pair cable terminated with a 1770-XD connector block. Inspect existing cable runs for shield continuity and termination resistance (150 Ω at each network end) before energizing the new module. If the plant also uses 1784-U2DHP USB-to-DH+ programming cables for laptop-based diagnostics, confirm that the cable driver version is compatible with the /E firmware revision to avoid communication timeouts during online program monitoring.
Where the retrofit scope extends to Ethernet integration, the 1756-DHRIO/E works alongside 1756-EN2T or 1756-EN2TR EtherNet/IP communication modules in the same chassis, enabling simultaneous DH+ legacy connectivity and modern EtherNet/IP SCADA or MES integration without requiring a separate gateway device.
Downtime Control During System Migration
Minimizing production downtime is the primary constraint in any legacy control system retrofit. For projects involving the 1756-DHRIO/E, the recommended approach is a parallel-run strategy: install and configure the new ControlLogix chassis alongside the existing PLC-5 or SLC 500 system, establish DH+ communication through the 1756-DHRIO/E, and validate all I/O data and program logic in shadow mode before executing the final cutover.
Before the cutover window, complete the following verification steps in Studio 5000: confirm that all RIO rack data is populating correctly in the controller tag database, verify that DH+ message instructions (MSG blocks) to legacy devices are executing without errors, and perform a full I/O force test on non-critical outputs to validate wiring continuity. Back up the existing PLC-5 program using RSLogix 5 and store a copy offline — this is your recovery baseline if the cutover must be aborted.
During the cutover, transfer control to the ControlLogix system during a planned maintenance window. Power down the legacy controller, remove it from the DH+ network, and confirm that the 1756-DHRIO/E assumes the DH+ master role without token-passing conflicts. Monitor the RIO scanner status bits in the ControlLogix controller for the first 30 minutes of live operation to catch any rack communication faults before they affect production. With proper pre-commissioning, most 1756-DHRIO/E retrofit installations achieve full production restoration within a 4–8 hour maintenance window.
Retrofit Support FAQ
Q1: Can the 1756-DHRIO/E directly replace an earlier revision such as the 1756-DHRIO/B without hardware changes?
Yes. The /E revision is physically and electrically identical to earlier /A through /D revisions and installs in the same chassis slot using the same wiring connections. The only required change is updating the module definition in your Studio 5000 or RSLogix 5000 project to select the /E firmware revision. No backplane adapter, wiring harness, or chassis modification is needed.
Q2: What commissioning steps are required after installing the 1756-DHRIO/E?
After physical installation, set the DH+ node address using the rotary switches on the module faceplate (0–77 octal, must be unique on the network). In Studio 5000, add the module to the I/O tree under the local chassis, configure the DH+ channel baud rate to match the existing network, and define the RIO scanner configuration including rack numbers, starting quarters, and I/O group sizes. Download the updated project to the controller and verify the module status indicators: the DH+ LED should show solid green (active network) and the RIO LED should show solid green (all configured racks communicating).
Q3: Is the 1756-DHRIO/E compatible with both 1771 I/O racks and 1794 FLEX I/O adapters on the same RIO network?
Yes. The module supports mixed RIO networks containing both 1771-series I/O racks and 1794-ADNX FLEX I/O adapters simultaneously, provided each device is assigned a unique rack address and the total RIO network load does not exceed 32 rack equivalents. This makes the 1756-DHRIO/E suitable for plants where FLEX I/O was added to an existing 1771 I/O infrastructure without requiring a separate RIO scanner module.
Q4: What does the 12-month warranty cover, and what is the process for warranty claims?
The 12-month warranty covers hardware defects and communication failures attributable to manufacturing or component faults under normal operating conditions (per module datasheet environmental ratings). It does not cover damage from incorrect installation, overvoltage, or physical impact. To initiate a warranty claim, contact SMARTNEXMSK with the module serial number, purchase order reference, and a description of the fault. Replacement or repair is processed within 5–7 business days of fault confirmation.
© 2026 SMARTNEXMSK. All rights reserved.
Original Source: https://smartnexmsk.com
Contact: [email protected] | +86 18259474341



