
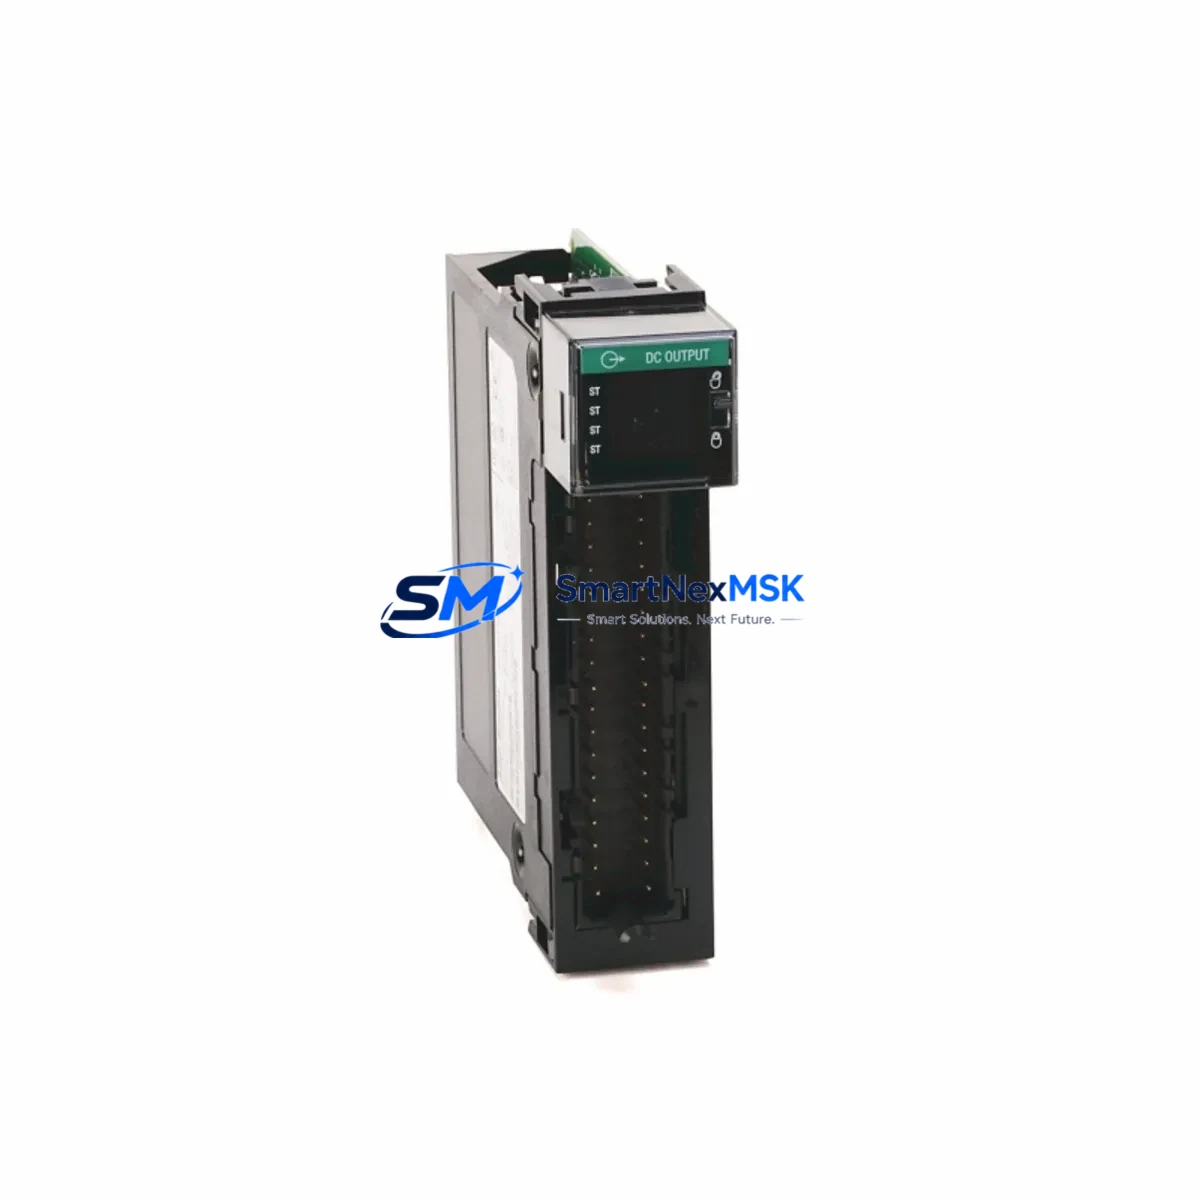
Allen-Bradley 1756-IB32K Retrofit-Ready DC Input for ControlLogix Systems
The Allen-Bradley 1756-IB32K is a 32-point, 10–31.2 VDC sinking digital input module designed for the ControlLogix 1756 platform. As legacy automation lines age and OEM support windows close, the 1756-IB32K has become one of the most sought-after retrofit components for engineers tasked with modernizing existing control architectures without a full system teardown. Whether you are replacing a failed module in a running production cell, upgrading a discontinued 1746 SLC 500 line to ControlLogix, or consolidating I/O density in a crowded control cabinet, the 1756-IB32K delivers the electrical compatibility and software transparency that retrofit projects demand.
Each unit supplied by SMARTNEXMSK is functionally tested prior to shipment, covered by a 12-month warranty, and ships with documentation sufficient for immediate installation. Our inventory is sourced from authorized distribution channels and verified against Rockwell Automation’s published specifications for the 1756 chassis family.
Upgrade Compatibility Table
| Parameter | 1756-IB32K Specification | Retrofit Notes |
|---|---|---|
| Input Points | 32 points, sinking (DC) | Replaces 1756-IB16, 1756-IB32 with higher density |
| Input Voltage Range | 10–31.2 VDC | Compatible with standard 24 VDC field wiring |
| Backplane Interface | ControlLogix 1756 chassis (any slot) | Fits 1756-A4, 1756-A7, 1756-A10, 1756-A13, 1756-A17 |
| Wiring Connector | RTB (Removable Terminal Block), 40-pin | Wiring transfers directly from replaced module; no re-termination required if RTB is retained |
| Communication | ControlLogix backplane (implicit messaging) | No EtherNet/IP or DeviceNet configuration required for local I/O |
| Software Compatibility | Studio 5000 Logix Designer v21+ | Module profile available in RSLogix 5000 v16+ for legacy projects |
| Replacement Path | Replaces 1746-IB32 (SLC 500), 1771-IBD (PLC-5) | Requires I/O mapping update in Logix program; physical wiring pitch differs from 1771 |
| Commissioning Requirement | Module profile add in Studio 5000, download, verify input tags | Force I/O bits during initial test; confirm field device polarity |
| Warranty | 12-Month Warranty — covers functional failure under normal operating conditions | |
Retrofit Planning for Existing Automation Systems
A successful 1756-IB32K retrofit begins well before the module arrives on site. Engineers should audit the existing control cabinet to confirm that the 1756 chassis — whether a 1756-A7 or a larger 1756-A17 — has an available slot and that the chassis power supply, such as the 1756-PA75 or 1756-PB75, has sufficient remaining capacity to support the additional 32-point input load. The 1756-IB32K draws current from the backplane; verify the power budget in Studio 5000’s chassis power consumption tool before finalizing the slot assignment.
Terminal block wiring is one of the most time-sensitive steps in any retrofit. If the existing installation uses a 1756-IB32 with a 40-pin RTB already wired to field devices, that RTB can be unplugged from the old module and plugged directly into the 1756-IB32K, eliminating re-termination time entirely. For installations migrating from a 1746 SLC 500 rack using 1746-IB32 modules, the wiring pitch and connector type differ, so a new RTB and re-termination plan must be prepared in advance. Label all field wires before disconnection and photograph the existing terminal layout.
On the software side, open the existing Studio 5000 project and add the 1756-IB32K module profile to the I/O tree under the correct chassis and slot number. If the project was originally written for a 1756-IB16 and you are consolidating two 16-point modules into a single 32-point module, update all rung references and HMI tag bindings accordingly. Operators using a PanelView Plus 7 or PanelView 800 HMI should verify that all input status indicators on existing screens map to the new tag addresses before going live.
For systems that include a 1756-EN2T or 1756-EN3TR EtherNet/IP communication module routing I/O data to remote controllers or SCADA systems, confirm that the produced/consumed tag configuration reflects the updated I/O module list after the 1756-IB32K is added. In distributed architectures where a 1756-AENTR adapter bridges a remote 1756 chassis over EtherNet/IP, the adapter’s connection parameters may need to be refreshed in the primary controller’s I/O tree. Always perform a controlled download with the chassis in program mode and verify all input tags are reading correctly before returning the system to run mode.
If the retrofit involves migrating from a legacy PLC-5 platform using 1771-IBD input modules, note that the 1771 rack uses a different backplane protocol entirely. A full I/O remapping exercise is required, and the 1756-DHRIO or 1756-DNB bridge modules may be needed to maintain communication with any remaining legacy devices on the DH+ or DeviceNet network during the transition period.
Downtime Control During System Migration
Minimizing unplanned downtime is the primary concern for any production environment undergoing a control system retrofit. When replacing the 1756-IB32K in a running system, the recommended approach is to schedule the swap during a planned maintenance window and prepare a pre-tested spare module that has already been verified against the project’s module profile. Before removing the existing module, place the controller in program mode to prevent any unintended output activation caused by loss of input data.
Preserve the original program logic by exporting the Studio 5000 project to an .ACD file and storing it on a secure network share before beginning any hardware changes. If the system uses a 1756-L85E or similar ControlLogix 5580 controller with non-volatile memory, verify that the project is saved to the controller’s internal flash so that a power cycle during the swap does not result in program loss. For older 1756-L61 or 1756-L63 controllers without non-volatile storage, ensure a laptop with RSLogix 5000 is on hand to re-download the project if needed.
Once the 1756-IB32K is seated in the chassis and the RTB is connected, go online with the controller and use the I/O diagnostics in Studio 5000 to verify that all 32 input points are reading the correct field states before switching back to run mode. Use the force table to individually verify critical input signals — such as emergency stop circuits, safety interlocks, and process limit switches — before releasing the system to operators. Document the commissioning results and retain them as part of the site’s maintenance record. With proper preparation, a 1756-IB32K module swap can typically be completed within a single shift, keeping production impact to a minimum.
Retrofit Support FAQ
Q: Is the 1756-IB32K a direct drop-in replacement for the 1756-IB32?
A: Yes. The 1756-IB32K is electrically and mechanically compatible with the 1756-IB32 and occupies the same chassis slot. The module profile in Studio 5000 must be updated to reflect the 1756-IB32K designation, but the wiring and tag structure remain identical. No field re-wiring is required if the existing RTB is retained.
Q: Can the 1756-IB32K be used to replace SLC 500 1746-IB32 input modules?
A: The 1756-IB32K is a ControlLogix platform module and cannot be installed directly into a 1746 SLC 500 rack. However, it is the correct target module when migrating an entire SLC 500 system to a ControlLogix 1756 chassis. The migration requires a new 1756 chassis, a ControlLogix controller such as the 1756-L83E, and a full I/O remapping of the existing SLC program into Studio 5000.
Q: What commissioning steps are required after installing the 1756-IB32K?
A: After seating the module and connecting the RTB, add the module profile to the Studio 5000 I/O tree at the correct slot, download the updated project to the controller, go online, and verify all 32 input tags are reading correctly. Use the force table to test critical inputs individually. Confirm HMI tag bindings and SCADA data paths before returning to run mode.
Q: Does the 1756-IB32K supplied by SMARTNEXMSK include a warranty?
A: Yes. Every 1756-IB32K unit is covered by a 12-month warranty against functional failure under normal operating conditions. Each module is functionally tested prior to shipment. If a unit fails within the warranty period, SMARTNEXMSK will arrange a replacement or repair at no additional cost.
© 2026 SMARTNEXMSK. All rights reserved.
Original Source: https://smartnexmsk.com
Contact: [email protected] | +86 18259474341



