
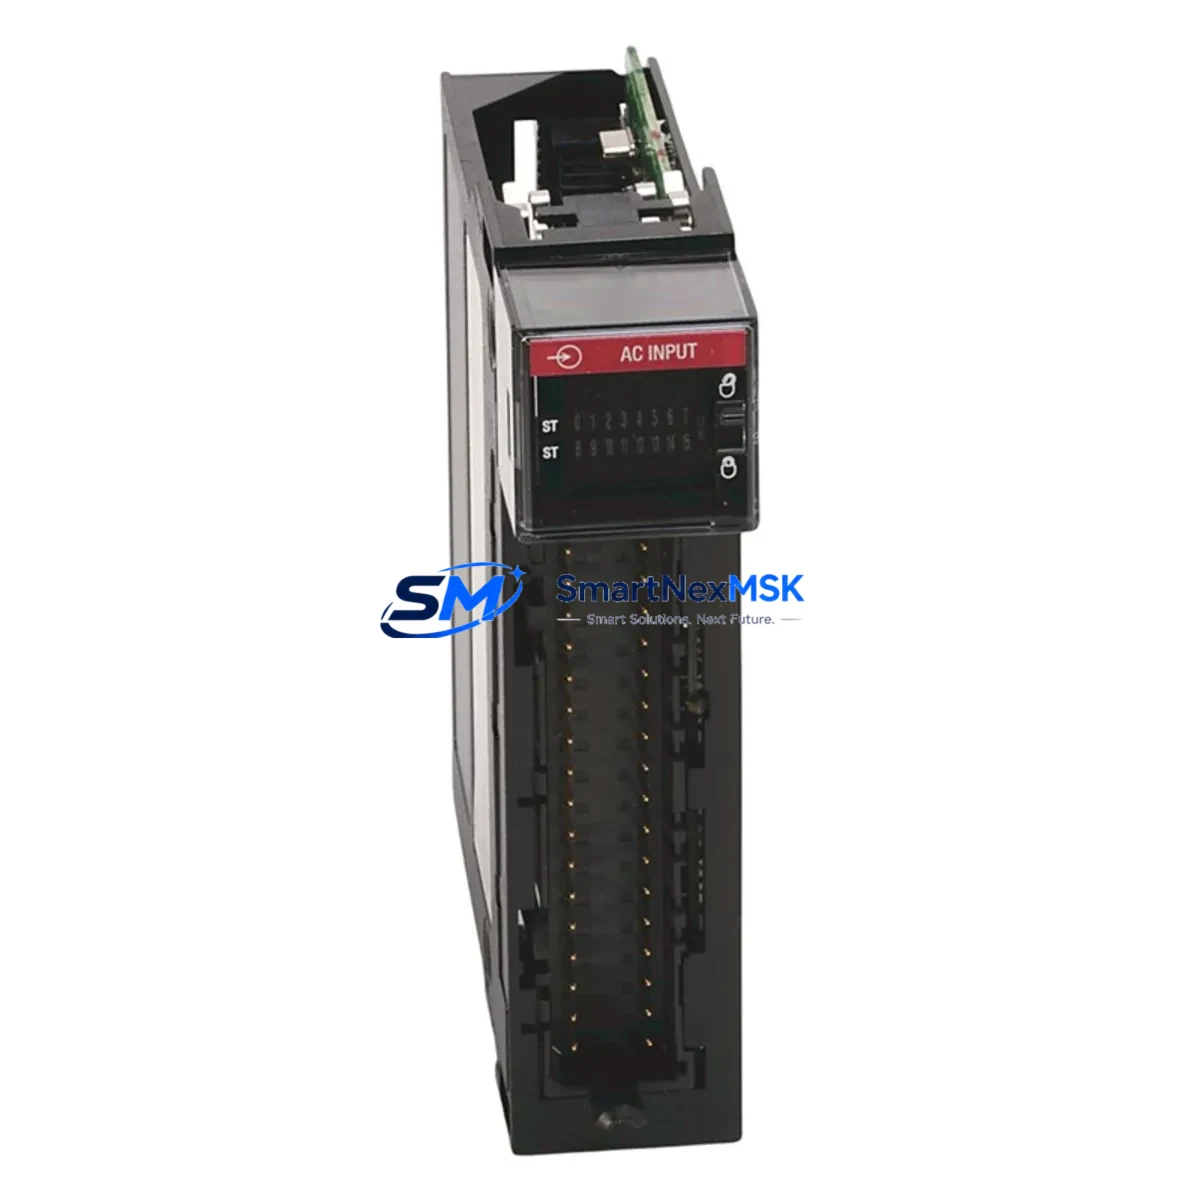
Allen-Bradley 1756-IH16I Retrofit-Ready DC Input for ControlLogix: Compatible Modernization & Smooth System Upgrade
The Allen-Bradley 1756-IH16I is a 16-channel isolated DC input module designed for the ControlLogix 1756 chassis platform. With a rated input voltage of 10–30V DC and full channel-to-channel isolation, this module is a proven solution for engineers managing legacy system upgrades, discontinued spare part replacement, and control cabinet modernization projects. Whether you are migrating from an aging PLC-5 or SLC 500 platform, expanding an existing ControlLogix rack, or restoring a production line after an unplanned failure, the 1756-IH16I delivers the electrical compatibility and firmware integration required for a reliable retrofit.
Sourced from verified industrial supply channels, each unit is pre-tested against Allen-Bradley factory specifications before shipment. Stock is maintained to support urgent replacement orders, with a 12-month warranty covering manufacturing defects and functional failures under normal operating conditions.
Upgrade Compatibility Table
| Parameter | Specification / Recommendation |
|---|---|
| Module Type | 16-Channel Isolated DC Input (10–30V DC) |
| Chassis Compatibility | 1756 ControlLogix chassis (4, 7, 10, 13, 17-slot) |
| Backplane Interface | ControlLogix 1756 backplane — direct slot insertion, no adapter required |
| Communication Protocol | ControlNet, EtherNet/IP via 1756-L series controller (e.g. 1756-L71, 1756-L83E) |
| Wiring Terminal | RTB (Removable Terminal Block) — compatible with 1756-TBCH or 1756-TBS6H |
| Replacement for Discontinued Models | 1756-IH16I Series A/B; also replaces PLC-5 and SLC 500 isolated input functions via migration |
| Module Address Configuration | Slot-based addressing in RSLogix 5000 / Studio 5000 — no DIP switch required |
| Installation Requirement | Power down chassis before insertion; verify 1756-PA72 or 1756-PB72 power supply capacity |
| Firmware Compatibility | Compatible with ControlLogix firmware v16 and above; verify controller revision before deployment |
| Debugging Focus | Verify I/O tree tag mapping, input filter timing, and channel enable settings in Studio 5000 |
| Warranty | 12-Month Warranty — covers manufacturing defects and functional failures under normal use |
Retrofit Planning for Existing Automation Systems
Successful integration of the 1756-IH16I into an existing control system requires a structured pre-installation review. Begin by auditing the current 1756 chassis slot allocation. If the target rack is a 1756-A7 or 1756-A17, confirm that the 1756-PA72 or 1756-PB72 power supply has sufficient current budget to support the additional module load — the 1756-IH16I draws approximately 120mA from the backplane at 5V DC. If the power budget is marginal, consider replacing the supply with a higher-capacity unit before proceeding.
Terminal wiring is the next critical checkpoint. The 1756-IH16I uses a removable terminal block (RTB) format. If the existing installation uses a 1756-TBCH (cage clamp) or 1756-TBS6H (screw clamp) terminal block, these can be transferred directly to the replacement module without re-terminating field wiring — a significant time saving during a live-line changeover. Verify wire gauge compatibility (typically 14–22 AWG) and confirm that all field device commons are correctly bonded to the module’s isolated common terminals.
For systems migrating from a PLC-5 or SLC 500 platform, the 1756-IH16I is commonly deployed alongside the 1756-DHRIO (Data Highway Plus / Remote I/O communication module) to maintain legacy network connectivity during a phased migration. In parallel, the 1756-EN2T or 1756-EN2TR EtherNet/IP communication module is typically added to the same chassis to establish the new network backbone. This dual-protocol approach allows the existing HMI — often a PanelView 550 or PanelView Plus 600 — to continue operating on the legacy DH+ network while the new ControlLogix controller is commissioned on EtherNet/IP.
Module address assignment in Studio 5000 Logix Designer is automatic based on physical slot position. After inserting the 1756-IH16I, open the I/O Configuration tree, right-click the 1756 chassis, and select “New Module.” Choose the 1756-IH16I from the module catalog, assign it to the correct slot, and configure the requested packet interval (RPI) — typically 10ms for discrete input applications. The controller will automatically generate the input tag array (e.g., Local:3:I.Data) which must be mapped to the existing program logic. If the original program used PLC-5 integer file addressing, a tag remapping exercise in the converted RSLogix 5000 project will be required.
For control cabinets that also house a 1756-OB16I isolated output module or a 1756-IF16 analog input module in the same rack, confirm that the total backplane current draw across all installed modules does not exceed the power supply rating. A 1756-PA72 supplies 10A at 5V DC — sufficient for most mixed I/O configurations, but always verify against the actual module count. If the cabinet includes a 1756-L83E controller with a 1756-EN2TR redundant EtherNet/IP module, ensure that the chassis firmware is updated to a revision compatible with the 1756-IH16I module catalog entry before going online.
Downtime Control During System Migration
Minimizing production downtime during a ControlLogix module replacement requires preparation before the maintenance window opens. Export and archive the current Studio 5000 project file (.ACD) and create a verified backup of the controller memory using RSLogix 5000’s “Upload” function. Store the backup on a local engineering workstation and a network share simultaneously — do not rely on a single copy during a live migration.
If the 1756-IH16I is replacing a failed module in a running system, use the ControlLogix “inhibit module” function in Studio 5000 to logically remove the faulted module from the I/O scan before physical extraction. This prevents the controller from generating a major fault during the swap and allows the program to continue executing in a degraded mode — preserving output states and HMI display continuity for non-affected zones. Once the replacement module is inserted and the inhibit is cleared, the controller will automatically re-establish communication and resume normal I/O scanning within one RPI cycle.
For planned upgrades involving a full chassis replacement — for example, migrating from a 1756-A7 to a 1756-A17 to accommodate additional I/O expansion — schedule the physical move during a planned shutdown and use the ControlLogix “partial import” feature in Studio 5000 to merge the existing I/O configuration into the new chassis layout without rebuilding the program from scratch. After the physical installation, perform a full I/O force test on all 16 channels of the 1756-IH16I using the Studio 5000 online diagnostic tools before releasing the system to production. Document the channel-by-channel test results and retain them as part of the commissioning record.
Retrofit Support FAQ
Q1: Is the 1756-IH16I a direct drop-in replacement for an existing 1756-IH16I Series A unit?
Yes. The 1756-IH16I is backward compatible across Series A and Series B revisions. The module catalog entry, slot addressing, and RTB wiring are identical. No program changes are required when replacing a same-model unit. Confirm the firmware revision of the receiving controller supports the installed module series — Studio 5000 will flag any incompatibility during the online connection attempt.
Q2: Can the 1756-IH16I be used to replace isolated input functions from a legacy PLC-5 or SLC 500 system?
Yes, with a migration project. The 1756-IH16I provides equivalent isolated DC input functionality to legacy Allen-Bradley isolated input modules. A migration project using the RSLogix 5000 Migration Tool or a manual tag remapping exercise in Studio 5000 is required to translate the original integer file or bit file addressing to ControlLogix tag-based addressing. Field wiring can typically be re-terminated directly to the 1756-IH16I RTB with no changes to field device wiring.
Q3: What pre-shipment testing is performed on each 1756-IH16I unit?
Each unit undergoes functional verification including backplane communication test, channel-by-channel input response test, and isolation integrity check before shipment. Units are shipped with original Allen-Bradley labeling and include a 12-month warranty covering manufacturing defects and functional failures under normal operating conditions. A test report is available upon request for critical infrastructure applications.
Q4: What should I verify before installing the 1756-IH16I in an existing ControlLogix chassis?
Verify four items before installation: (1) power supply current budget — confirm the 1756-PA72 or 1756-PB72 has sufficient headroom; (2) RTB type — confirm the existing terminal block (1756-TBCH or 1756-TBS6H) is compatible; (3) controller firmware revision — confirm Studio 5000 recognizes the module catalog entry; (4) slot assignment — confirm the target slot is physically empty and not reserved for a future expansion module in the I/O configuration tree. Completing these checks before the maintenance window eliminates the most common causes of installation delay.
© 2026 SMARTNEXMSK. All rights reserved.
Original Source: https://smartnexmsk.com
Contact: [email protected] | +86 18259474341



