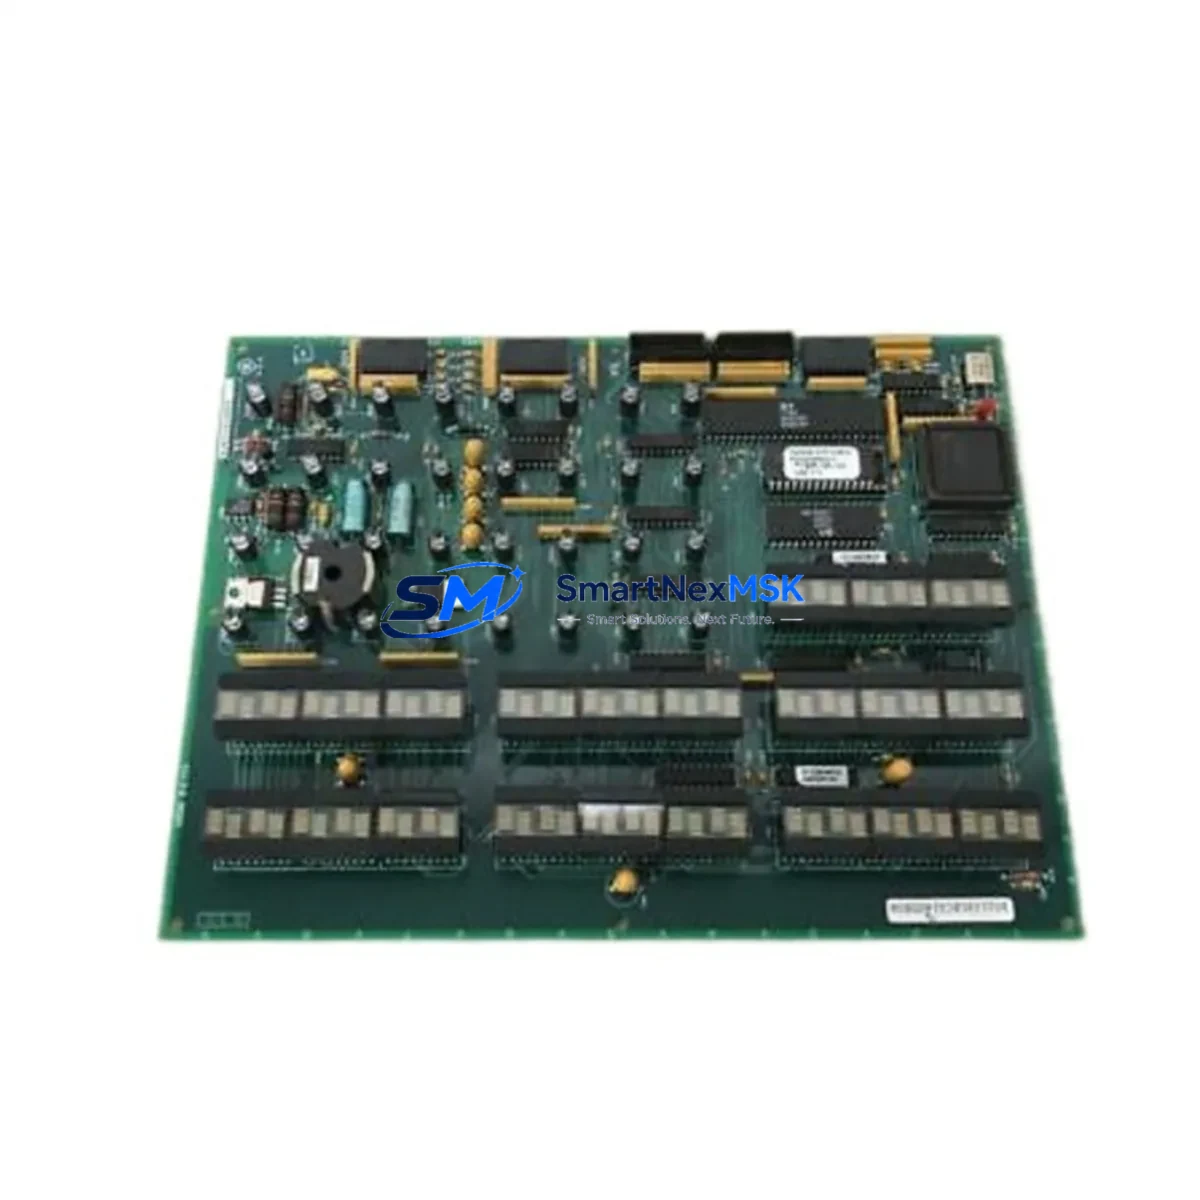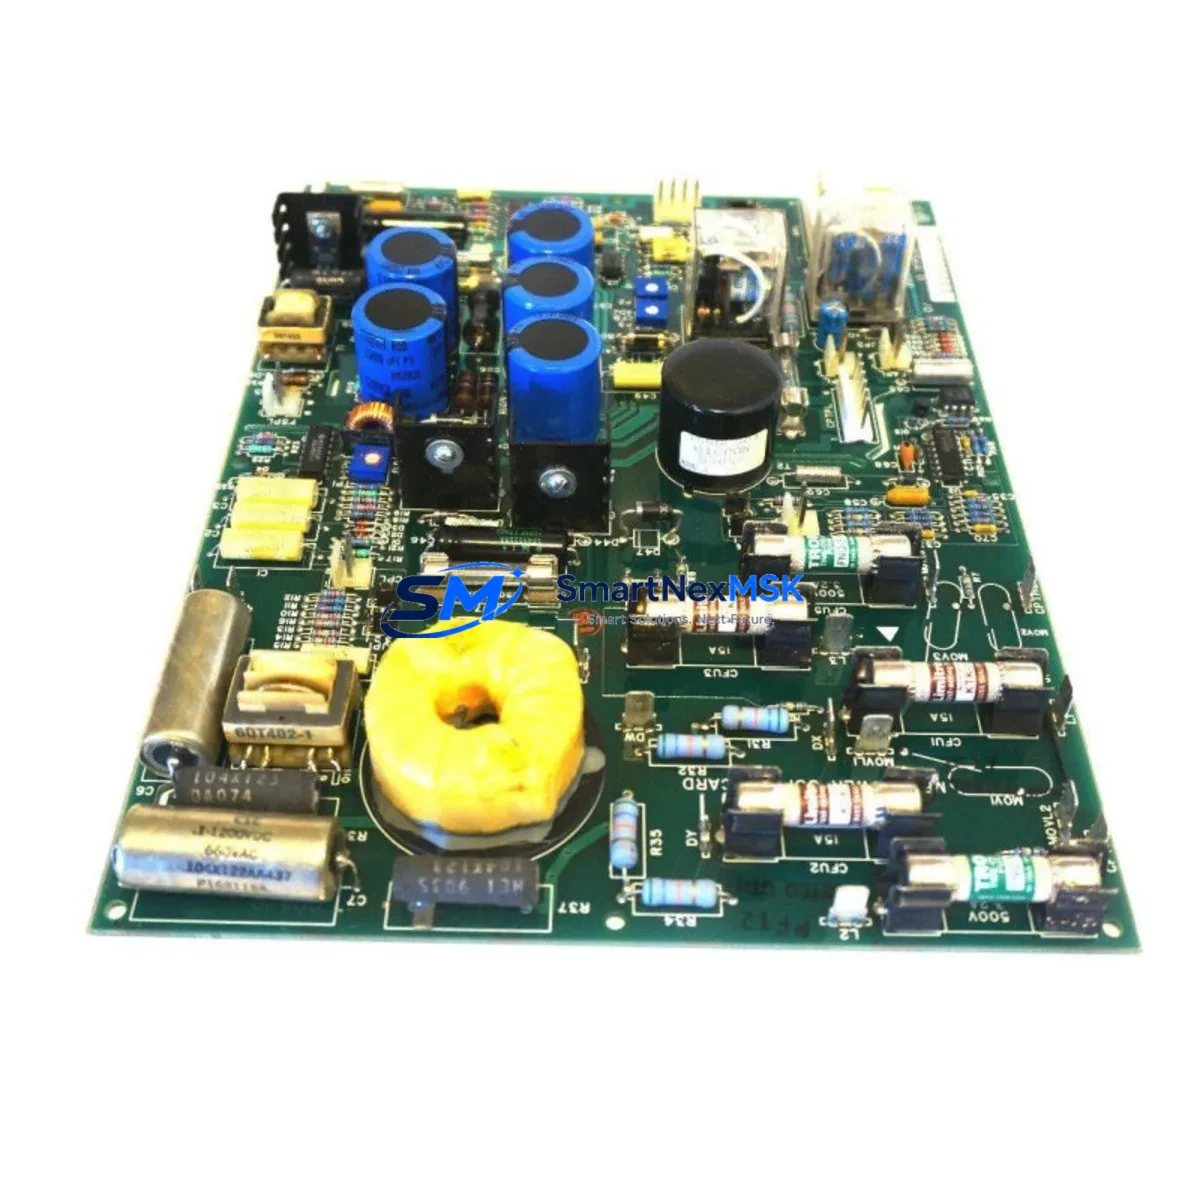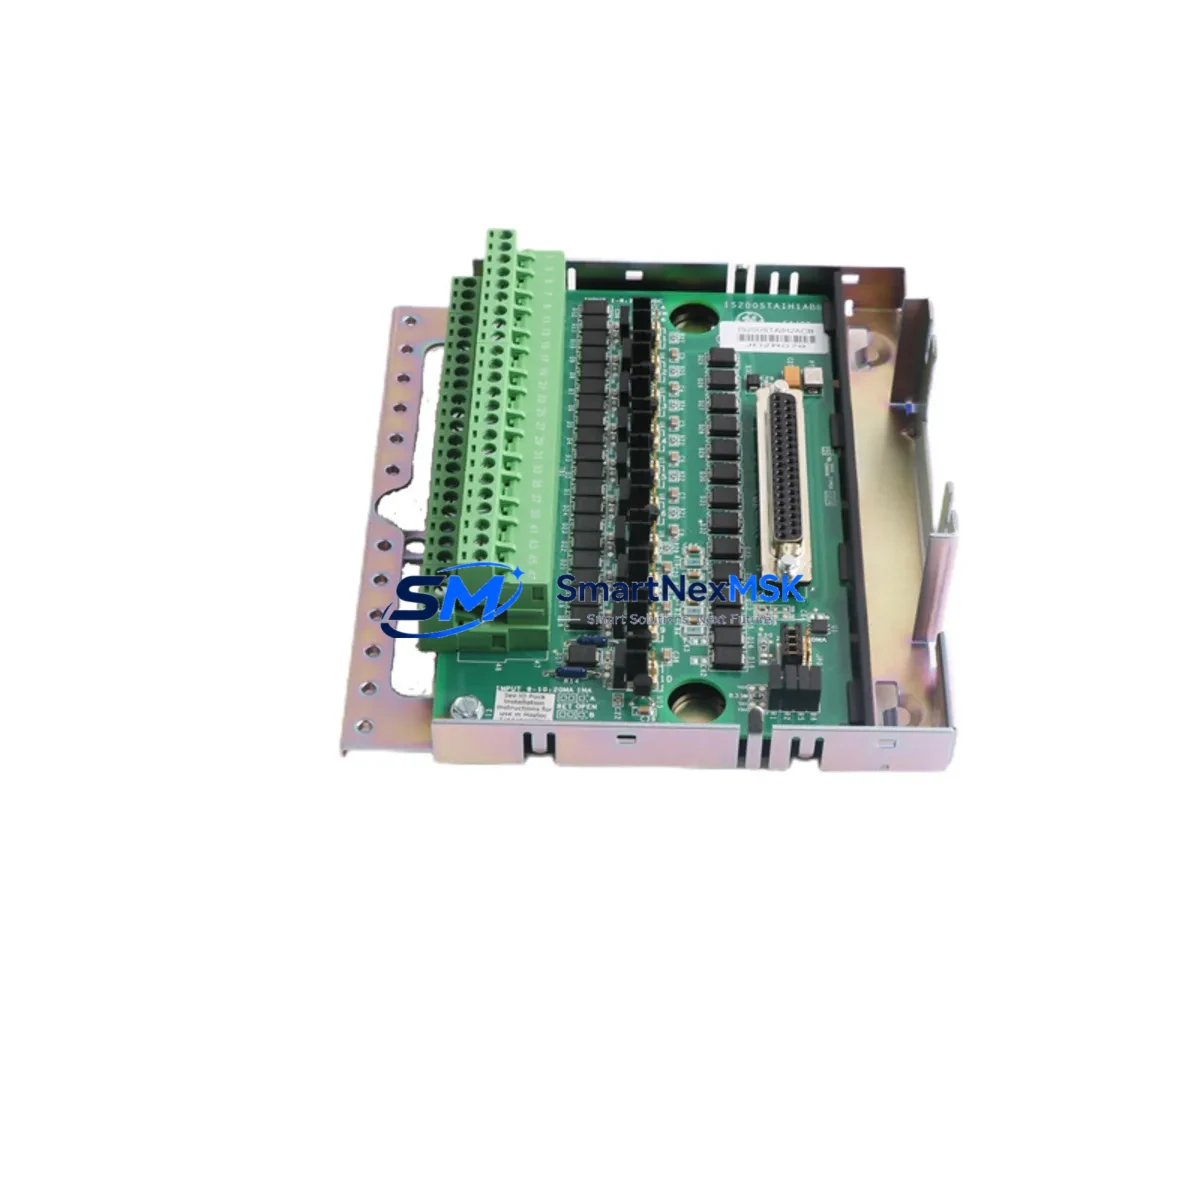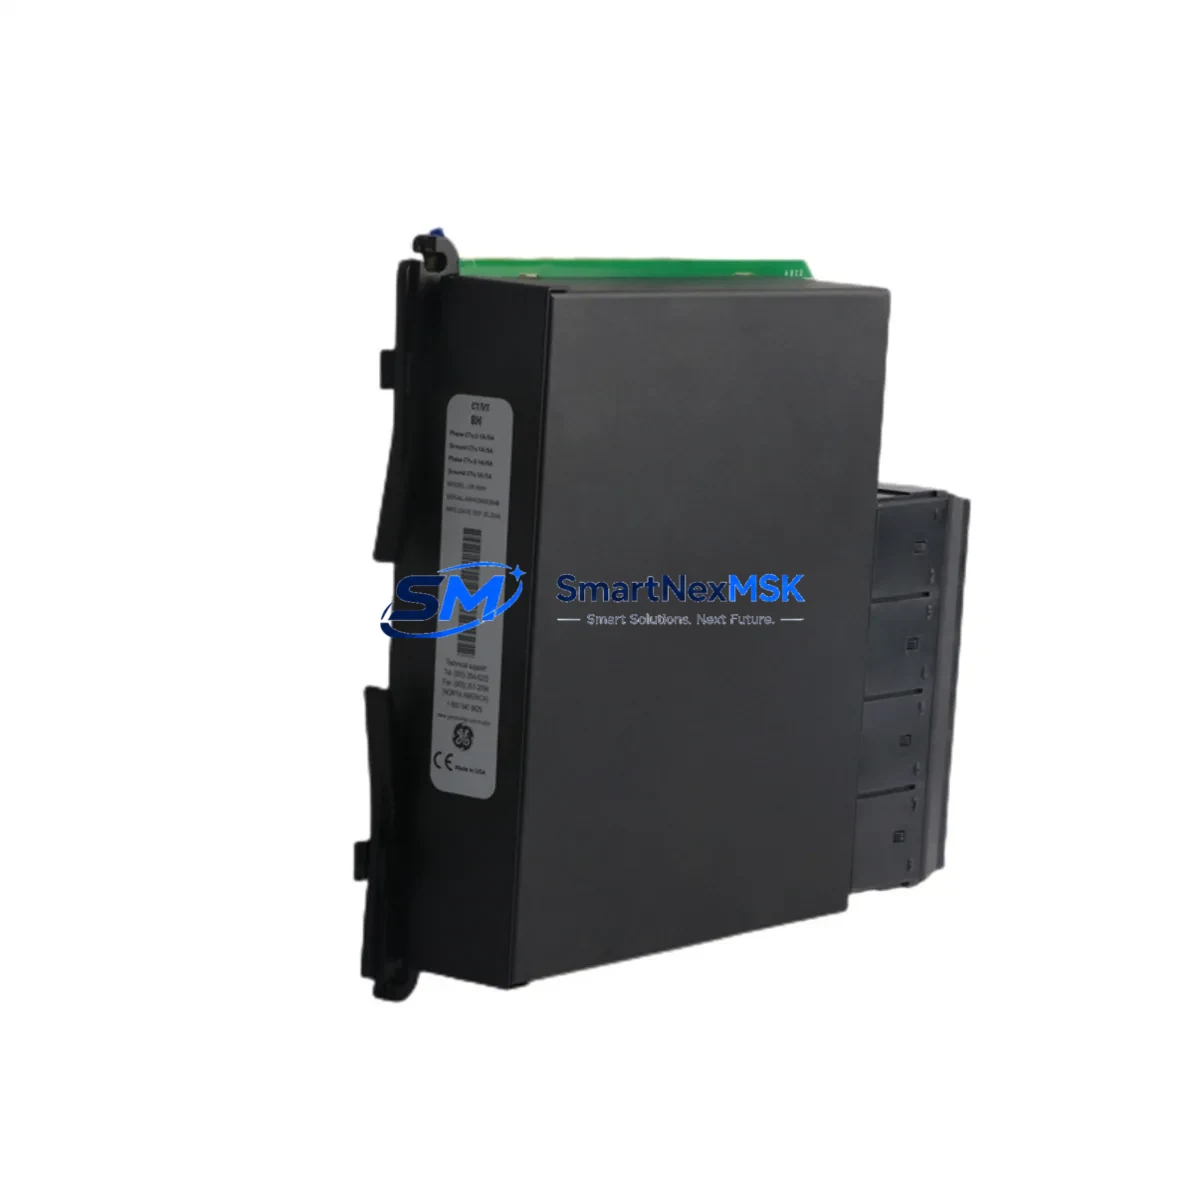
GE CT/VT8H UR8HH Maintenance-Ready Spare CT/VT Automation
Unplanned downtime in industrial automation environments is costly. The GE CT/VT8H UR8HH relay contact block is a critical spare component within the GE CT/VT Series control architecture, widely deployed across manufacturing lines, process control panels, and motor control centers. Maintaining a verified, original replacement unit on-site is the single most effective strategy for minimizing mean time to repair (MTTR) when a contact block failure occurs during production.
This unit is sourced as an original GE spare, tested prior to shipment, and backed by a 12-month warranty. It is designed for direct drop-in replacement of worn or failed CT/VT8H UR8HH contact blocks without requiring panel rewiring or firmware reconfiguration, making it the preferred choice for maintenance engineers managing aging CT/VT Series installations.
Spare Maintenance Table
| Parameter | Specification |
|---|---|
| Part Number / SKU | CT/VT8H UR8HH |
| Brand | General Electric (GE) |
| Series | CT/VT Series |
| Product Type | Relay Contact Block |
| Contact Configuration | 8-pole, universal relay contact block (UR8HH) |
| Rated Voltage | Up to 690V AC / 300V DC (per CT/VT Series rating) |
| Rated Current | 10A continuous (resistive load) |
| Mounting | Snap-on / screw-mount to CT/VT Series relay base |
| Contact Material | Silver alloy, self-cleaning |
| Operating Temperature | -25°C to +70°C |
| Ingress Protection | IP20 (panel-mounted) |
| Compatibility | GE CT/VT Series relay bases; UR8HH contact block family |
| Application Environment | Industrial control panels, MCC, process automation, OEM machinery |
| Maintenance Recommendation | Inspect contact surfaces every 12 months or 500,000 operations; replace at first sign of pitting or arc erosion |
| Origin | United States |
| Warranty | 12 Months |
| Shipment Condition | Tested and inspected before dispatch |
Maintenance Planning for Continuous Operation
When a GE CT/VT8H UR8HH contact block is flagged during routine inspection or fails under load, experienced maintenance engineers know that the contact block itself is rarely the only component requiring attention. A systematic approach to panel inspection during the replacement window significantly reduces the risk of repeat failures and secondary faults.
Begin by verifying the condition of the GE CT/VT Series relay base to which the UR8HH block mounts — worn base contacts or cracked housings will cause premature failure of the new block. Inspect the coil module (CT/VT coil assembly) for signs of overheating, insulation breakdown, or coil resistance drift, as a degraded coil will stress the contact block under switching cycles.
Check the 24VDC or 120VAC control power supply feeding the relay circuit — voltage sag or ripple on the control bus is a leading cause of contact chatter and accelerated wear. If the panel uses a GE SRPE or SRPF series power distribution module, verify output voltage stability under load before reinstalling the contact block.
Inspect all terminal blocks and wiring lugs connected to the CT/VT8H circuit. Loose terminations generate heat and introduce resistance that degrades contact performance over time. For panels using Phoenix Contact or Weidmüller terminal strips, check torque values against the panel’s wiring schedule.
If the CT/VT8H UR8HH is part of a motor starter or protection relay circuit, also inspect the associated overload relay module and auxiliary contact blocks in the same assembly. GE’s CT/VT Series supports stacked auxiliary contact blocks — verify that adjacent blocks (such as the CT/VT4H or CT/VT2H variants) are not showing similar contact erosion.
For panels with PLC I/O modules monitoring the relay output — such as GE Fanuc Series 90 discrete input modules or equivalent third-party I/O cards — confirm that the input signal levels are within specification after the replacement. A new contact block with lower contact resistance may shift the signal threshold slightly, which is worth verifying on the PLC diagnostic screen.
Where signal isolators or interposing relays are used between the CT/VT8H output and the PLC input, inspect the isolator for drift or output clamping issues. Brands such as Phoenix Contact MINI Analog isolators or Wago 857 series signal conditioners are commonly found in the same control cabinet and should be included in the inspection checklist.
Finally, if the installation includes an HMI panel (such as a GE QuickPanel or equivalent Weintek/Proface unit) displaying relay status, confirm that the status tag updates correctly after the replacement to close out the maintenance work order cleanly.
Site Replacement Workflow
Step 1 — Isolation & Lockout/Tagout: De-energize the control circuit feeding the CT/VT8H UR8HH. Apply LOTO per site procedure. Verify absence of voltage on both the coil supply and the load-side contacts using a calibrated multimeter.
Step 2 — Document Existing Wiring: Photograph or sketch the terminal connections on the contact block before removal. The UR8HH 8-pole configuration has multiple contact pairs — correct reassignment is critical to avoid miswiring on reinstatement.
Step 3 — Remove Failed Block: Release the snap-on latch or loosen the retaining screws securing the CT/VT8H UR8HH to the relay base. Slide the contact block clear of the base assembly without disturbing adjacent modules.
Step 4 — Inspect Base & Coil: Before fitting the replacement, inspect the relay base contact pins and the coil module as described in the maintenance planning section above. Address any secondary issues before proceeding.
Step 5 — Install Replacement Block: Align the new GE CT/VT8H UR8HH contact block with the base and engage the locking mechanism. Confirm positive seating — the block should not rock or shift under hand pressure.
Step 6 — Rewire & Torque: Reconnect all terminals per the documented wiring layout. Apply correct torque to all screw terminals. Inspect for any stray wire strands that could cause short circuits.
Step 7 — Functional Test: Re-energize the control circuit. Operate the relay through at least three full switching cycles. Verify correct contact make/break on all poles using a continuity tester or the PLC diagnostic interface. Confirm HMI status tags update as expected.
Step 8 — Close Work Order: Record the replacement in the maintenance management system (CMMS) with the new part serial number, date, and technician ID. Update the spare parts inventory to trigger reorder of a replacement CT/VT8H UR8HH unit for the next maintenance cycle.
Spare Parts Support FAQ
Q1: Is the GE CT/VT8H UR8HH compatible with all CT/VT Series relay bases?
The CT/VT8H UR8HH is designed for use with GE CT/VT Series relay bases that accept the 8-pole UR8HH contact block format. Compatibility should be confirmed against the relay base part number on the panel’s bill of materials. If you are unsure, provide your relay base part number to our technical team and we will confirm fit before shipment.
Q2: What is included in the 12-month warranty?
All units are tested and inspected prior to dispatch. The 12-month warranty covers manufacturing defects and functional failures under normal operating conditions. It does not cover damage resulting from incorrect installation, overvoltage events, or operation outside the rated parameters. Warranty claims are processed with return merchandise authorization (RMA) and replacement dispatch within 5 business days.
Q3: How quickly can the CT/VT8H UR8HH be shipped for emergency breakdown situations?
Stock units are available for same-day or next-business-day dispatch depending on order time and destination. For critical breakdown situations, contact our sales team directly at [email protected] or +86 18259474341 to confirm stock availability and arrange priority shipment.
Q4: Can this contact block replace older or discontinued GE CT/VT variants?
The CT/VT8H UR8HH is the current production equivalent for several earlier GE CT/VT contact block variants. In many cases it provides a direct form-fit-function replacement for legacy units that are no longer manufactured. Our technical team can cross-reference your existing part number against the CT/VT8H UR8HH specification to confirm suitability before you commit to the replacement.
© 2026 SMARTNEXMSK. All rights reserved.
Original Source: https://smartnexmsk.com
Contact: [email protected] | +86 18259474341