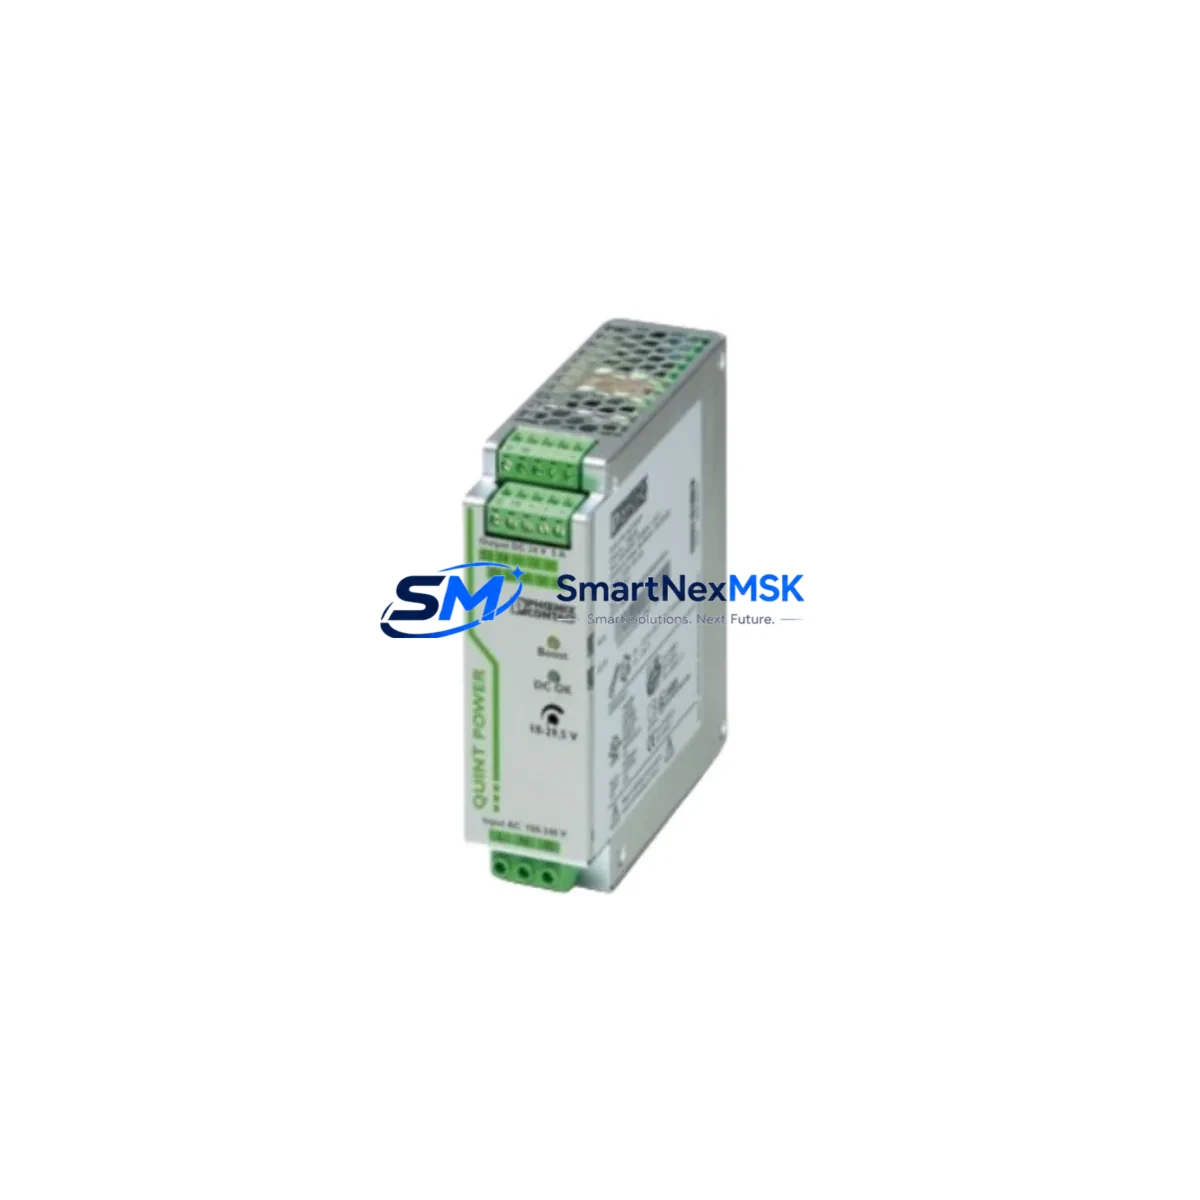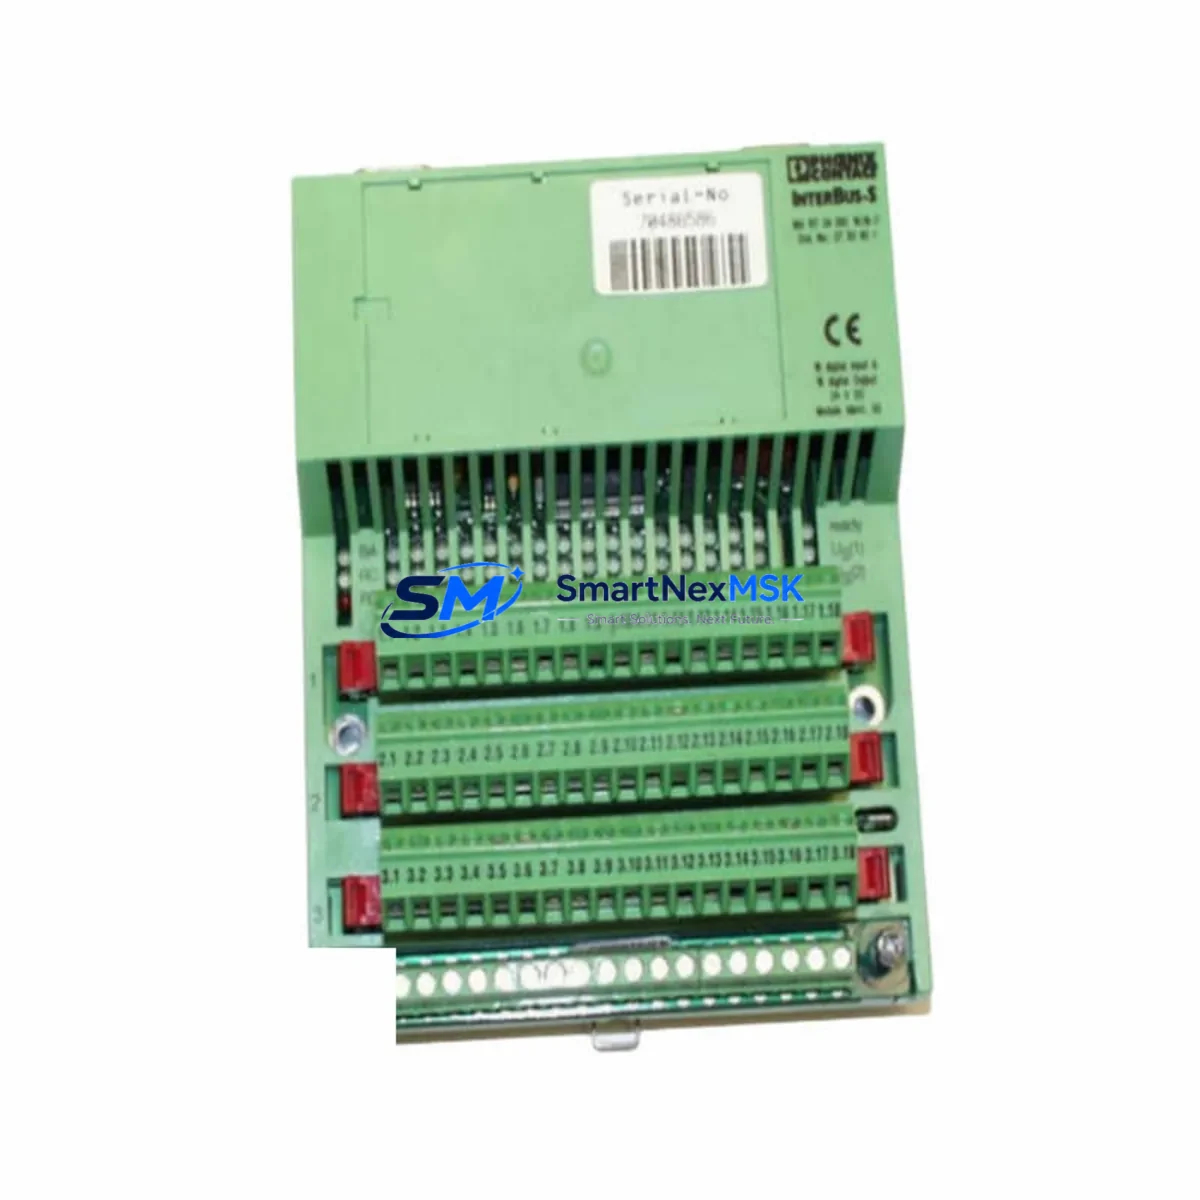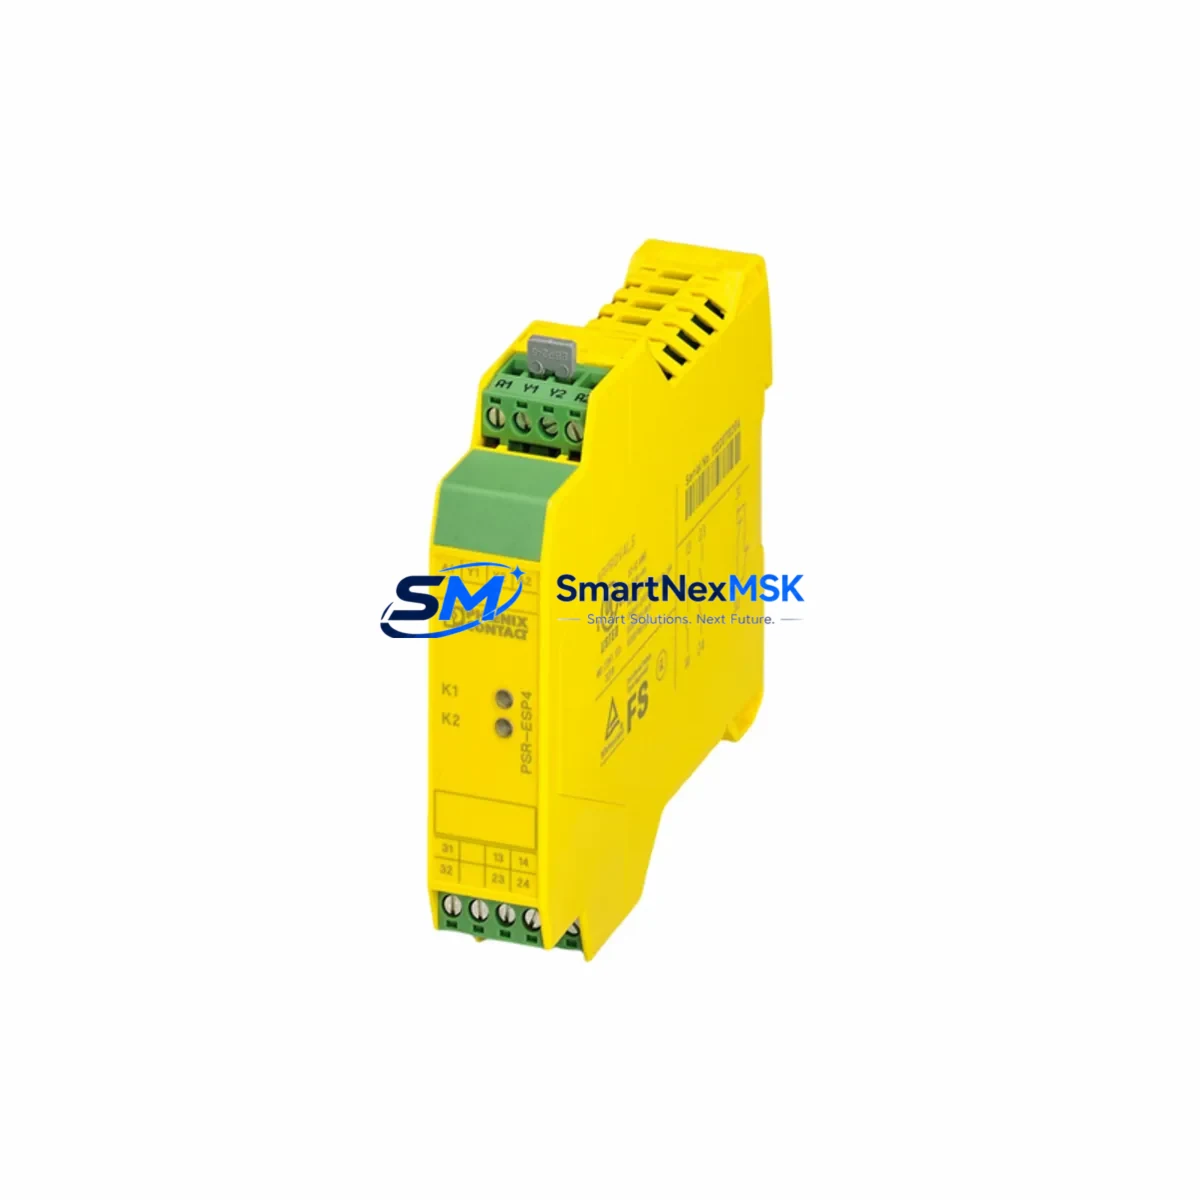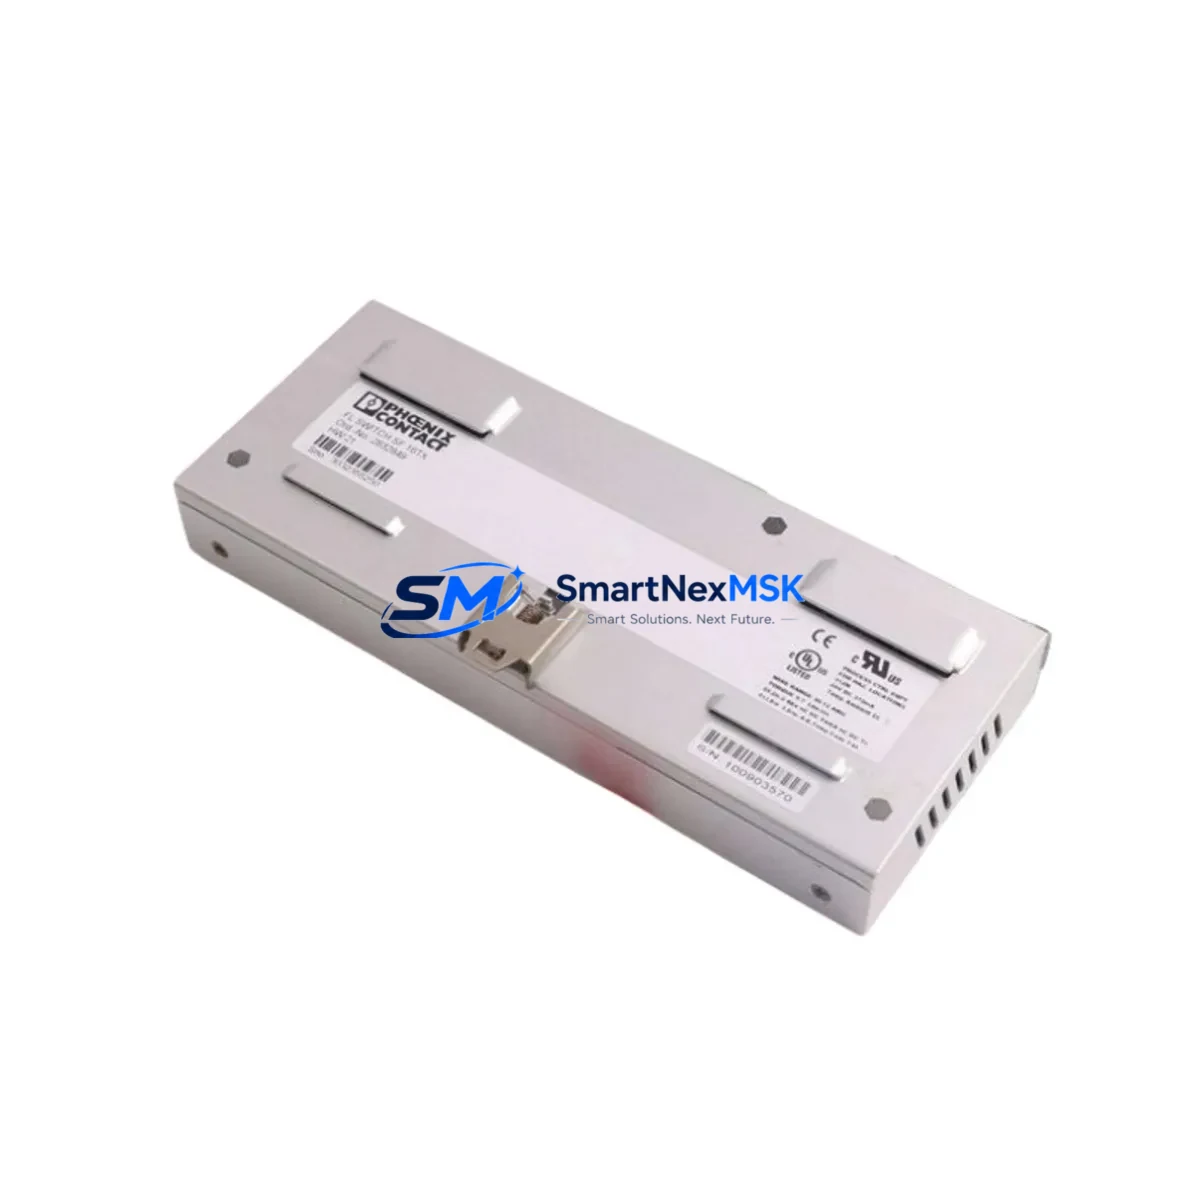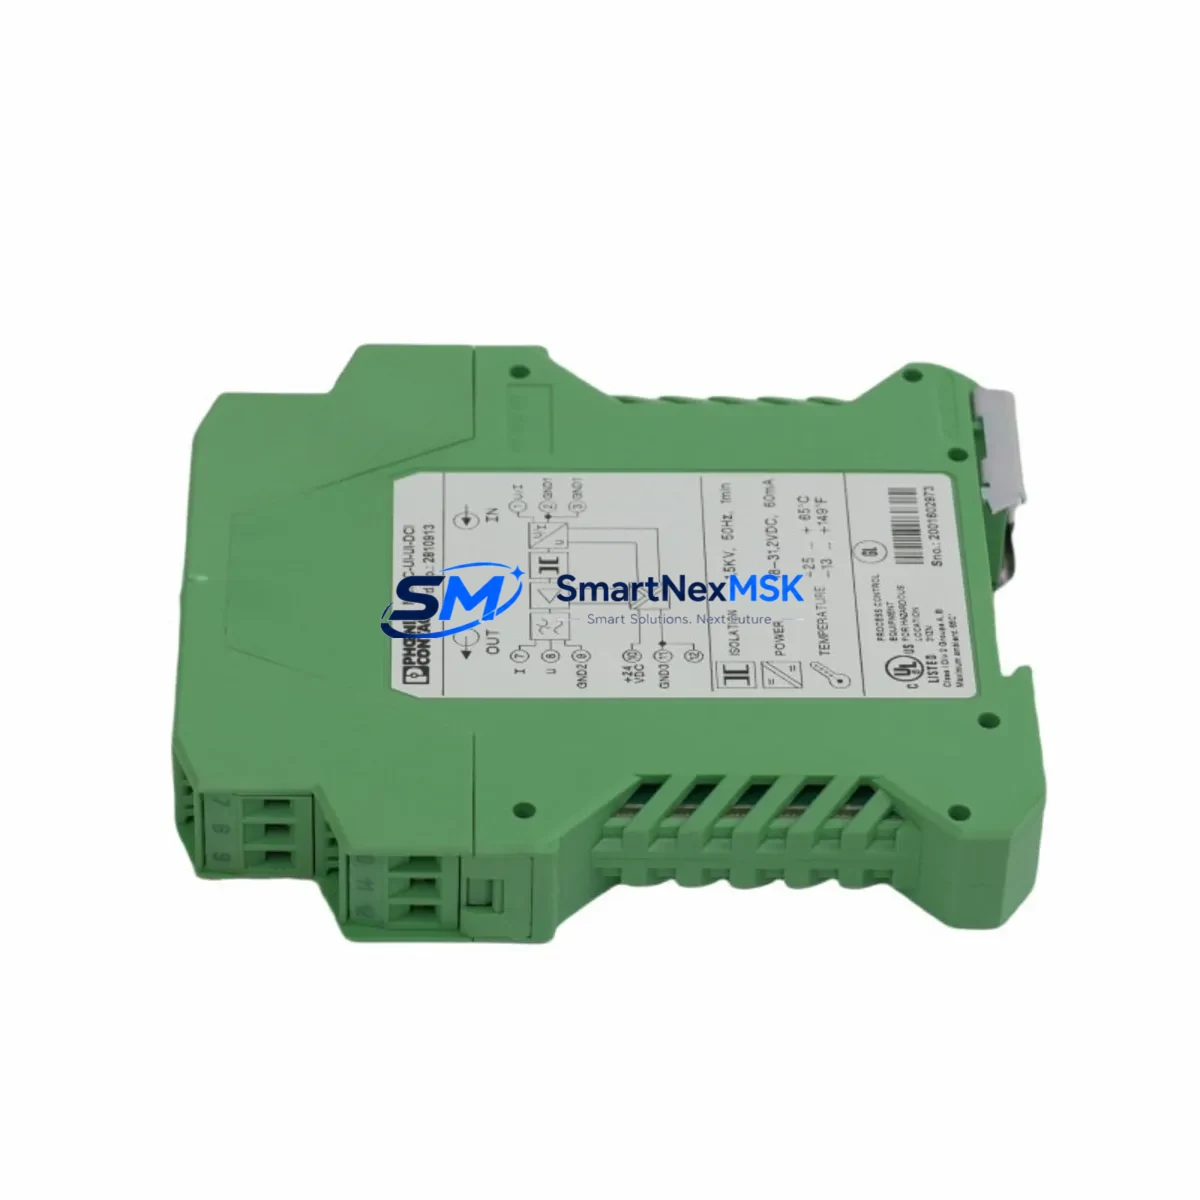
Phoenix Contact MCR-C-UI-UI-DCI Retrofit-Ready Signal Conditioner for MCR Series Control Systems
The Phoenix Contact MCR-C-UI-UI-DCI is a 3-way galvanically isolated signal conditioner engineered for direct drop-in replacement and seamless retrofit integration within MCR Series automation architectures. Designed to accept universal current and voltage inputs (0–20 mA / 4–20 mA / 0–10 V) and deliver a fully isolated, scaled analog output, this module addresses the most common challenge in legacy system modernization: replacing discontinued or aging signal conditioning hardware without disrupting live process control loops.
Whether you are upgrading a DCS front-end, expanding an existing PLC analog I/O rack, or migrating from an obsolete signal isolator to a current-generation platform, the MCR-C-UI-UI-DCI provides the electrical compatibility, DIN-rail form factor, and terminal wiring layout that industrial engineers require for zero-downtime changeovers. Its 3-way isolation barrier eliminates ground loops between field instruments, control panels, and SCADA systems — a critical requirement in retrofit projects where mixed grounding schemes from multiple installation generations coexist.
Upgrade Compatibility Table
| Parameter | MCR-C-UI-UI-DCI | Retrofit Notes |
|---|---|---|
| Input Signal | 0–20 mA / 4–20 mA / 0–10 V (universal) | Compatible with most legacy 2-wire and 3-wire transmitters |
| Output Signal | 0–20 mA / 4–20 mA / 0–10 V (configurable) | Matches standard PLC analog input card ranges |
| Isolation | 3-way galvanic isolation (I/O/Power) | Eliminates ground loop issues in mixed-generation panels |
| Supply Voltage | 24 V DC (19.2–30 V DC) | Compatible with standard 24 V DC bus; verify PSU capacity before swap |
| Mounting | DIN rail (EN 60715 TS 35) | Direct fit on existing MCR Series DIN rail segments |
| Terminal Wiring | Screw terminals, 0.2–2.5 mm² | Retain existing field wiring; verify terminal numbering against original drawing |
| Communication | Analog signal pass-through (no fieldbus) | Pairs with PROFIBUS, PROFINET, or Modbus RTU gateway modules for protocol migration |
| Replacement Fit | Direct replacement for MCR-C-UI-UI and similar MCR isolators | Confirm output scaling and address assignment in PLC program |
| Commissioning | DIP switch / potentiometer configuration | Set input/output range before energizing; document settings for as-built records |
| Warranty | 12-Month Warranty | Covered from date of shipment; includes functional and electrical defects |
Retrofit Planning for Existing Automation Systems
Successful integration of the MCR-C-UI-UI-DCI into a running automation system begins with a thorough audit of the existing control cabinet. In most MCR Series installations, the signal conditioner occupies a dedicated slot on a shared DIN rail segment alongside the MCR-PTB passive terminal blocks and MCR-SL-UI-UI-NC signal splitters. Before removing the legacy module, engineers should photograph the terminal wiring layout and cross-reference it against the original panel drawing to confirm wire numbering and signal polarity.
Power supply capacity is the first critical checkpoint. The MCR-C-UI-UI-DCI draws up to 1.5 W from the 24 V DC bus. In densely populated cabinets where a QUINT POWER or TRIO POWER supply is already loaded near capacity, adding or replacing multiple signal conditioners simultaneously may require a power budget recalculation. Verify available headroom on the PSU before proceeding with a multi-module swap.
For systems that include a Phoenix Contact AXL F BK PN backplane or an Axioline F I/O station, the MCR-C-UI-UI-DCI feeds its analog output directly into the corresponding AXL SE AI4 I 4-channel analog input module. Confirm that the AI module’s input range configuration in the PLC program matches the conditioner’s output scaling — a mismatch here will produce offset readings without triggering a hardware fault, making it one of the most common commissioning errors in retrofit projects.
Where the legacy system used a PROFIBUS DP network, migration to PROFINET may be underway in parallel. In such cases, the MCR-C-UI-UI-DCI continues to deliver its analog signal to the existing I/O layer while the communication backbone is upgraded. A Phoenix Contact FL COMSERVER or ILC 131 ETH gateway can bridge the analog I/O data to the new Ethernet-based SCADA layer without requiring simultaneous replacement of all field instruments. This staged approach is strongly recommended for continuous-process environments where a full cutover is not feasible.
HMI screens connected to a WinCC or FactoryTalk View system should be reviewed for tag bindings that reference the replaced module’s I/O address. If the PLC program uses symbolic addressing, the tag mapping typically survives a module swap without modification. If absolute addressing is used, update the I/O map in the PLC project (e.g., STEP 7 or TIA Portal) and perform an online comparison before downloading to the CPU — such as a SIMATIC S7-300 or S7-1500 — to confirm no unintended changes are introduced.
For installations that include a Phoenix Contact RAD-ISM-900 wireless I/O module or a remote I/O drop connected via FL SWITCH managed Ethernet switches, verify that the analog signal path from the MCR-C-UI-UI-DCI to the remote node is correctly mapped in the network topology documentation. Signal latency introduced by wireless or Ethernet-based I/O should be accounted for in the PLC scan cycle configuration.
All replaced modules should be bench-tested prior to installation using a calibrated signal source and a loop calibrator. Record the as-found and as-left readings for each channel. This documentation supports both the commissioning sign-off and any future warranty claims within the 12-month coverage period.
Downtime Control During System Migration
Minimizing production downtime during a signal conditioner replacement requires a structured hot-swap protocol. Where process conditions permit, place the affected control loop in manual mode at the DCS or PLC level before disconnecting the legacy module. This preserves the last known output value at the final control element — such as a control valve or variable-speed drive — and prevents an uncontrolled process upset during the changeover.
For critical loops where manual mode is not acceptable, a parallel wiring strategy can be employed: install the MCR-C-UI-UI-DCI on an adjacent DIN rail position, wire it in parallel with the existing module, and verify output agreement before transferring the load. This approach is particularly effective in safety-instrumented systems where the SIL rating of the loop must be maintained throughout the maintenance window.
Once the new module is energized and its output is confirmed stable, transfer the field wiring terminal by terminal, verifying signal continuity at each step. Return the loop to automatic mode only after the PLC or DCS has confirmed a valid process variable reading within the expected engineering unit range. Document the total changeover time and any process deviations for the maintenance record.
Pre-staging replacement modules — including spare MCR-C-UI-UI-DCI units, terminal ferrules, and DIN rail end brackets — in the control room before the maintenance window begins is the single most effective measure for reducing mean time to repair. Customers who maintain a small buffer stock of MCR Series signal conditioners report average changeover times of under 30 minutes per loop, compared to several hours when parts must be sourced reactively.
Retrofit Support FAQ
Q1: Is the MCR-C-UI-UI-DCI a direct replacement for the MCR-C-UI-UI?
Yes. The MCR-C-UI-UI-DCI adds a third isolation barrier (DC/DC power isolation) compared to the standard MCR-C-UI-UI. It is electrically and mechanically compatible with the same DIN rail slot and terminal wiring layout. No wiring changes are required in most installations; however, confirm the output range DIP switch settings match the original module’s configuration before energizing.
Q2: What commissioning steps are required after installation?
After mounting and wiring, configure the input and output signal ranges using the onboard DIP switches. Apply 24 V DC power and inject a known reference signal at the input terminals using a loop calibrator. Verify the output reading at the PLC analog input card matches the expected scaled value. Perform a full-range sweep (0%, 50%, 100%) and record as-left values. Update the PLC I/O documentation and HMI tag list if address changes were made.
Q3: Can this module be used in a PROFINET or EtherNet/IP environment?
The MCR-C-UI-UI-DCI is an analog signal conditioner and does not natively communicate over PROFINET or EtherNet/IP. Its analog output connects to a compatible PLC analog input module (e.g., Axioline F AXL SE AI4 I or equivalent), which in turn communicates over the fieldbus. For protocol migration projects, pair this module with a Phoenix Contact FL COMSERVER or equivalent gateway to bridge analog I/O data to the Ethernet-based control network.
Q4: What does the 12-month warranty cover?
The 12-month warranty covers functional and electrical defects under normal operating conditions from the date of shipment. It includes free replacement or repair of confirmed defective units. The warranty does not cover damage resulting from incorrect wiring, overvoltage, mechanical impact, or installation outside the specified operating parameters. All warranty claims require the original order reference and a brief fault description submitted to [email protected].
© 2026 SMARTNEXMSK. All rights reserved.
Original Source: https://smartnexmsk.com
Contact: [email protected] | +86 18259474341