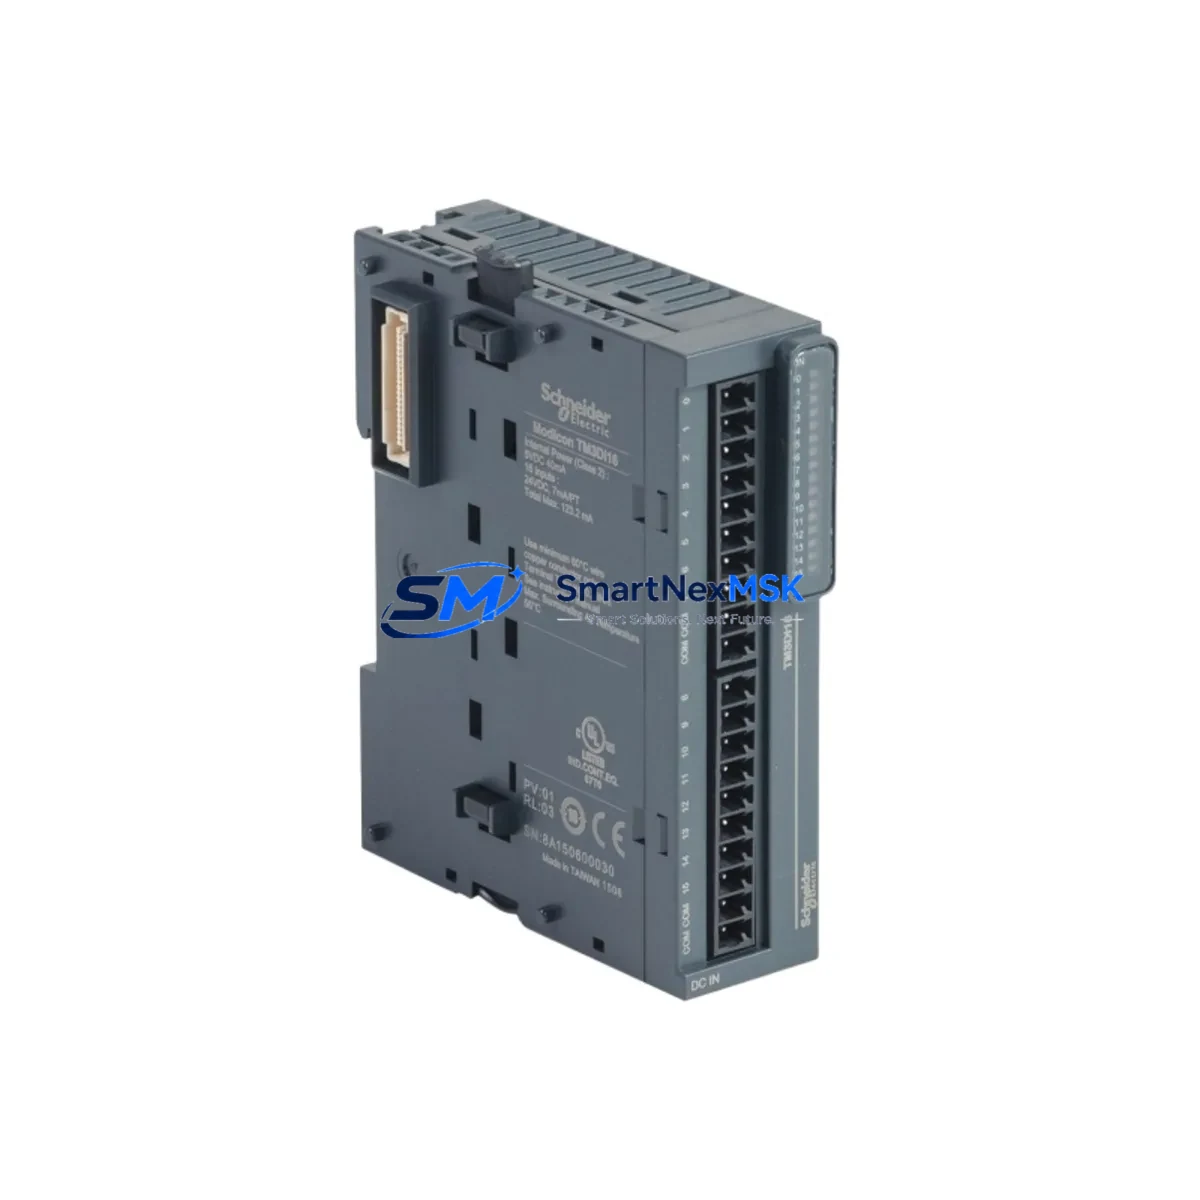
Schneider Electric TM3DI16 Spare for TM3 Automation: Spare Replacement & Industrial Downtime Risk Control
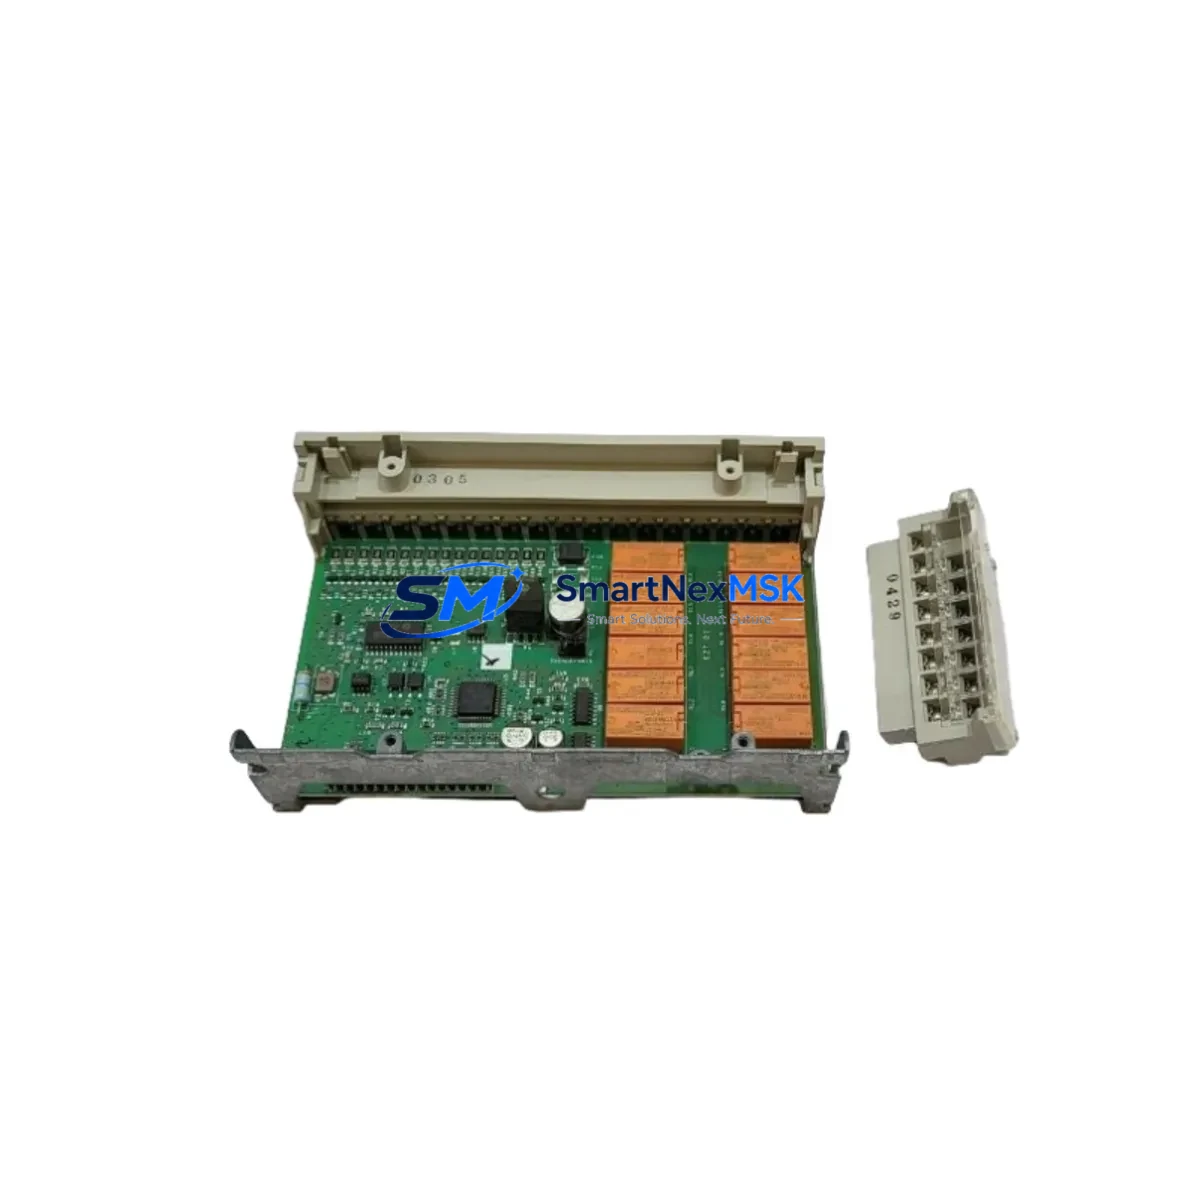
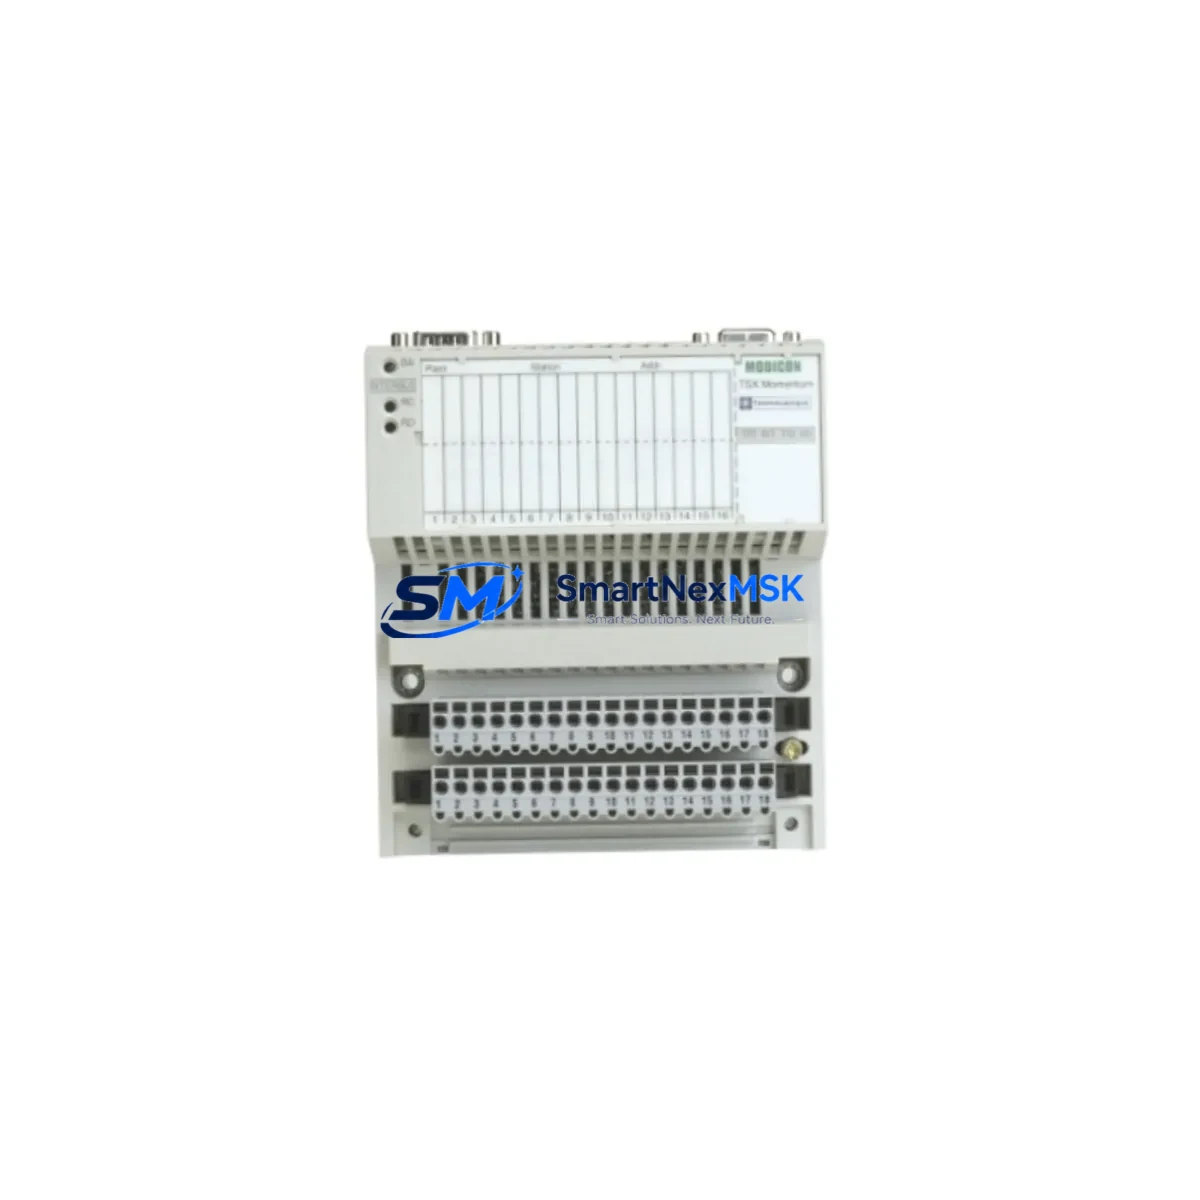
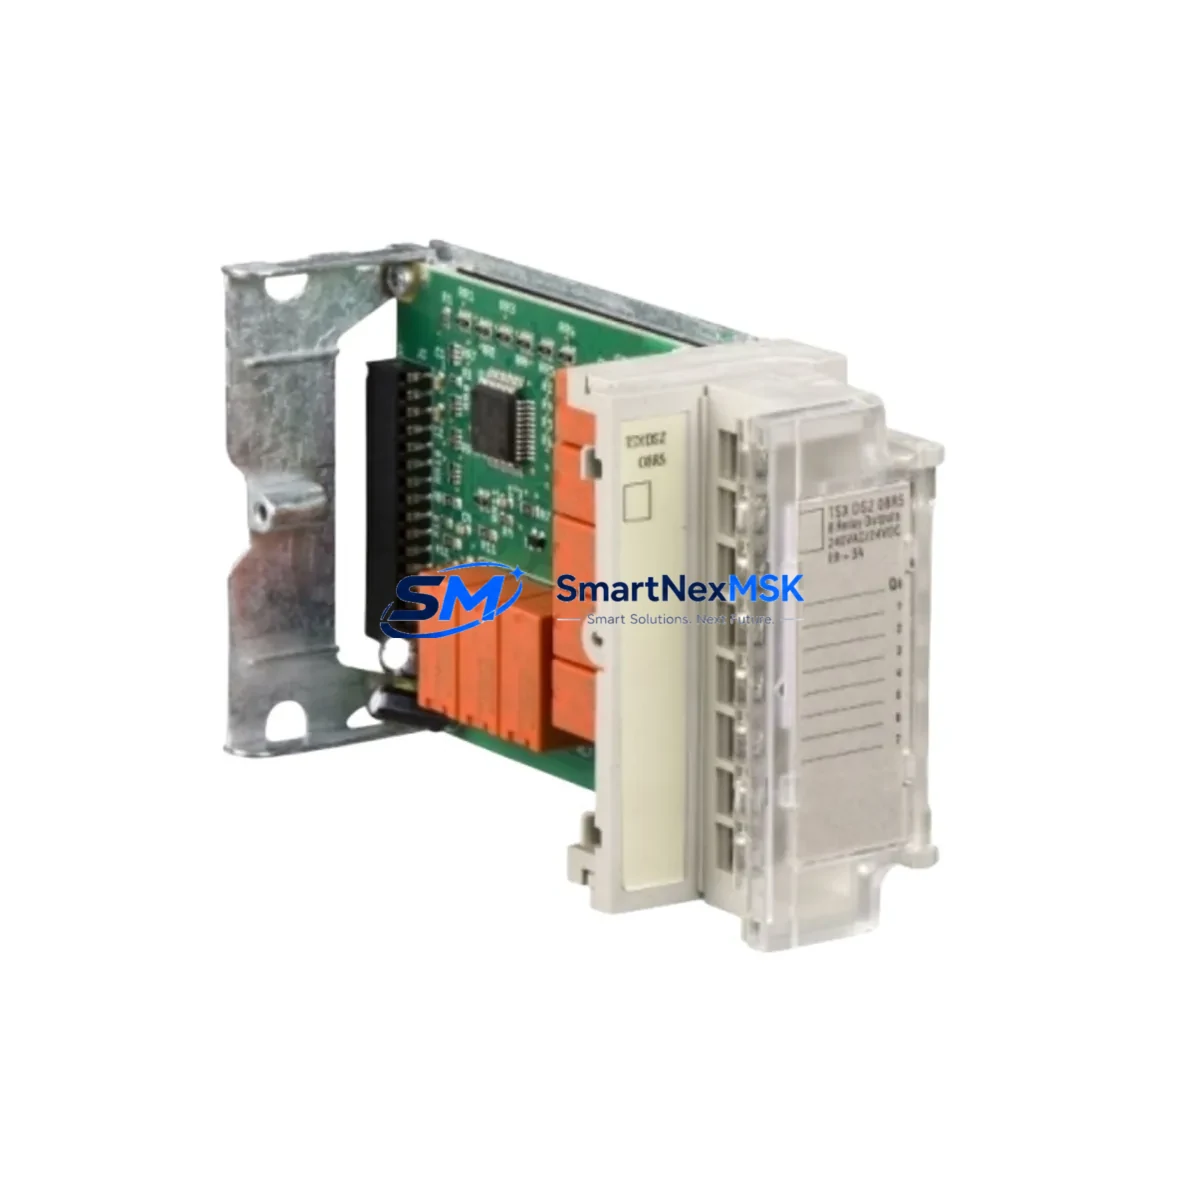
The Schneider Electric TM3DI16 is a 16-channel 24 VDC digital input expansion module designed for the Modicon M221, M241, and M251 PLC platforms via the TM3 bus. As a maintenance-ready original spare, the TM3DI16 is a critical component in discrete I/O architectures across manufacturing lines, HVAC control panels, water treatment systems, and process automation cabinets. When a digital input module fails or degrades, the controller loses visibility into field signals — pushbuttons, limit switches, proximity sensors, and interlock contacts — resulting in unplanned downtime that can cascade across an entire production cell.
Stocking a verified original TM3DI16 spare eliminates the lead-time risk associated with last-minute procurement. Our units are sourced from authorized supply chains, individually tested prior to shipment, and backed by a 12-month warranty covering manufacturing defects and functional failures under normal operating conditions.
Spare Maintenance Table
| Parameter | Specification |
|---|---|
| Part Number | TM3DI16 |
| Brand | Schneider Electric |
| Series | Modicon TM3 |
| Module Type | Digital Input Expansion Module |
| Number of Inputs | 16 channels |
| Input Voltage | 24 VDC (IEC Type 1 / Type 3) |
| Input Current per Channel | Approx. 7 mA at 24 VDC |
| Compatible Controllers | Modicon M221, M241, M251 (TM3 bus) |
| Bus Connection | TM3 expansion bus (right-side connector) |
| Isolation | Non-isolated (common reference with controller) |
| Mounting | DIN rail (35 mm) |
| Operating Temperature | 0 °C to +55 °C |
| Storage Temperature | -25 °C to +70 °C |
| Protection Degree | IP20 |
| Dimensions (W×H×D) | Approx. 45 × 90 × 70 mm |
| Origin | France |
| Warranty | 12 Months |
| Condition | Original New / Tested Before Shipment |
| Compatibility Verification | Confirmed against TM3 system catalog |
| Application Environment | Industrial control panels, OEM machines, process automation |
| Maintenance Recommendation | Inspect wiring terminals and bus connector annually; replace if input response time degrades or LED indicators show intermittent faults |
Maintenance Planning for Continuous Operation
When a TM3DI16 replacement is scheduled or triggered by a fault, a disciplined maintenance engineer will not stop at swapping the module alone. The digital input circuit is part of a broader electrical ecosystem, and adjacent components should be inspected simultaneously to prevent repeat failures and maximize the value of the planned downtime window.
Begin with the power supply feeding the 24 VDC input rail. A degraded TM3 power supply module (such as the ABLS1A24031) delivering unstable voltage will cause false input readings even after a new TM3DI16 is installed. Verify output voltage under load and check for ripple or thermal discoloration on the housing.
Next, inspect the TM3 bus connector and expansion cable between the CPU module (e.g., TM221CE24R or TM241CE24U) and the TM3DI16. A loose or oxidized bus connection is a common root cause of intermittent input loss that is often misdiagnosed as a module failure. Clean contacts and reseat the connector firmly.
Review the terminal block wiring on the 16-channel input side. Loose screw terminals, corroded ferrules, or undersized wire cross-sections (below 0.5 mm²) can introduce resistance that pulls input signals below the IEC Type 1 threshold, causing missed transitions. Replace any suspect terminals with spring-cage alternatives for vibration-prone environments.
If the cabinet includes a TM3DQ16R or TM3DQ16T digital output module in the same I/O chain, inspect its output relay contacts or transistor outputs for signs of wear, especially if the outputs drive inductive loads such as solenoid valves or motor contactors without adequate surge suppression. A failed output module can generate electrical noise that corrupts input readings on adjacent TM3DI16 channels.
For systems using TM3AI8 or TM3AQ4 analog I/O modules in the same expansion rack, verify that analog signal cables are properly shielded and grounded. Unshielded analog wiring running parallel to 24 VDC digital input cables is a frequent source of cross-talk that manifests as spurious input activations.
Check the Modicon M221 or M241 CPU module firmware version. Certain early firmware releases have known issues with TM3 bus enumeration after a hot module swap. Updating to the latest SoMachine Basic or EcoStruxure Machine Expert firmware version before replacement ensures stable re-initialization of the TM3DI16 after power-up.
If the system includes a TM3XTRA1 remote TM3 expansion adapter for distributed I/O, inspect the Ethernet or serial link between the local and remote racks. A degraded communication link will cause the remote TM3DI16 to appear offline even if the module itself is functional.
Finally, review the 24 VDC fuse or circuit breaker protecting the input common rail. A slow-blow fuse rated too high for the circuit may not trip on a partial short, allowing sustained overcurrent to stress the TM3DI16 input circuitry over time. Replace with a correctly rated fuse (typically 2 A for a 16-channel input module) and document the change in the cabinet maintenance log.
Site Replacement Workflow
Step 1 — Identify and document. Before removing the faulty TM3DI16, record the current I/O mapping in SoMachine Basic or EcoStruxure Machine Expert. Note the module position in the TM3 expansion chain (slot number), the wiring layout on the 18-pin terminal block, and the LED status at the time of fault. Photograph the wiring if terminal labels are absent or worn.
Step 2 — Safe isolation. Switch the PLC to STOP mode via the software or the physical RUN/STOP switch on the CPU. De-energize the 24 VDC input supply rail using the dedicated circuit breaker. Do not rely solely on the PLC STOP command — field sensors may still be live.
Step 3 — Module removal. Disconnect the TM3 bus connector on the right side of the adjacent module before sliding the TM3DI16 off the DIN rail. This prevents mechanical stress on the bus pins. Remove the 18-pin terminal block as a single unit to preserve wiring integrity.
Step 4 — Install replacement. Clip the new TM3DI16 onto the DIN rail, reconnect the terminal block, and reattach the TM3 bus connector. Verify that the bus connector is fully seated — a partial connection is the most common installation error and will prevent the module from being recognized by the CPU.
Step 5 — Power-up and verification. Restore 24 VDC to the input rail, then switch the PLC to RUN mode. Confirm that the TM3DI16 PWR LED illuminates green and that all 16 input LEDs respond correctly to field signals. Use the I/O diagnostic screen in EcoStruxure Machine Expert to verify channel-by-channel status before returning the machine to production.
This workflow is compatible with direct replacement of legacy TM2DI16DT modules in systems that have been migrated to the TM3 platform, maintaining signal compatibility while gaining the improved bus speed and diagnostic capability of the TM3 architecture.
Spare Parts Support FAQ
Q1: Is the TM3DI16 you supply an original Schneider Electric part, and how is it tested before shipment?
Yes. Every TM3DI16 unit we supply is sourced from authorized distribution channels and is an original Schneider Electric component. Prior to shipment, each module undergoes functional verification including bus communication check, input channel response test across all 16 channels, and visual inspection for physical damage. A test report is available upon request for critical procurement orders.
Q2: What is the recommended spare parts inventory strategy for TM3DI16 in a multi-line facility?
For facilities operating 5 or more Modicon TM3-based control panels, we recommend maintaining a minimum of 2 TM3DI16 units in the on-site spare parts store. Given that digital input modules are among the highest-turnover components in a PLC cabinet — due to field wiring faults, sensor overcurrent, and connector wear — a buffer stock of 2 units supports same-shift replacement without waiting for procurement. For facilities with 10+ panels, a ratio of 1 spare per 8 installed modules is a practical baseline.
Q3: Can the TM3DI16 replace older TM2 series digital input modules without reprogramming?
The TM3DI16 uses the TM3 expansion bus and is not directly pin-compatible with TM2 series modules. However, when migrating a TM2-based system to TM3, the I/O variable mapping in SoMachine Basic can be updated to reflect the new module address without changing the application logic. Schneider Electric provides a migration guide for TM2-to-TM3 transitions. Our technical team can advise on compatibility verification for your specific CPU and software version before you commit to a replacement order.
Q4: What does the 12-month warranty cover, and what is the return process if a module fails in service?
Our 12-month warranty covers manufacturing defects and functional failures under normal operating conditions as defined by Schneider Electric’s published specifications for the TM3DI16. It does not cover damage caused by incorrect wiring, overvoltage on input channels, physical impact, or unauthorized modification. If a module fails within the warranty period, contact us with the order reference and a description of the fault. We will arrange priority replacement shipment and, where required, a failure analysis report to support your maintenance records.
© 2026 SMARTNEXMSK. All rights reserved.
Original Source: https://smartnexmsk.com
Contact: [email protected] | +86 18259474341