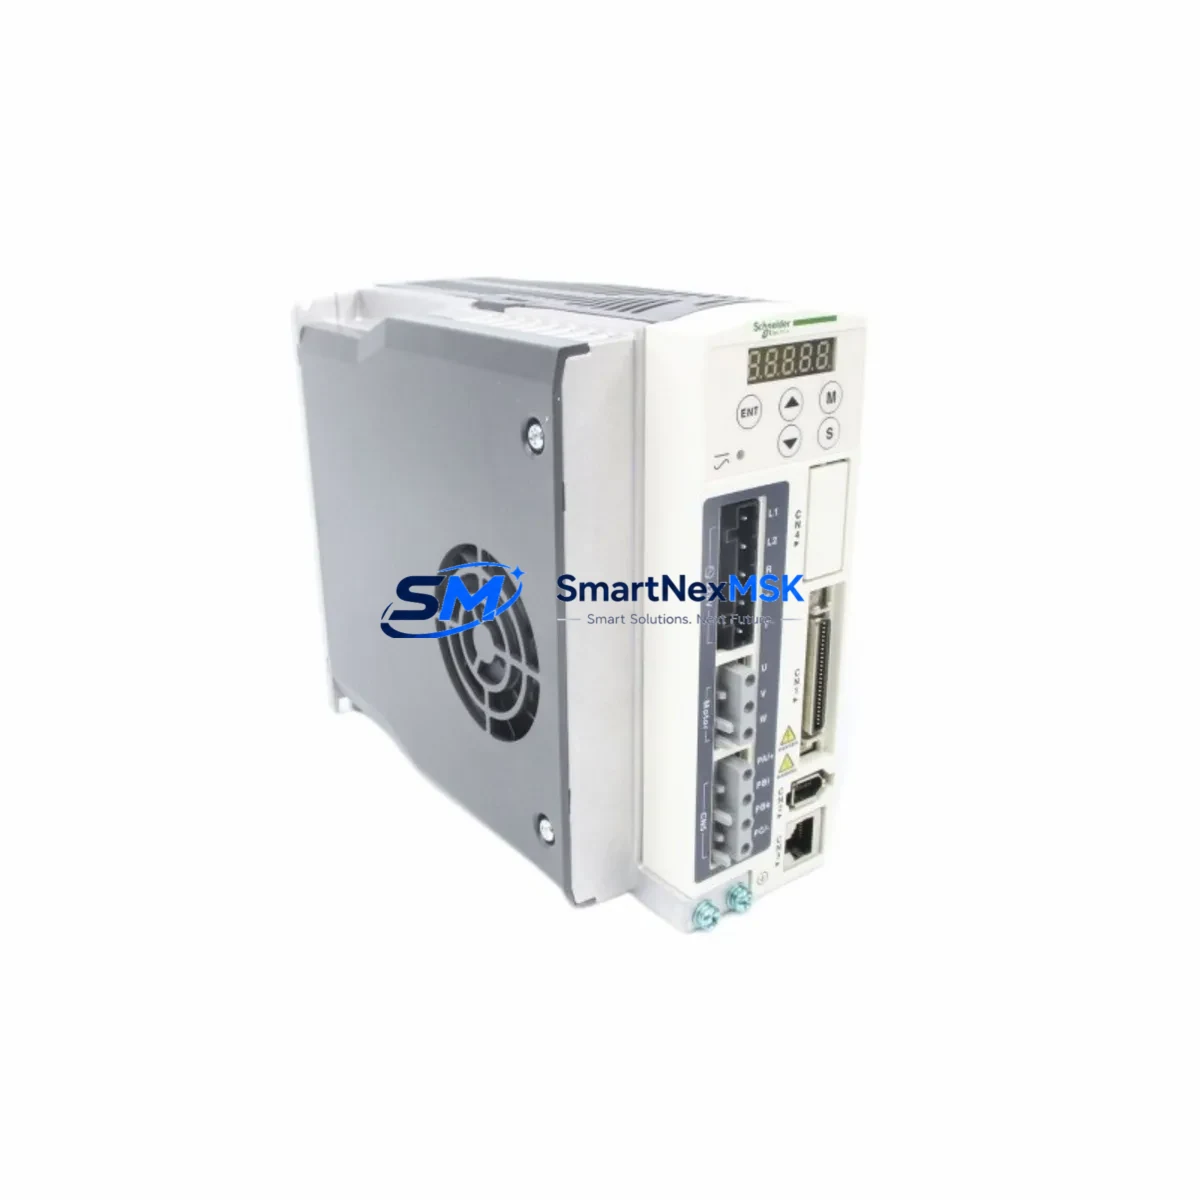
Schneider LXM23DU10M3X Spare for Lexium 23 Automation: Spare Part Replacement & Industrial Downtime Risk Control
The Schneider Electric LXM23DU10M3X is a 1.0 kVA, three-phase AC servo drive from the Lexium 23 series, engineered for precision motion control in industrial automation environments. As a maintenance-ready spare, this unit is stocked, tested, and dispatched to support rapid field replacement — minimizing unplanned downtime in servo-driven production lines, packaging machinery, CNC systems, and material handling equipment.
For maintenance engineers managing aging Lexium 23 installations, sourcing a verified original spare is critical. The LXM23DU10M3X is a direct drop-in replacement for failed or degraded units in the same power class, preserving existing wiring, parameter sets, and motor compatibility without requiring system reconfiguration. Each unit undergoes pre-shipment functional testing and ships with a 12-month warranty, providing procurement teams with the confidence needed for both emergency restocking and planned maintenance budgets.
Spare Maintenance Table
| Parameter | Specification |
|---|---|
| SKU / Part Number | LXM23DU10M3X |
| Brand | Schneider Electric |
| Series | Lexium 23 |
| Product Type | AC Servo Drive |
| Rated Power | 1.0 kVA |
| Input Supply | 3-Phase, 200–240 V AC, 50/60 Hz |
| Output Current (Continuous) | 3.5 A |
| Control Mode | Position / Speed / Torque |
| Communication Interface | CANopen / Modbus RTU (RS-485) |
| Encoder Compatibility | Incremental / Absolute (SinCos) |
| Ambient Operating Temperature | 0 °C to +45 °C |
| Protection Rating | IP20 (panel-mount) |
| Mounting | DIN rail / panel |
| Origin | France |
| Compatibility | Lexium 23 series servo motors (BSH, BMH families) |
| Warranty | 12 Months |
| Condition | Original, new or tested-serviceable |
| Pre-shipment Test | Power-on functional verification |
Maintenance Planning for Continuous Operation
When replacing the LXM23DU10M3X in a live production environment, a disciplined inspection of the surrounding electrical circuit is essential to prevent repeat failures and ensure a clean commissioning. Maintenance engineers should treat this replacement as an opportunity for a broader control cabinet audit.
Begin with the 24 V DC control power supply feeding the drive’s logic board — voltage ripple or brownout conditions are a leading cause of premature servo drive failure. Inspect the servo motor feedback cable (encoder cable) for insulation damage, connector corrosion, or shield continuity breaks; a degraded feedback signal will cause immediate fault codes on the replacement unit. Check the motor power cable (U/V/W phases) for correct torque on terminal connections and absence of ground faults.
Review the CANopen or Modbus RTU communication wiring — termination resistors, cable routing away from high-voltage conductors, and node address settings must all be verified before powering the new drive. If the system uses a Schneider Electric Modicon M340 or M580 PLC as the motion controller, confirm that the drive’s node ID and baud rate match the existing network configuration stored in the PLC program.
Inspect the input line filter (EMC filter) and braking resistor connected to the drive — both are wear items that are frequently overlooked during emergency replacements. A failed braking resistor will trigger overvoltage faults during deceleration on the new unit. Check the 24 V I/O wiring for the drive’s digital inputs (enable, fault reset, limit switches) and outputs (drive ready, fault relay) to confirm correct signal levels and no wiring reversals.
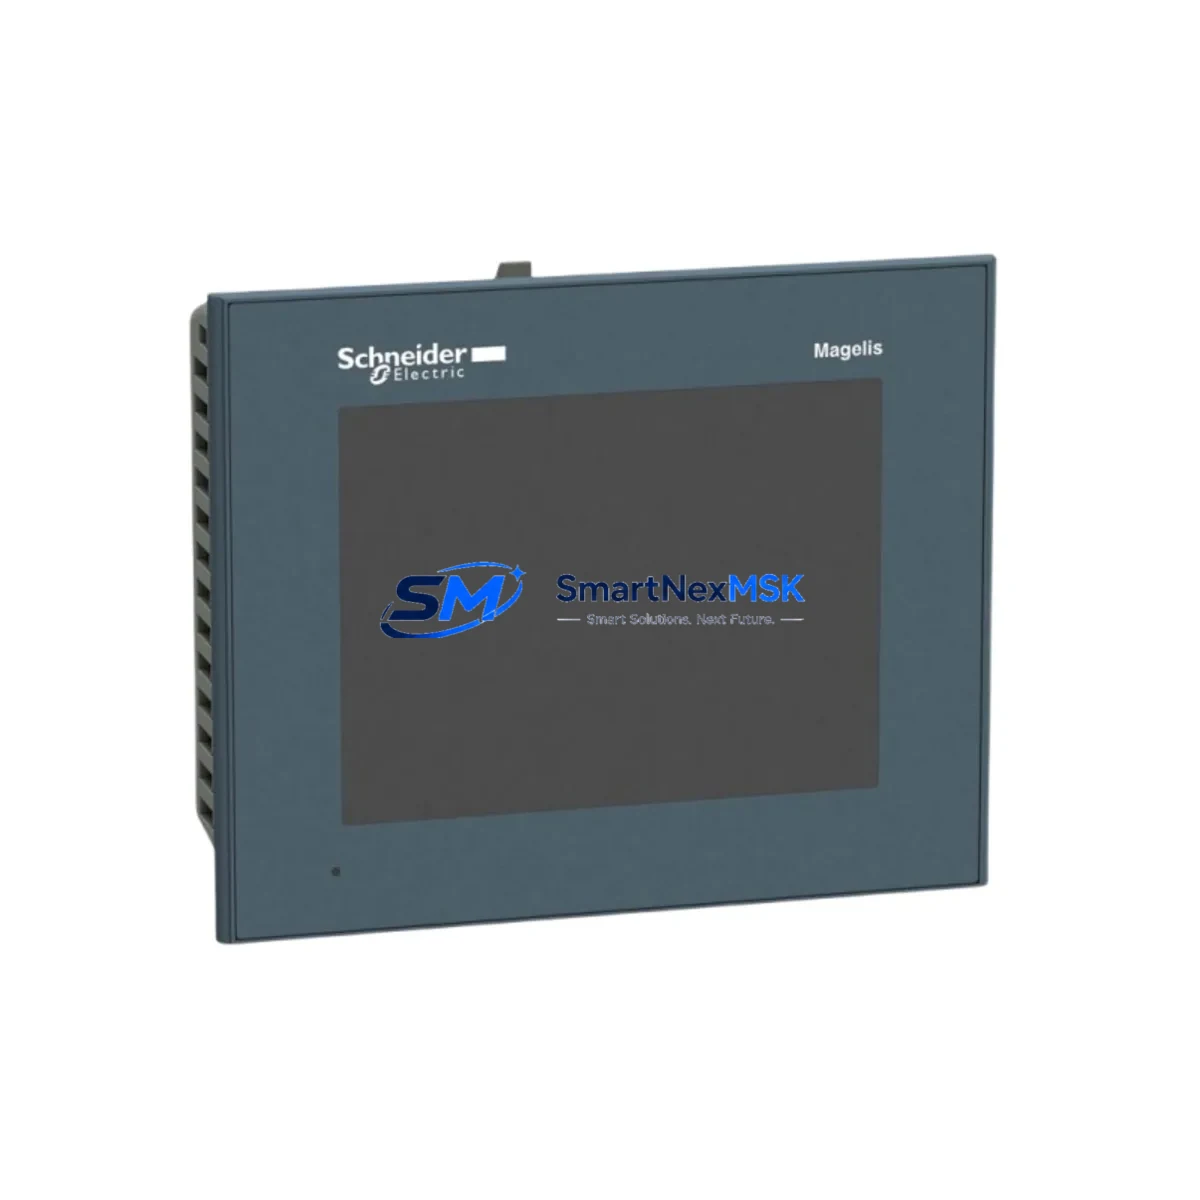
For systems with multiple axes, also inspect the DC bus sharing connections between drives if a common DC bus topology is used. Verify that terminal block connections (Phoenix Contact or equivalent) on the control cabinet backplane are tight and free of oxidation. If the installation includes a Magelis HMI or Vijeo Designer panel for operator interface, confirm that the drive’s status word is correctly mapped and that alarm history has been cleared after replacement.
Finally, review the fuse or circuit breaker protecting the drive’s AC input — a nuisance trip or a slow-blow fuse that has weakened over time should be replaced as part of the maintenance event to prevent nuisance interruptions after the new drive is commissioned.
Site Replacement Workflow
Step 1 — Isolation & Documentation: De-energize the control cabinet following LOTO procedures. Photograph existing wiring, parameter printouts, and cable routing before disconnection. Note the drive’s current parameter settings (acceleration ramps, current limits, I/O assignments) from the HMI or commissioning software if accessible.
Step 2 — Mechanical Removal: Disconnect motor power cables (U/V/W/PE), encoder feedback cable, control I/O wiring, and communication bus connectors. Remove the drive from the DIN rail or panel mount. Retain all hardware.
Step 3 — Inspection & Cleaning: Inspect the mounting location for heat damage, contamination, or moisture ingress. Clean the cabinet interior and verify that ventilation clearances meet Schneider Electric’s installation specifications for the LXM23 series.
Step 4 — Installation of Replacement Unit: Mount the LXM23DU10M3X replacement. Reconnect all cables in reverse order of removal, verifying phase sequence on motor power connections. Restore communication bus wiring with correct termination.
Step 5 — Parameter Restore & Commissioning: Upload saved parameter files via SoMove commissioning software or re-enter parameters manually. Perform a no-load jog test before reconnecting the mechanical load. Verify encoder feedback signal quality and confirm fault-free operation across the full speed range.
Step 6 — Return to Service: Document the replacement in the maintenance log, update the spare parts inventory, and flag the LXM23DU10M3X as a critical spare for future stocking. Typical commissioning time for a like-for-like replacement is under 2 hours for an experienced technician.
Spare Parts Support FAQ
Q1: Is this LXM23DU10M3X a direct replacement for my existing Lexium 23 drive without parameter changes?
Yes — the LXM23DU10M3X is a direct form-fit-function replacement within the Lexium 23 power class. If your existing drive’s parameters are backed up, restoration is straightforward via SoMove software. If no backup exists, parameters can be re-entered manually from the motor nameplate and application data.
Q2: What pre-shipment testing is performed on this spare?
Each unit undergoes a power-on functional verification prior to dispatch, confirming that the drive initializes correctly, communication interfaces respond, and no internal fault codes are present. Units are packed in anti-static, shock-protected packaging to maintain condition during transit.
Q3: How should I manage LXM23DU10M3X inventory for a multi-axis servo system?
For installations with 3 or more Lexium 23 axes, we recommend maintaining at least one LXM23DU10M3X spare on-site. For critical 24/7 production lines, a two-unit buffer is advisable. Spares should be stored in a dry, temperature-controlled environment (10–40 °C) and inspected annually for packaging integrity.
Q4: What is covered under the 12-month warranty?
The 12-month warranty covers manufacturing defects and functional failures under normal operating conditions. It does not cover damage resulting from incorrect installation, overvoltage events, or operation outside the drive’s rated specifications. Warranty claims are supported with a return-and-replace process; contact our technical team with the unit serial number and fault description to initiate a claim.
© 2026 SMARTNEXMSK. All rights reserved.
Original Source: https://smartnexmsk.com
Contact: [email protected] | +86 18259474341