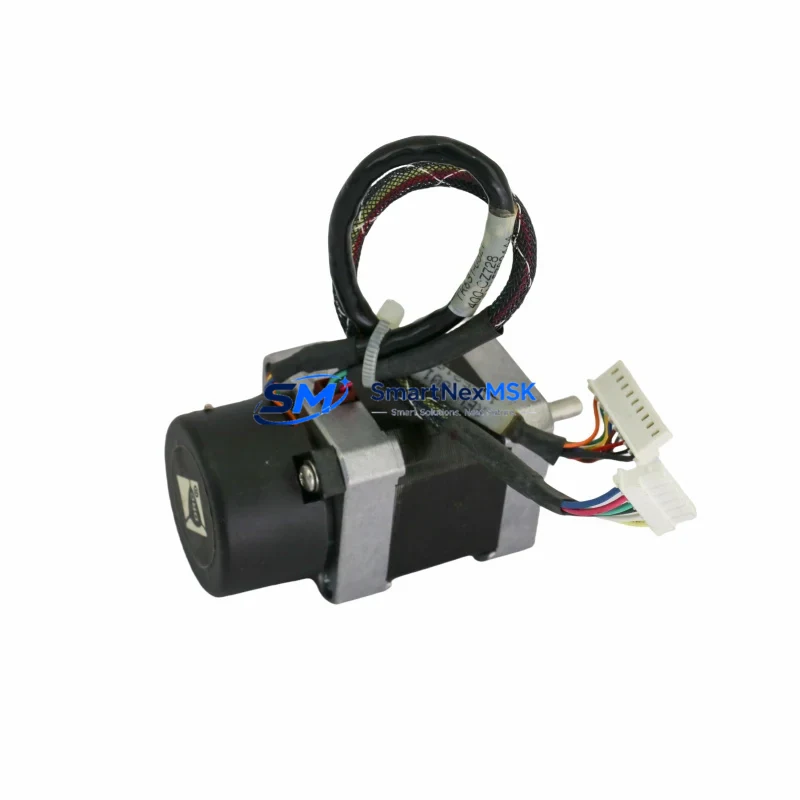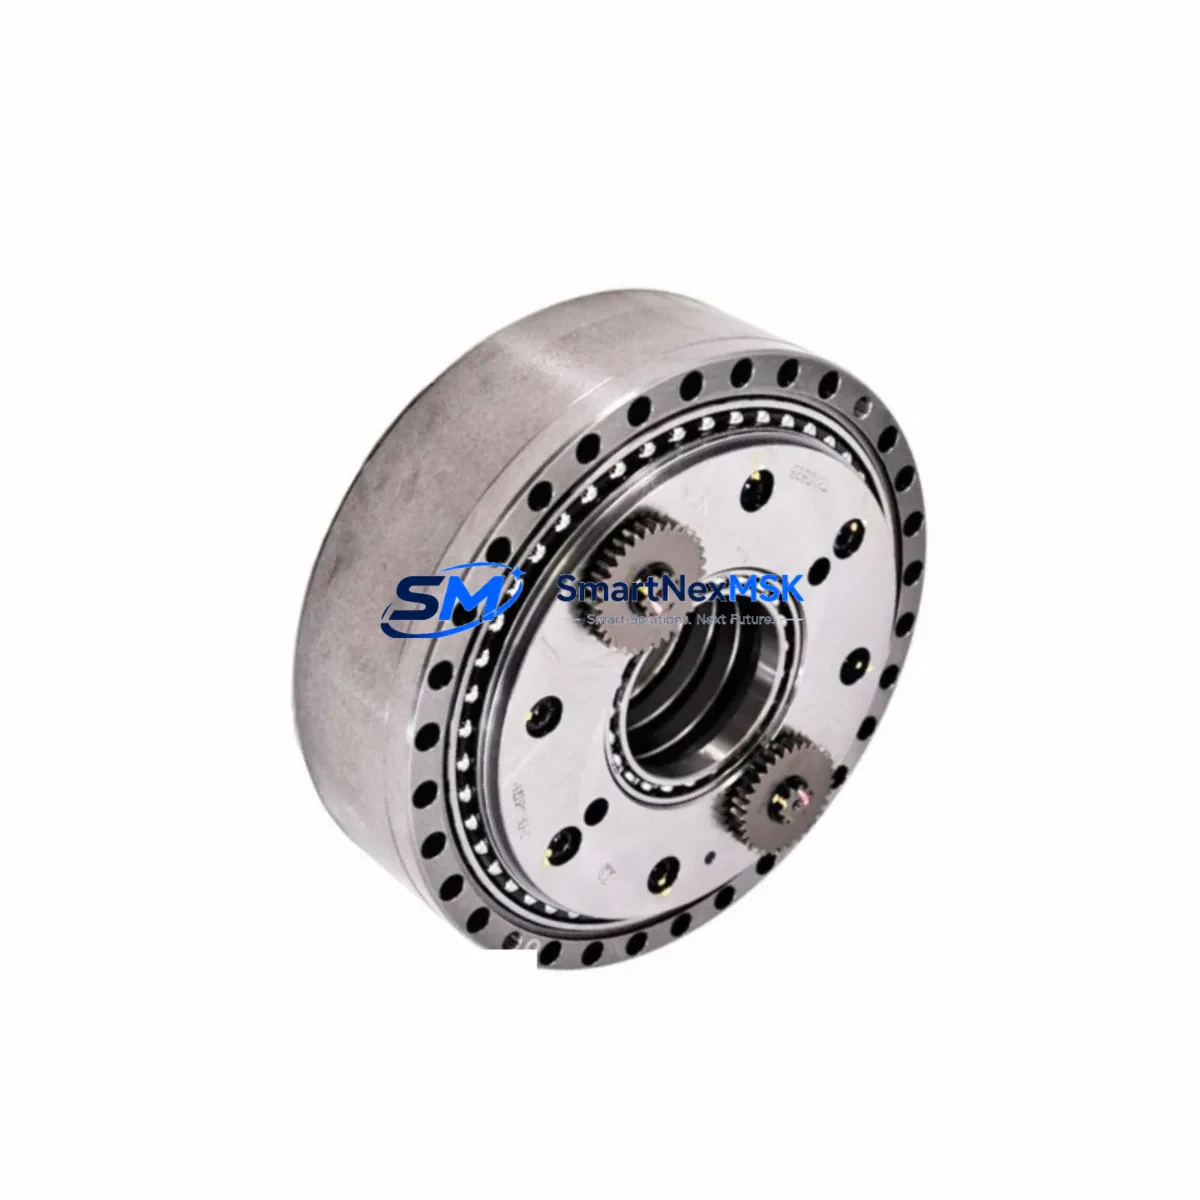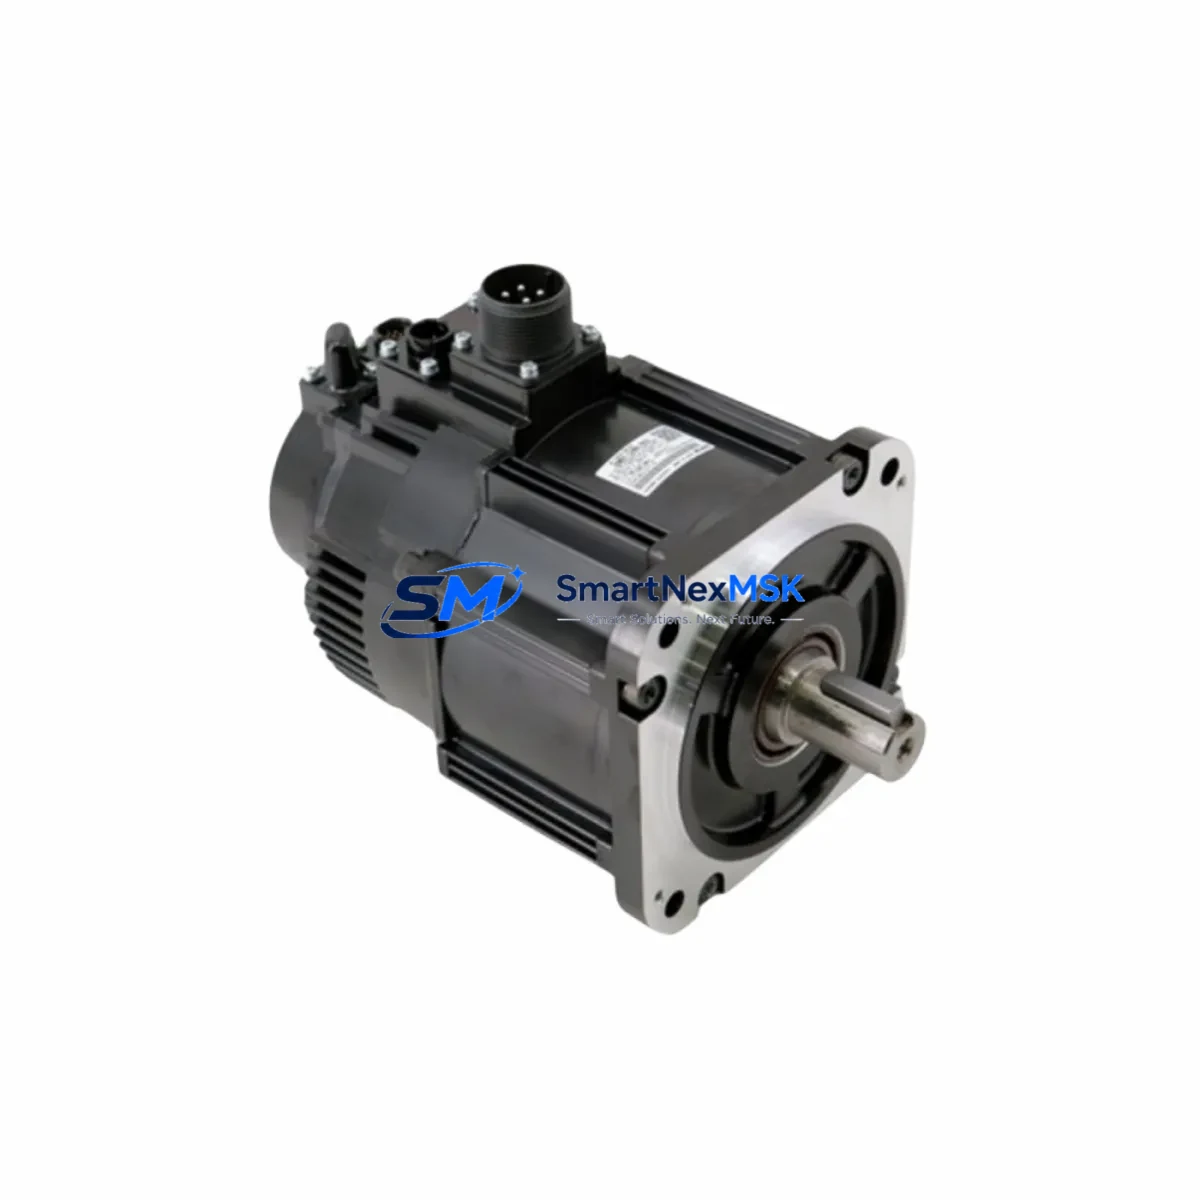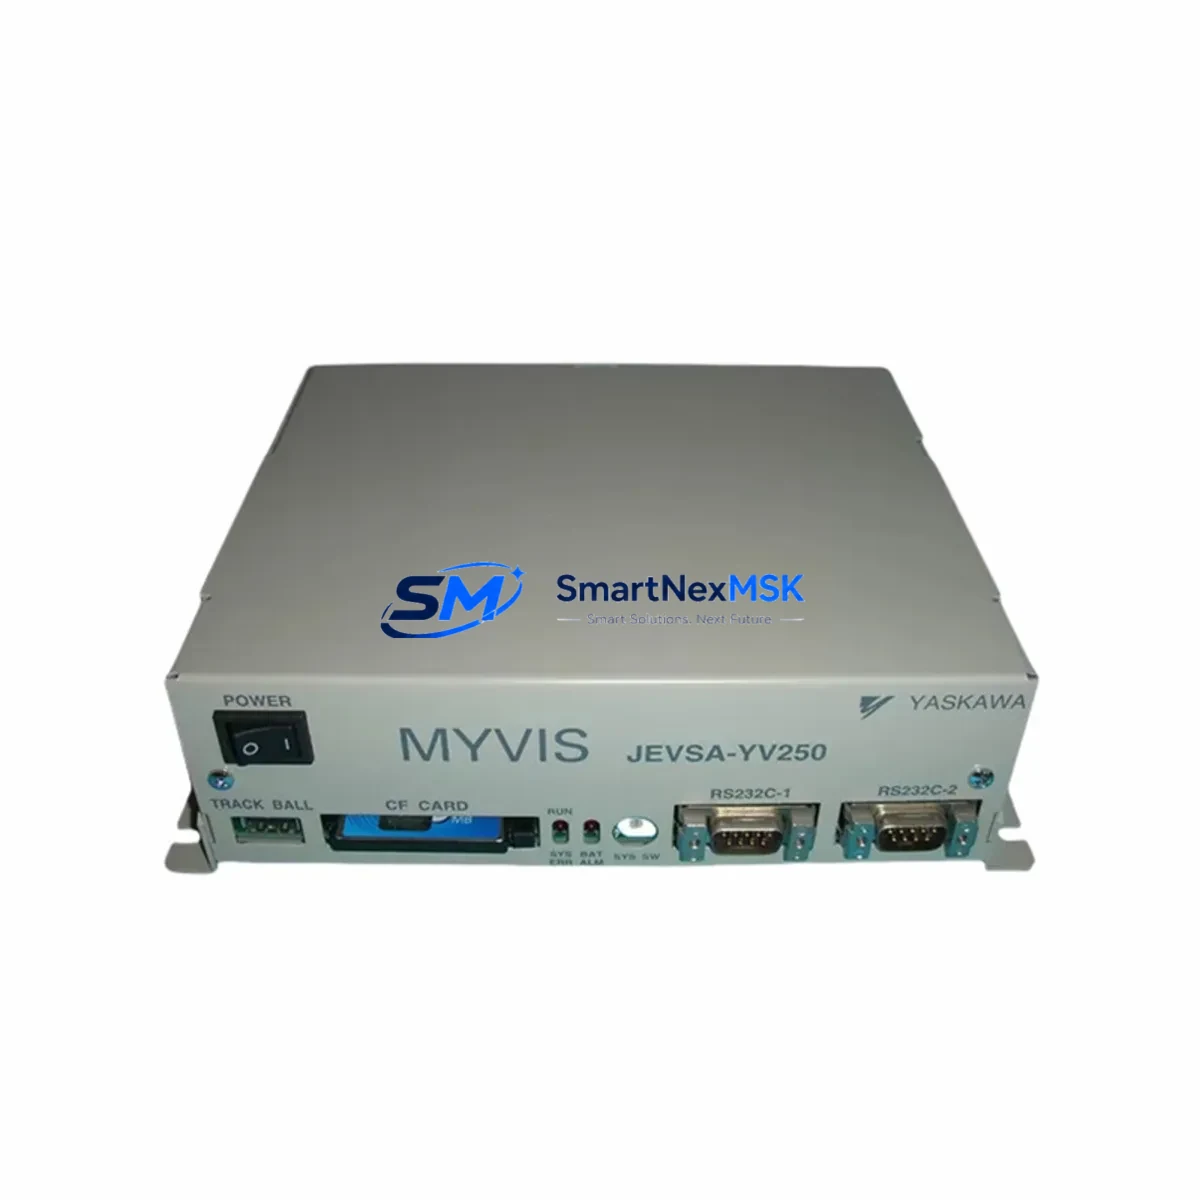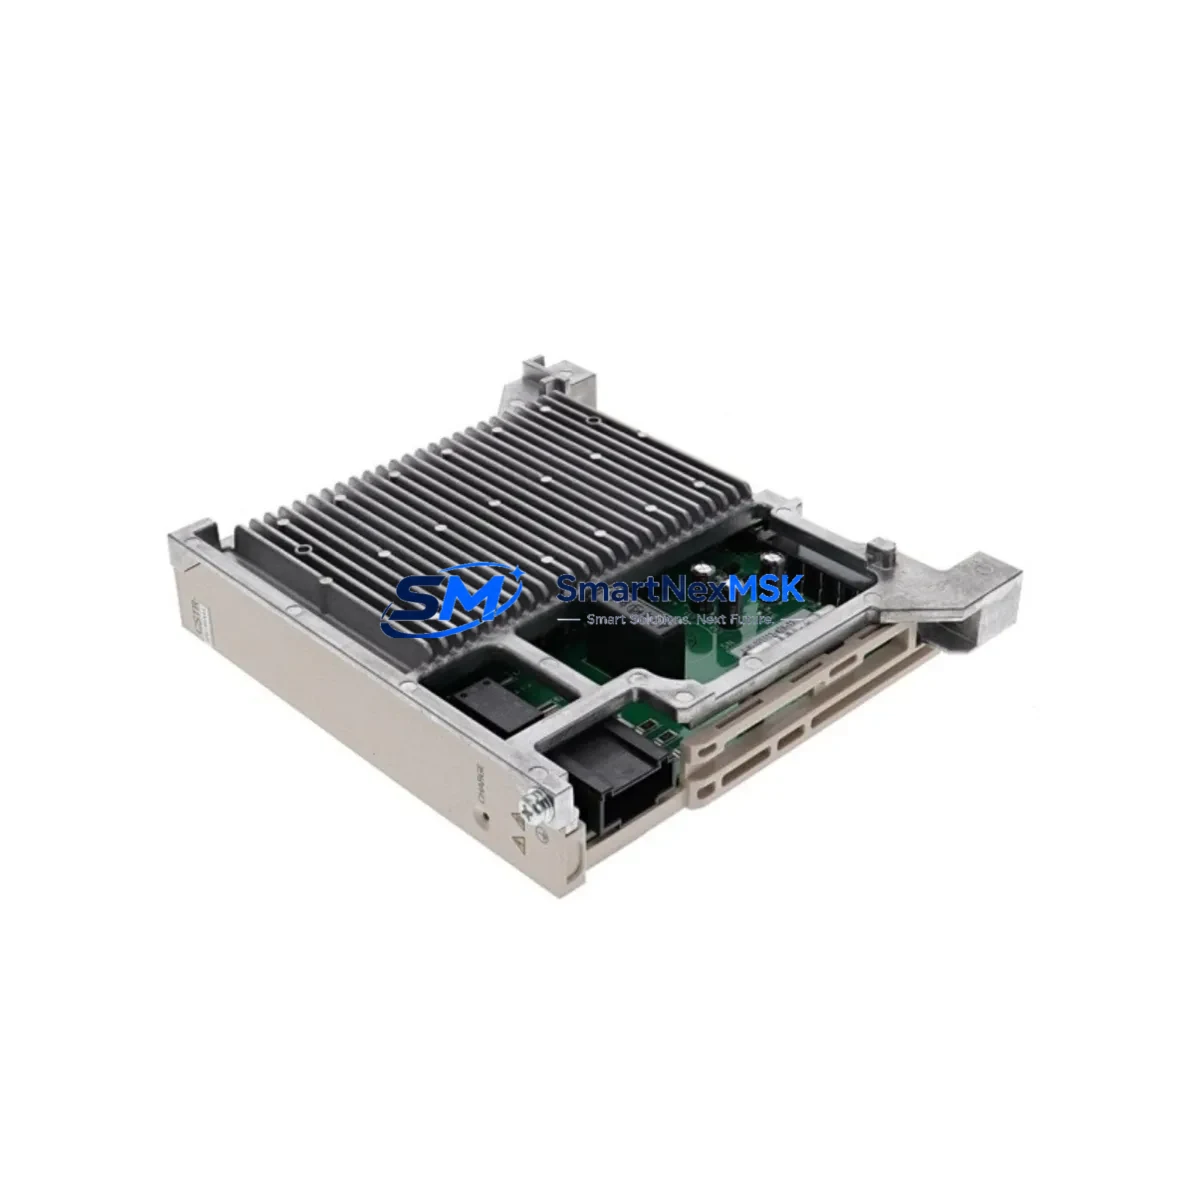
Yaskawa JZRCR-YPP01-1 Retrofit-Ready Converter for DX100 YRC1000 Control Systems
The Yaskawa JZRCR-YPP01-1 is a precision-engineered converter module designed to serve as a direct retrofit replacement within Yaskawa DX100 and YRC1000 robot controller platforms. As industrial facilities face increasing pressure to extend the operational life of existing robotic cells while managing the obsolescence of legacy components, the JZRCR-YPP01-1 provides a validated, drop-in upgrade path that minimizes engineering risk and reduces unplanned downtime. Whether you are replacing a failed unit in a DX100 controller cabinet or upgrading a YRC1000GP8U-based system, this module delivers the interface compatibility and signal integrity required for seamless integration into your existing control architecture.
Sourced directly from authorized supply channels and subject to full functional testing prior to shipment, each JZRCR-YPP01-1 unit is backed by a 12-month warranty and is available from in-stock inventory for rapid global dispatch. SMARTNEXMSK maintains dedicated stock of this module to support emergency replacement scenarios, planned maintenance shutdowns, and multi-unit retrofit projects across automotive, electronics, food processing, and general manufacturing environments.
Upgrade Compatibility Table
| Parameter | Details |
|---|---|
| Compatible Controller Platforms | Yaskawa DX100, YRC1000, YRC1000GP8U |
| Cross-Reference / Alternate P/N | CSRA-CV10D03A, JZRCR-YPP01-1 |
| Module Function | Signal Converter / Interface Bridge Module |
| Installation Type | Direct backplane / rack-mount replacement |
| Communication Compatibility | Compatible with Yaskawa proprietary servo bus and I/O communication protocols used in DX100 / YRC1000 architecture |
| Connector / Terminal Interface | Matches OEM connector pinout; no rewiring required for direct swap |
| Replacement Recommendation | Suitable for 1:1 replacement of failed or end-of-life JZRCR-YPP01-1 units |
| Commissioning Notes | Verify controller firmware version; re-initialize axis parameters after module swap if required by system diagnostics |
| Origin | Japan |
| Weight | 600 g |
| Warranty | 12 Months — covers manufacturing defects and functional failure under normal operating conditions |
Retrofit Planning for Existing Automation Systems
Integrating the JZRCR-YPP01-1 into an existing robotic cell requires a structured approach to ensure continuity of the control system and protection of the original program logic. Before initiating the swap, engineers should confirm the power supply capacity of the DX100 or YRC1000 controller cabinet — specifically verifying that the JZNC-YRK01-1E or equivalent power supply board is delivering stable DC bus voltage within specification. Voltage fluctuations at the backplane level are a common root cause of converter module failure and must be resolved before installing the replacement unit.
Terminal wiring should be documented and photographed prior to removal of the original module. In DX100 systems, the converter module interfaces with the JANCD-YCP01-E CPU board and the JANCD-YIF01-E interface board via the internal backplane. Confirm that the backplane connectors are free of corrosion or mechanical damage before seating the JZRCR-YPP01-1. In YRC1000 configurations, the module communicates with the JANCD-YRC21-E control board, and module address settings must be verified against the system’s I/O allocation table to prevent address conflicts with other installed modules such as the JANCD-YIO21-E I/O board.
For systems that include external communication links — such as DeviceNet, PROFIBUS, or EtherNet/IP via a JANCD-YEW01-E or equivalent fieldbus communication board — the communication link should be suspended and safely terminated before the module swap to prevent bus errors from propagating to the PLC or SCADA layer. After installation, re-establish the communication link and verify node addressing and baud rate settings match the pre-retrofit configuration.
Where the robotic cell is integrated with a Yaskawa DX200 or a mixed-generation controller environment, engineers should cross-reference the I/O mapping between the legacy DX100 rack and the replacement module to confirm signal compatibility. HMI screens connected via the YPP01 interface path should be tested for correct data refresh and alarm display after the module is commissioned. Programming cables such as the JZRCR-YCS01-1 or equivalent USB-to-serial adapter may be required to access controller diagnostics and confirm module recognition within the system configuration menu.
SMARTNEXMSK recommends maintaining a spare JZRCR-YPP01-1 unit on-site for facilities operating multiple DX100 or YRC1000 controllers, particularly in high-throughput production environments where unplanned downtime carries significant cost. Our team can advise on multi-unit procurement and consignment stock arrangements to support your maintenance strategy.
Downtime Control During System Migration
Minimizing production interruption during a converter module replacement requires advance preparation and a disciplined execution sequence. Begin by backing up the complete robot program, system parameters, and I/O configuration using the teach pendant or the MotoSim EG-VRC offline programming environment. Store the backup on an external USB device and verify the file integrity before proceeding with any hardware changes.
Schedule the module swap during a planned maintenance window and coordinate with the production team to ensure the robotic cell is safely isolated from the production line. Use the controller’s E-STOP circuit and lockout/tagout (LOTO) procedures to de-energize the cabinet before opening the enclosure. The JZRCR-YPP01-1 is designed for tool-free or minimal-tool removal in most DX100 and YRC1000 rack configurations, allowing the physical swap to be completed in under 30 minutes by a qualified technician.
After installing the replacement module, power up the controller in maintenance mode and allow the system self-diagnostic routine to complete. Confirm that the module is recognized in the hardware configuration display and that no fault codes related to the converter interface are active. Restore the program backup, verify axis homing positions, and conduct a low-speed dry-run cycle before returning the cell to full production speed. This structured approach consistently achieves return-to-production within a single shift, protecting both program logic integrity and field control continuity.
Retrofit Support FAQ
Q1: Is the JZRCR-YPP01-1 a direct drop-in replacement for the original unit in DX100 and YRC1000 systems?
Yes. The JZRCR-YPP01-1 is designed as a 1:1 replacement for the original OEM module. The connector pinout, backplane interface, and physical form factor are identical to the factory-installed unit, requiring no wiring modifications or mechanical adaptation in standard DX100 and YRC1000 controller configurations.
Q2: What commissioning steps are required after installing the replacement module?
After seating the module and powering up the controller, navigate to the hardware configuration menu via the teach pendant and confirm the module is listed without fault codes. If the system prompts for axis parameter initialization, follow the on-screen procedure. Re-verify I/O address assignments, restore any backed-up system parameters, and perform a supervised low-speed test cycle before resuming normal production operation.
Q3: How do I verify wiring and terminal compatibility before installation?
Document the existing wiring using the controller’s electrical schematic (available in the DX100 or YRC1000 maintenance manual). The JZRCR-YPP01-1 uses the same terminal and connector layout as the original module. Compare the connector housing type and pin count against the replacement unit before installation. If the original module shows signs of terminal damage or heat stress, inspect and repair the backplane connector before proceeding.
Q4: What does the 12-month warranty cover, and what is the process for a warranty claim?
The 12-month warranty covers manufacturing defects and functional failure under normal operating conditions from the date of shipment. It does not cover damage resulting from incorrect installation, overvoltage, physical impact, or use outside the module’s rated environmental specifications. To initiate a warranty claim, contact SMARTNEXMSK at [email protected] with your order reference, a description of the fault, and photographic evidence of the issue. Replacement or repair will be arranged promptly upon verification.
© 2026 SMARTNEXMSK. All rights reserved.
Original Source: https://smartnexmsk.com
Contact: [email protected] | +86 18259474341