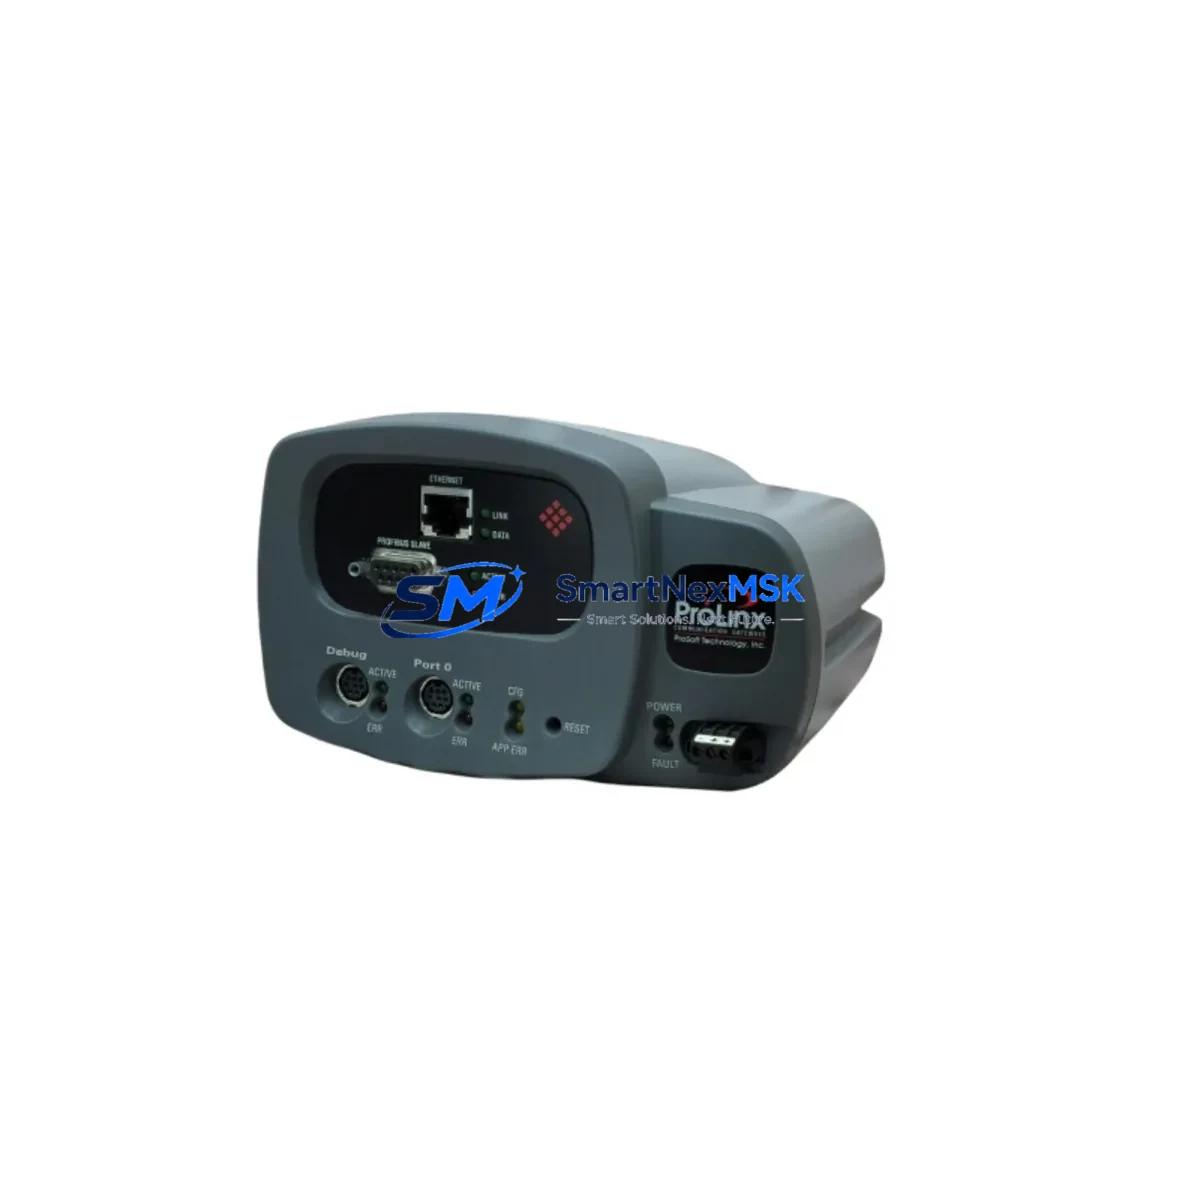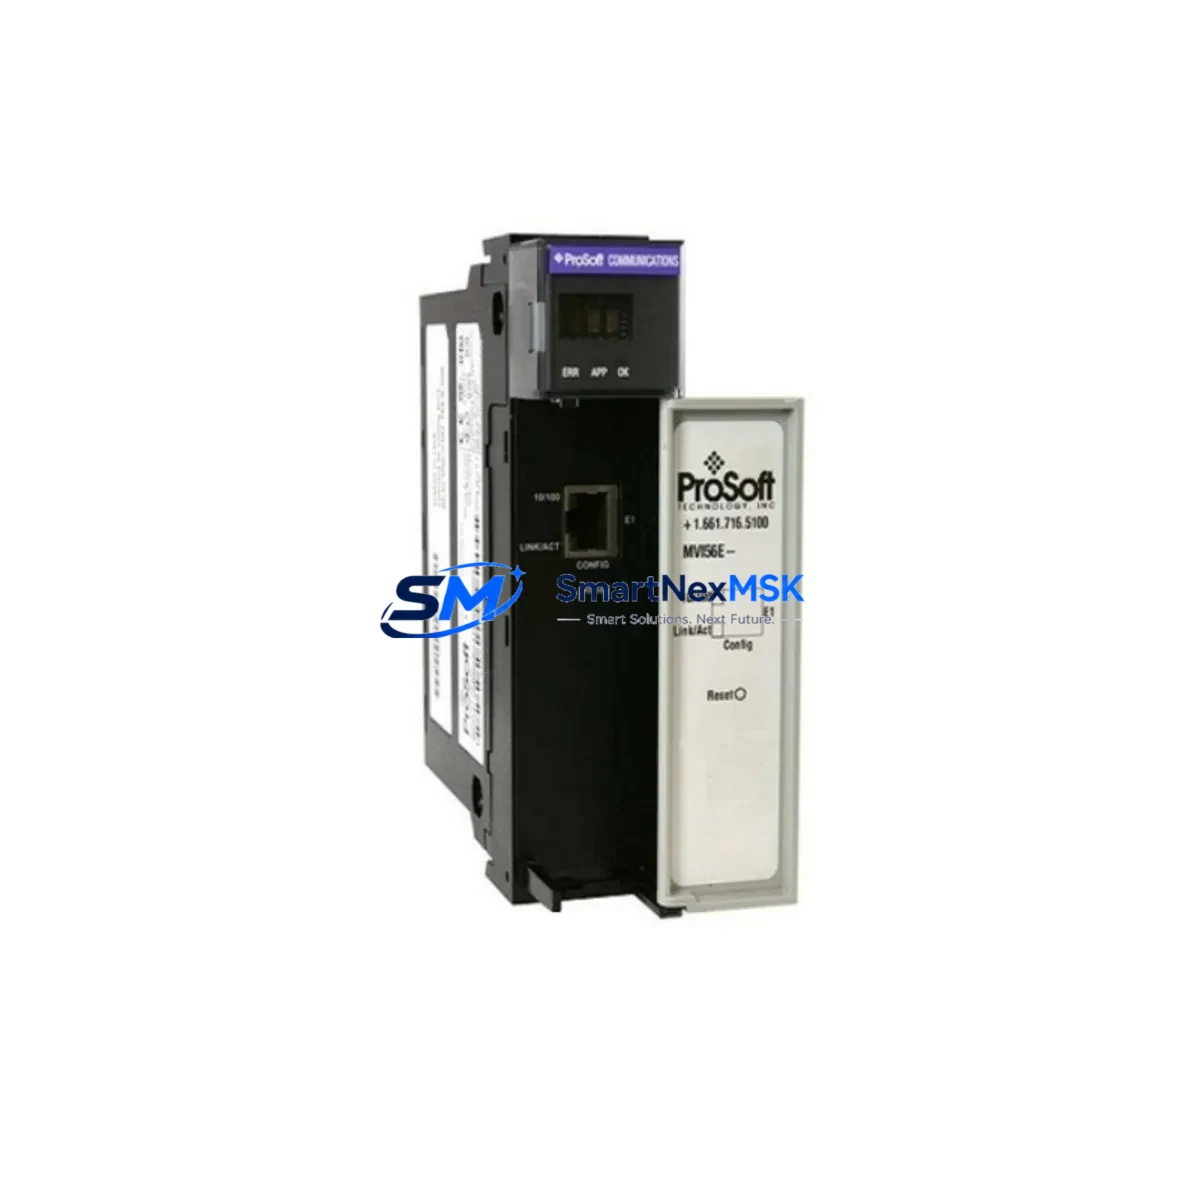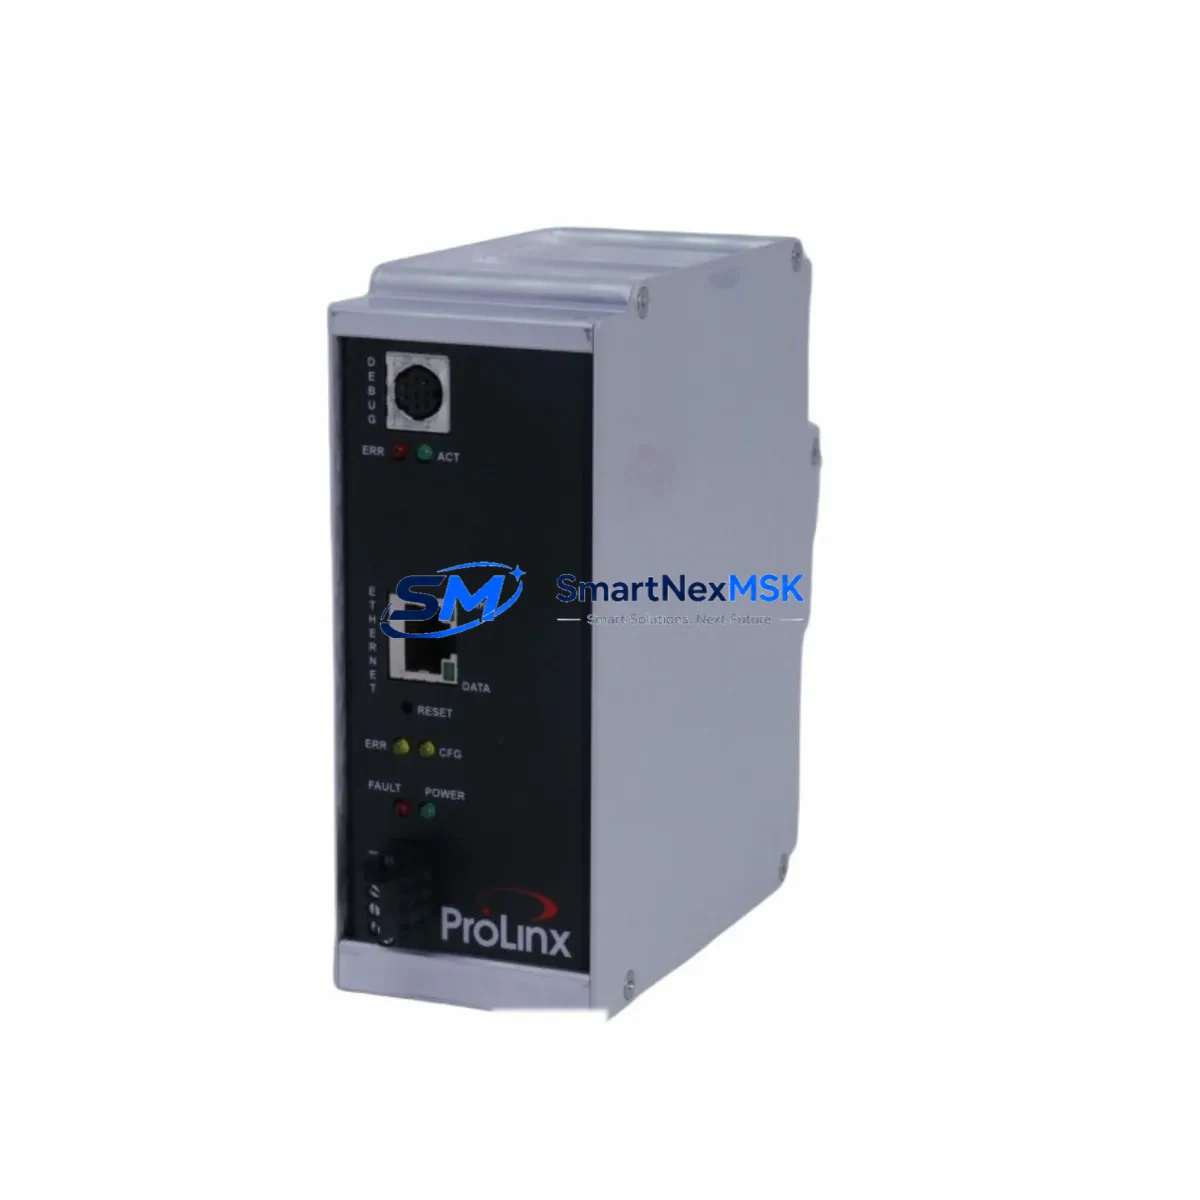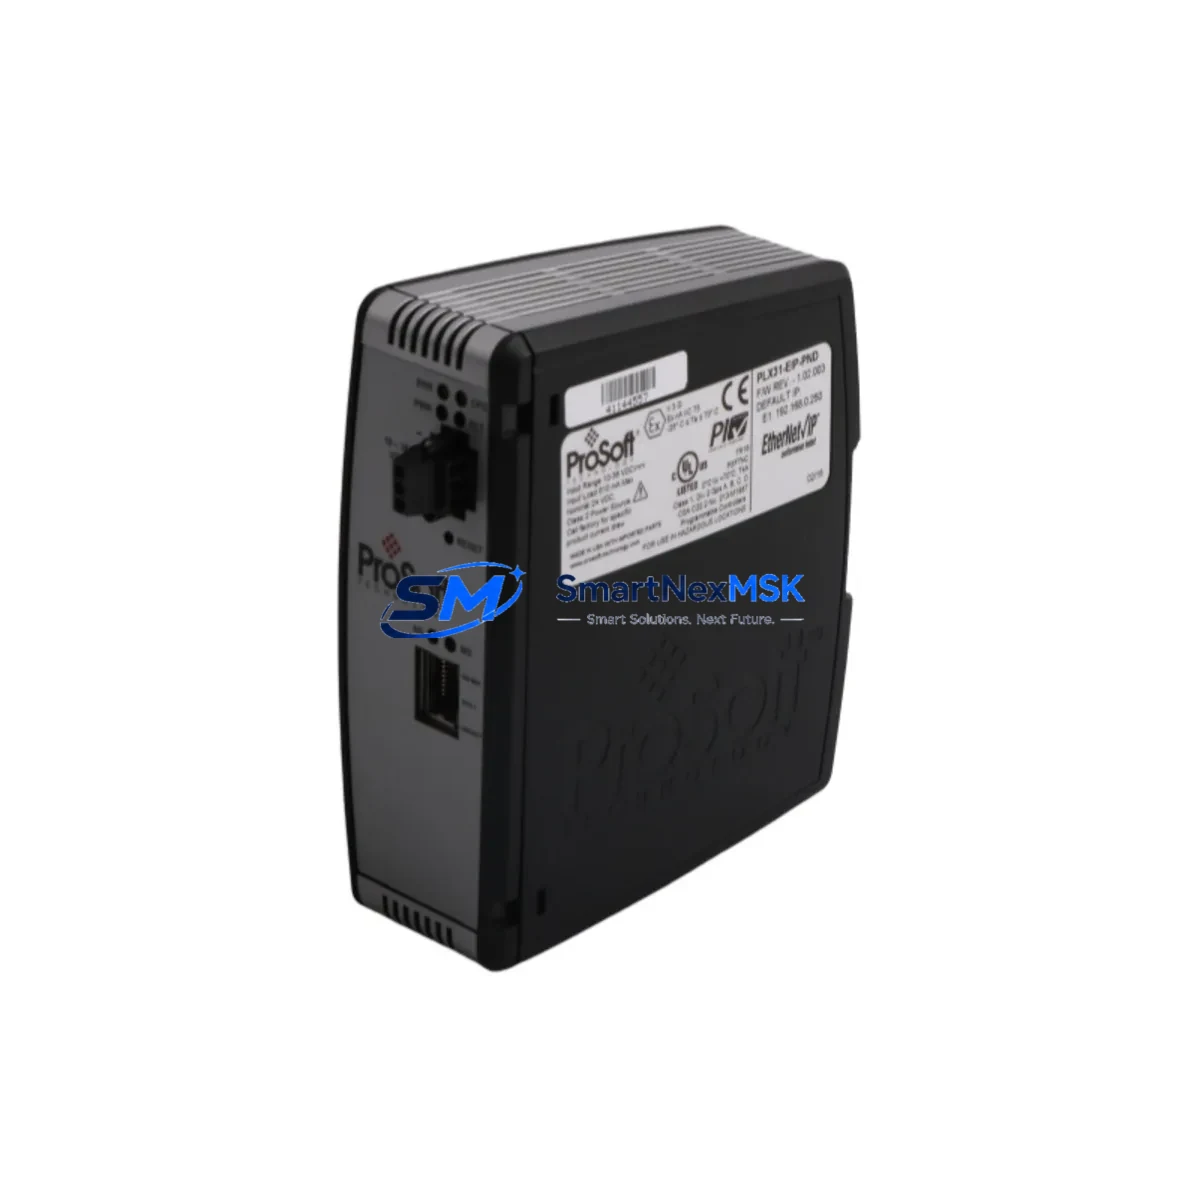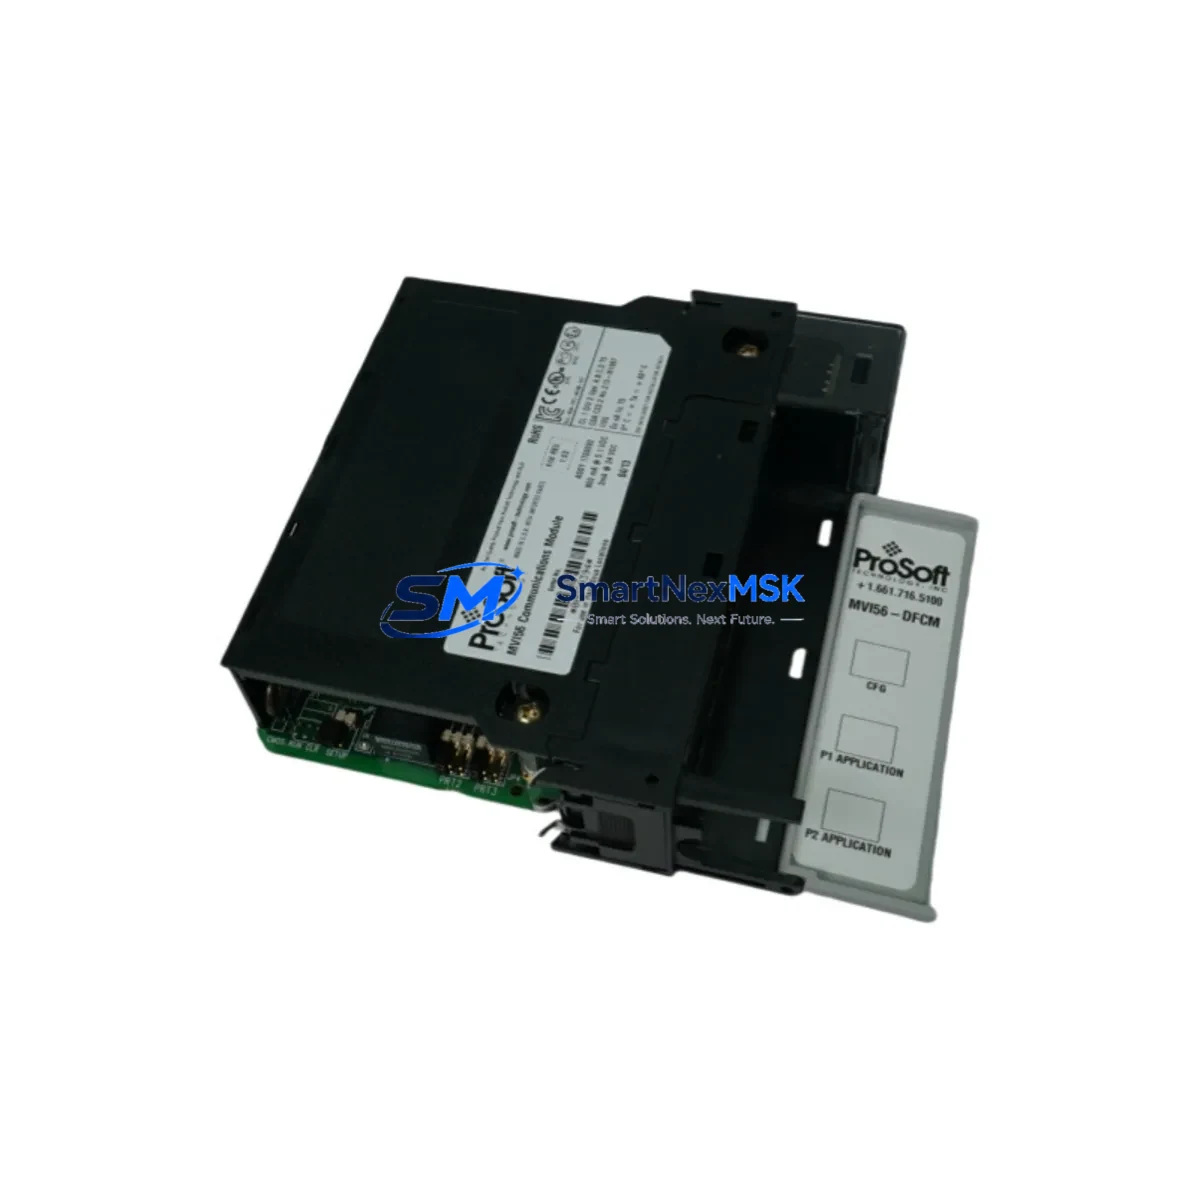
ProSoft MVI56-DFCM Retrofit-Ready DF1 Communication Module for ControlLogix Control Systems
The ProSoft MVI56-DFCM (SKU: MVI56-DFCM) is a DF1 Full-Duplex/Half-Duplex Communication Module engineered for seamless integration into Rockwell Automation ControlLogix chassis. Designed with legacy system modernization in mind, this module serves as a direct retrofit solution for aging or discontinued DF1-based communication infrastructure across manufacturing plants, process control facilities, and discrete automation environments. Whether you are replacing a failed communication card, upgrading a legacy SLC 500 or PLC-5 communication link, or migrating an entire control cabinet to a modern ControlLogix platform, the MVI56-DFCM delivers the protocol compatibility and installation flexibility that retrofit engineers demand.
Upgrade Compatibility Table
| Parameter | Details |
|---|---|
| SKU | MVI56-DFCM |
| Brand | ProSoft Technology |
| Series | MVI56 (ControlLogix Platform) |
| Communication Protocol | DF1 Full-Duplex & Half-Duplex (RS-232) |
| Backplane Interface | 1756 ControlLogix backplane (1756-A4, 1756-A7, 1756-A10, 1756-A13, 1756-A17) |
| Slot Requirement | Single slot, standard ControlLogix chassis |
| Power Consumption | 800 mA @ 5 VDC (verify against 1756-PA72 or 1756-PB72 power supply capacity) |
| Common Replacement Targets | Legacy SLC 500 CH0 DF1 links, PLC-5 DH+ to DF1 bridges, discontinued 3rd-party DF1 gateways |
| Installation Requirement | RSLogix 5000 / Studio 5000 add-on profile; module address assignment via I/O tree |
| Communication Compatibility | DF1 master/slave, point-to-point, multi-drop (radio modem) configurations |
| Retrofit Recommendation | Verify terminal wiring (TX, RX, GND, RTS/CTS) against existing cable harness before installation |
| Commissioning Focus | Baud rate, parity, stop bits, BCC/CRC error checking, node address, and ACK timeout settings |
| Warranty | 12 Months — covers manufacturing defects and functional failure under normal operating conditions |
Retrofit Planning for Existing Automation Systems
Successful deployment of the MVI56-DFCM in a brownfield environment requires careful pre-engineering. Before removing the legacy communication device, document all existing wiring terminations, RS-232 cable pinouts, and node address assignments. In many older installations, the DF1 link connects field devices such as variable frequency drives, weigh scales, barcode readers, or third-party RTUs that rely on fixed node addresses and specific baud rate configurations. These parameters must be replicated exactly in the MVI56-DFCM configuration file to avoid communication faults after cutover.
When planning the chassis layout, confirm that the 1756-PA72 or 1756-PB72 power supply has sufficient current headroom to support the MVI56-DFCM alongside existing modules such as the 1756-IF16 analog input card, 1756-OB16E digital output module, and any installed 1756-EN2T EtherNet/IP communication modules. Overloaded backplanes are a common cause of intermittent faults during retrofit commissioning. If the existing chassis is a 1756-A4 with limited slots, consider migrating to a 1756-A7 or 1756-A10 to accommodate the MVI56-DFCM without displacing critical I/O modules.
For projects involving protocol migration — for example, transitioning a legacy PLC-5 system that used DH+ to a ControlLogix platform with DF1 serial links — the MVI56-DFCM can serve as the serial communication bridge while the main controller logic is re-hosted in a 1756-L73 or 1756-L83E ControlLogix processor. During this transition, the ProSoft Configuration Builder (PCB) software is used to define the data mapping between the module’s internal registers and the ControlLogix controller tags, ensuring that HMI screens built on FactoryTalk View SE or PanelView Plus terminals continue to display correct process values without requiring a full HMI redevelopment.
In control cabinet upgrade projects, the MVI56-DFCM is frequently installed alongside the 1756-ENBT or 1756-EN2T for hybrid communication architectures where EtherNet/IP handles supervisory SCADA traffic while DF1 serial manages legacy field device polling. The module’s dual-port RS-232 design supports simultaneous configuration access via Port 1 and field device communication via Port 2, reducing the need for external RS-232 switches or splitters. Additionally, when I/O expansion is required, the 1756-IB16 digital input module and 1756-OA16 AC output module can be added to the same chassis without impacting MVI56-DFCM operation, provided backplane power budgets are respected.
For installations where the legacy system used a dedicated programming cable such as the 1784-U2DHP USB-to-DH+ adapter or a 1747-UIC USB-to-SLC adapter, note that the ControlLogix platform uses standard Ethernet for programming via Studio 5000. The MVI56-DFCM itself is configured via a dedicated RS-232 configuration port, and ProSoft’s PCB software is freely available for download. Ensure that the replacement rack includes a 1756-ENET or 1756-EN2T module to maintain remote programming access after the legacy programming interface is decommissioned.
Downtime Control During System Migration
Minimizing production downtime is the primary concern in any brownfield retrofit. For MVI56-DFCM installations, a structured cutover plan should be developed at least two weeks before the scheduled maintenance window. This plan should include a full backup of the existing PLC program (in .RSS or .ACD format), a snapshot of all HMI tag databases, and a documented list of all DF1 node addresses and their associated field devices.
Where possible, perform a bench test of the MVI56-DFCM configuration using a laptop running ProSoft Configuration Builder and a loopback RS-232 connector to verify that the module initializes correctly and that the data mapping ladder logic executes without faults in an offline Studio 5000 project. This pre-commissioning step can identify configuration errors — such as incorrect CRC settings or mismatched baud rates — before the module is installed in the live chassis, dramatically reducing the time spent troubleshooting on the plant floor.
During the actual cutover, follow a sequential approach: power down the chassis, remove the legacy communication module, install the MVI56-DFCM in the same slot (or a pre-assigned slot if the slot address has changed), reconnect the RS-232 field wiring, restore chassis power, and download the pre-tested program. If the ControlLogix processor is a 1756-L71 or newer with non-volatile memory, the program can be stored on the SD card to accelerate recovery in the event of an unexpected fault. After the module comes online, verify communication status via the module’s LED indicators and confirm that all DF1 slave devices are responding before releasing the system to production. The entire cutover, when properly pre-engineered, can typically be completed within a two-to-four hour maintenance window, protecting production continuity and meeting plant uptime targets.
Retrofit Support FAQ
Q1: Is the MVI56-DFCM a direct drop-in replacement for my existing DF1 communication card?
In most ControlLogix applications, yes. The MVI56-DFCM occupies a single standard ControlLogix chassis slot and uses the same RS-232 serial interface as most legacy DF1 communication devices. However, you must verify that your existing RS-232 cable pinout (TX, RX, GND, and handshaking lines) matches the MVI56-DFCM port wiring diagram before installation. Minor cable adapter modifications are sometimes required when replacing third-party DF1 modules with non-standard connector pinouts.
Q2: Will my existing Studio 5000 program need to be modified after installing the MVI56-DFCM?
Yes, a configuration add-on profile (AOI) and associated ladder logic rungs provided by ProSoft must be imported into your Studio 5000 project. These rungs handle the data exchange between the MVI56-DFCM’s internal memory and the ControlLogix controller tags. If you are migrating from a legacy RSLogix 5000 project, the import process is straightforward, but you should allocate time for tag mapping verification and a full I/O force test before returning the system to automatic mode.
Q3: Can the MVI56-DFCM support multi-drop DF1 configurations used in older radio modem SCADA systems?
Yes. The MVI56-DFCM supports DF1 Half-Duplex master and slave modes, which are the standard protocols used in radio modem and leased-line SCADA applications. Node addressing, polling intervals, and error-checking parameters (BCC or CRC) are all configurable via ProSoft Configuration Builder. This makes the module suitable for replacing legacy DF1 master stations in remote telemetry and pipeline monitoring systems without requiring changes to the existing field radio infrastructure.
Q4: What does the 12-month warranty cover, and how is it handled?
The 12-month warranty covers manufacturing defects and functional failures under normal operating conditions, including backplane communication faults, serial port failures, and firmware-related issues. It does not cover damage caused by incorrect wiring, overvoltage, or physical mishandling. In the event of a warranty claim, contact our sales team with the module serial number and a description of the fault. We will arrange for expedited replacement or repair to minimize your system downtime. All modules are functionally tested before shipment to ensure out-of-box reliability.
© 2026 SMARTNEXMSK. All rights reserved.
Original Source: https://smartnexmsk.com
Contact: [email protected] | +86 18259474341